Add a login menu - Login with device ID - (Unity module)
What's on the Menu
In this tutorial, you will learn how to prepare a simple login menu prefab that can be used to send login requests to AccelByte Gaming Services (AGS).
The login menu has been provided for you, and you will add additional code to connect it to the AGS Game SDK.
The necessary files are available in the Resources section and consist of the following:
- LoginMenu_Starter: A C# class used to display the login menu.
- C# file:
/Assets/Resources/Modules/Access/AuthEssentials/Scripts/UI/LoginMenu_Starter.cs - Prefab file:
/Assets/Resources/Modules/Access/AuthEssentials/Prefabs/LoginMenu_Starter.prefab
- C# file:
This login menu has three states:
- Default: Displays the available login methods.
- Loading: Indicates that a login request has been sent to AGS and is awaiting a response.
- Error: Indicates that the login attempt failed. The widget will display options to either retry or quit the game.
These states can be changed using the widget switcher component pre-defined in the Byte Wars project. You can find its reference in the LoginMenu_Starter class:
[SerializeField] private AccelByteWarsWidgetSwitcher widgetSwitcher;
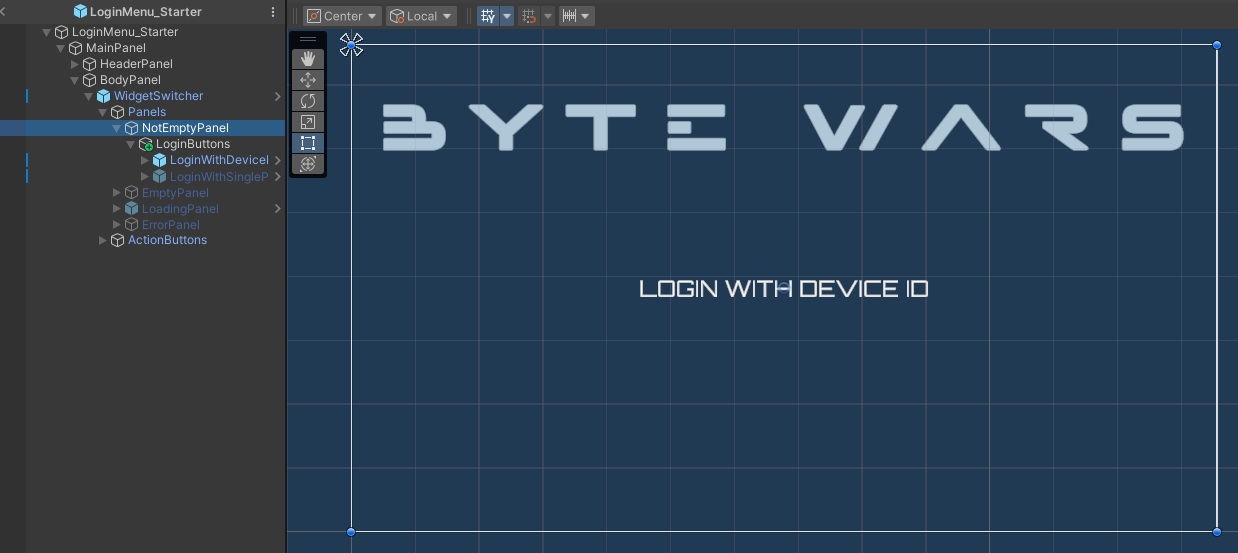
Default State
This state displays the Login with Device ID button. Below is a preview of the default state:
Below is the declaration of the component used by this prefab:
[SerializeField] private Button loginWithDeviceIdButton;
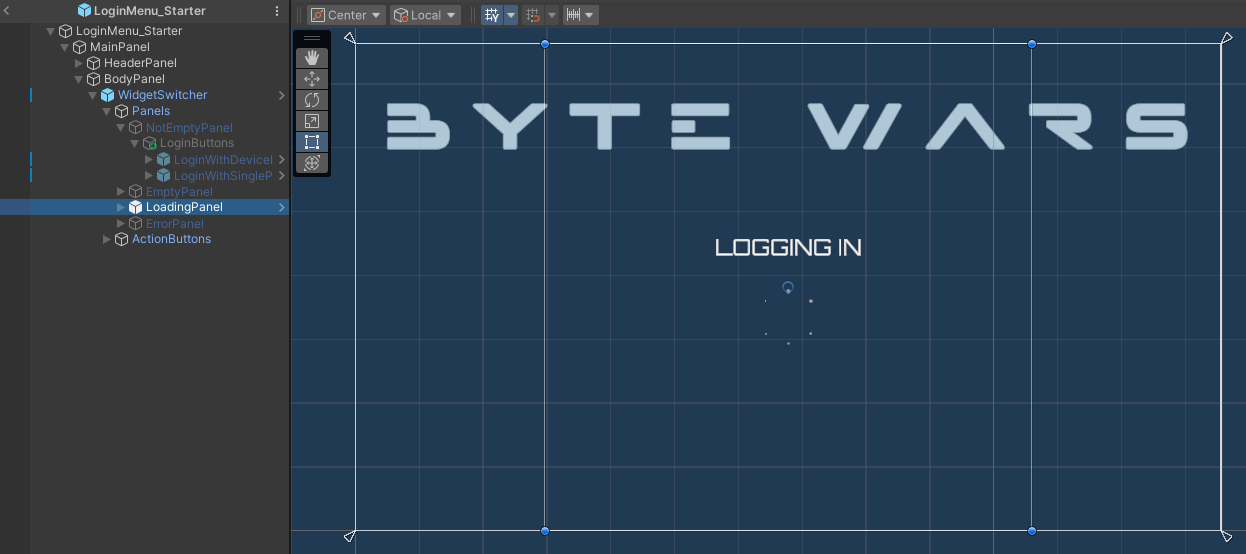
Loading State
This state displays a message and a loading spinner while the login request is in progress.
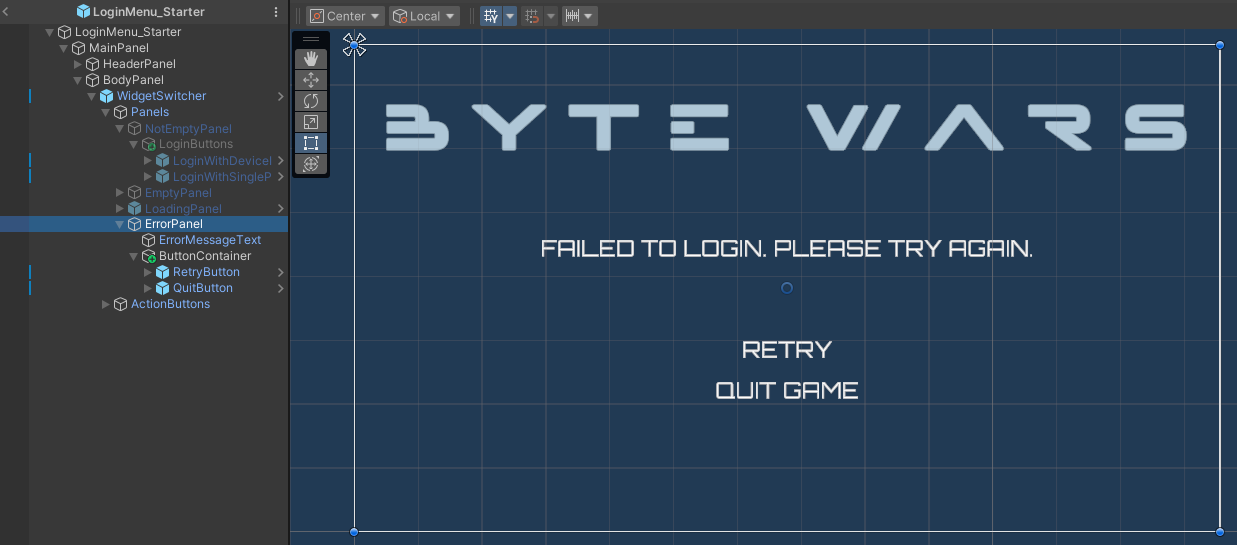
Error State
This state displays error messages with action buttons to retry the login or quit the game. Below is a preview of the default state:
Below are the declarations of the components used in this prefab:
[SerializeField] private Button retryLoginButton;
[SerializeField] private Button quitGameButton;
Ready the UI
In this section, you will prepare the UI for the login integration.
-
Open the
LoginMenu_Starter.csfile and create a new function to be called when the "Login with Device ID" button is clicked. You will use this function to send the login request to AGS later. For now, simply add the code below to switch the menu to the loading state and assign the retry login button action:private void OnLoginWithDeviceIdButtonClicked()
{
widgetSwitcher.SetWidgetState(AccelByteWarsWidgetSwitcher.WidgetState.Loading);
OnRetryLoginClicked = OnLoginWithDeviceIdButtonClicked;
} -
Next, bind the buttons by adding the following code:
private void Start()
{
    ...
    loginWithDeviceIdButton.onClick.AddListener(OnLoginWithDeviceIdButtonClicked);
} -
Build your project and open it in the Unity Editor. In the editor, navigate to
Assets/Resources/Modules/Access/AuthEssentialsand open theAuthEssentialsAssetConfig.asset. Make sure to activate the module in Starter Mode by checking both theIs ActiveandIs Starter Activecheckboxes.
Resources
-
The files used in this tutorial section are available in the Unity Byte Wars GitHub repository.