Post match menu - Create joinable sessions with dedicated servers - (Unity module)
There is no action tutorial step in this page. This is an information page on how Byte Wars handle online multiplayer.
Match lobby menu
This menu will be displayed when the players have successfully connected to the game server, either a dedicated server or a peer-to-peer host. It shows information about the teams and their members, such as player display names and avatars. This UI is defined in the following class:
- C# file:
Assets/Scripts/UI/MainMenu/MatchLobbyMenu.cs - Prefab file:
Assets/Resources/Modules/MainMenu/MatchLobby/MatchLobbyMenuCanvas.prefab
Below is a preview of the match lobby menu. Here, some temporary entries are added to visualize the team and player entries.
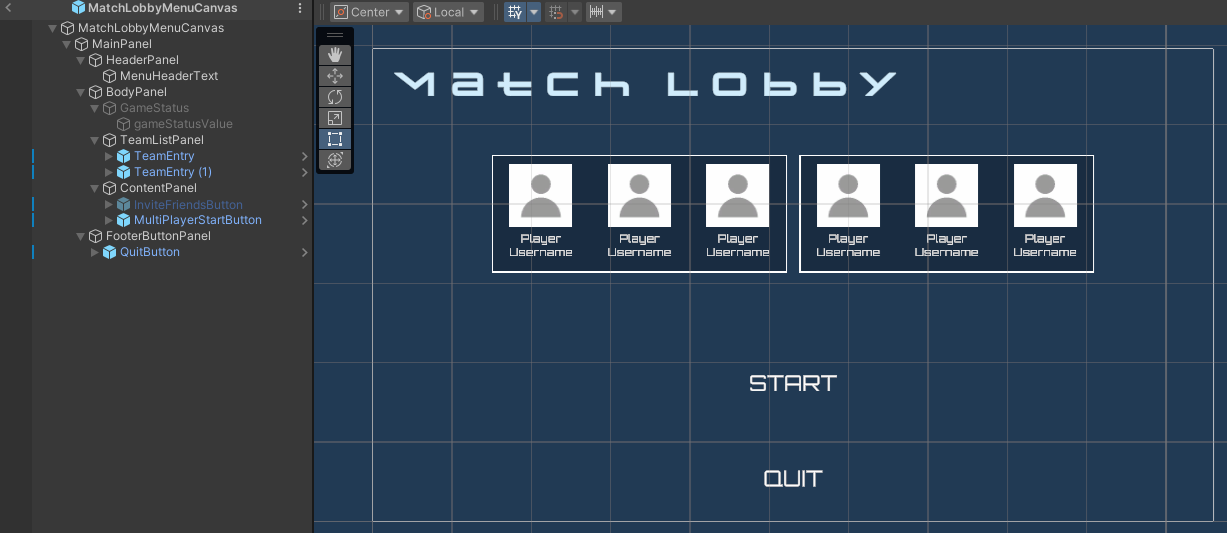
As you can see from the preview above, this menu has two main buttons. The first button starts the game and brings the players to the gameplay level. The other one quits the game server. You can find the declarations for these buttons in the MatchLobbyMenuCanvas class.
[SerializeField] private Button startButton;
[SerializeField] private Button quitButton;
To generate the player entries, this menu uses the following function:
private void GenerateTeamEntries()
{
    ulong clientNetworkId = NetworkManager.Singleton.LocalClientId;
    Dictionary<ulong, PlayerState> playerStates = GameManager.Instance.ConnectedPlayerStates;
    Dictionary<int, TeamState> teamStates = GameManager.Instance.ConnectedTeamStates;

    teamEntryListPanel.DestroyAllChildren();

    // Generate team and its member entries.
    Dictionary<int, TeamEntry> teamEntries = new Dictionary<int, TeamEntry>();
    foreach (KeyValuePair<ulong, PlayerState> kvp in playerStates.OrderBy(p => p.Value.TeamIndex))
    {
        PlayerState playerState = kvp.Value;
        int playerTeamIndex = playerState.TeamIndex;
        bool isCurrentPlayer = playerState.ClientNetworkId == clientNetworkId;

        if (!teamStates.ContainsKey(playerTeamIndex))
        {
            BytewarsLogger.Log($"Cannot spawn player entry. Invalid team index: {playerTeamIndex}");
            continue;
        }

        // Create the team entry if not yet.
        if (!teamEntries.ContainsKey(playerTeamIndex))
        {
            TeamEntry teamEntry = Instantiate(teamEntryPrefab, Vector3.zero, Quaternion.identity, teamEntryListPanel);
            teamEntry.Set(teamStates[playerTeamIndex]);
            teamEntries.Add(playerTeamIndex, teamEntry);
        }

        RectTransform teamEntryContainer = (RectTransform)teamEntries[playerTeamIndex].transform;
        RectTransform playerEntryContainer = teamEntries[playerTeamIndex].PlayerEntryContainer;

        // Create the player entry.
        PlayerEntry playerEntry = Instantiate(
            playerEntryPrefab,
            Vector3.zero,
            Quaternion.identity,
            playerEntryContainer);

        playerEntry.Set(teamStates[playerTeamIndex], playerState, isCurrentPlayer);

        LayoutRebuilder.ForceRebuildLayoutImmediate(playerEntryContainer);
        LayoutRebuilder.ForceRebuildLayoutImmediate(teamEntryContainer);
    }

    LayoutRebuilder.ForceRebuildLayoutImmediate(teamEntryListPanel);
}
From the code above, you can see it instantiates the TeamEntry and PlayerEntry classes to generate the entries. Let's take a closer look at these entries in detail.
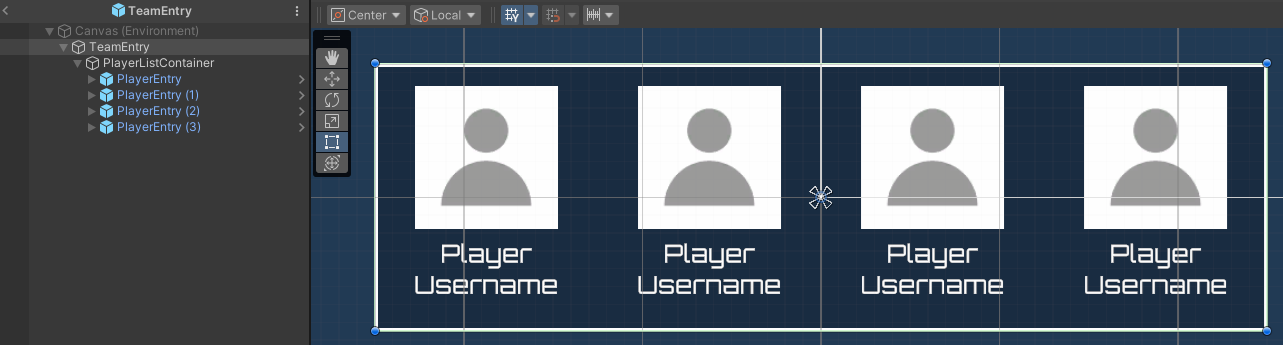
Team Entry
This UI entry is used to group player information entries based on their teams. This UI is defined in the following class:
- C# file:
Assets/Scripts/UI/TeamEntry.cs - Prefab file:
Assets/Prefabs/UI/TeamEntry.prefab
Below is a preview of the team entry UI.
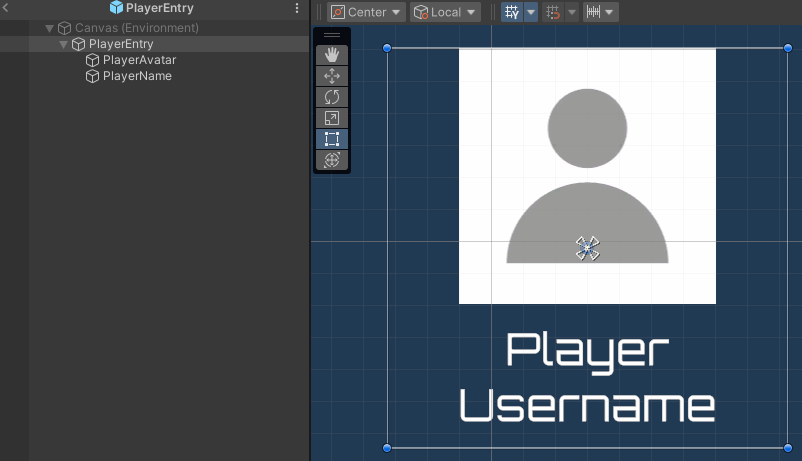
Player Entry
This UI entry is used to show player information, such as the player's display name and avatar. This UI is defined in the following class:
- C# file:
Assets/Scripts/UI/PlayerEntry.cs - Prefab file:
Assets/Prefabs/UI/PlayerEntry.prefab
Below is a preview of the player entry UI.
Pause Menu
When the player enters the gameplay level, they can pause the game, and the pause menu will be displayed. This menu shows several buttons such as Resume, Restart, and Quit. It is defined in the following class and prefab:
- C# file:
Assets/Scripts/UI/PauseMenuCanvas.cs - Prefab file:
Assets/Resources/Modules/MainMenu/GamePlay/PauseMenuCanvas.prefab
Below is a preview of the pause menu:
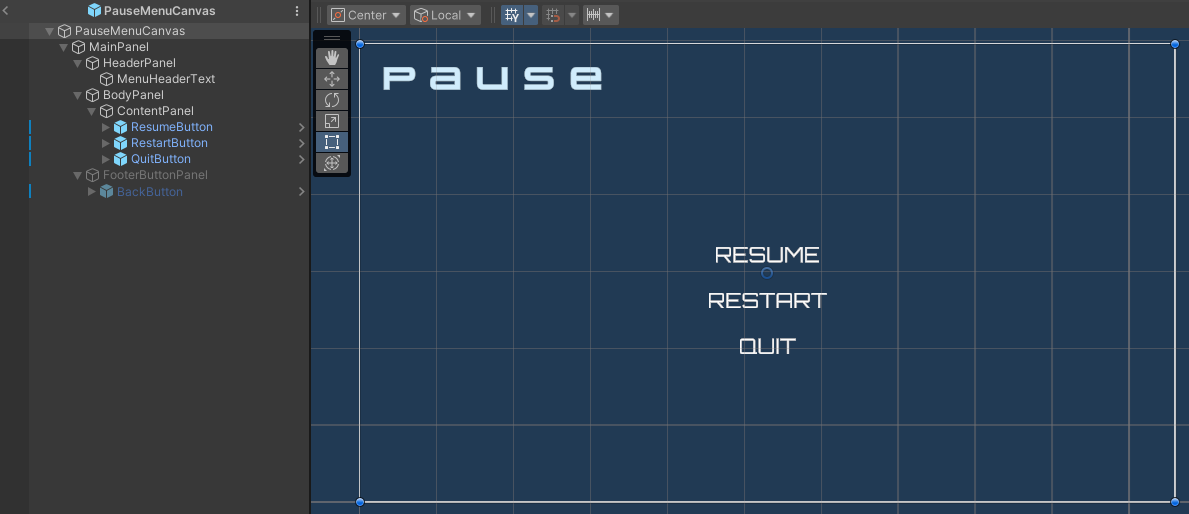
The components used in this menu are defined in the PauseMenuCanvas class:
[SerializeField] private Button resumeBtn;
[SerializeField] private Button restartBtn;
[SerializeField] private Button quitBtn;
Game Over Menu
When the game ends, this menu is displayed to show game information such as who won, along with buttons to either play again or quit the game. This menu is defined in the following class and prefab:
- C# file:
Assets/Scripts/UI/Gameplay/GameOverMenuCanvas.cs - Prefab file:
Assets/Resources/Modules/MainMenu/GamePlay/GameOverMenuCanvas.prefab
Below is a preview of the Game Over menu:
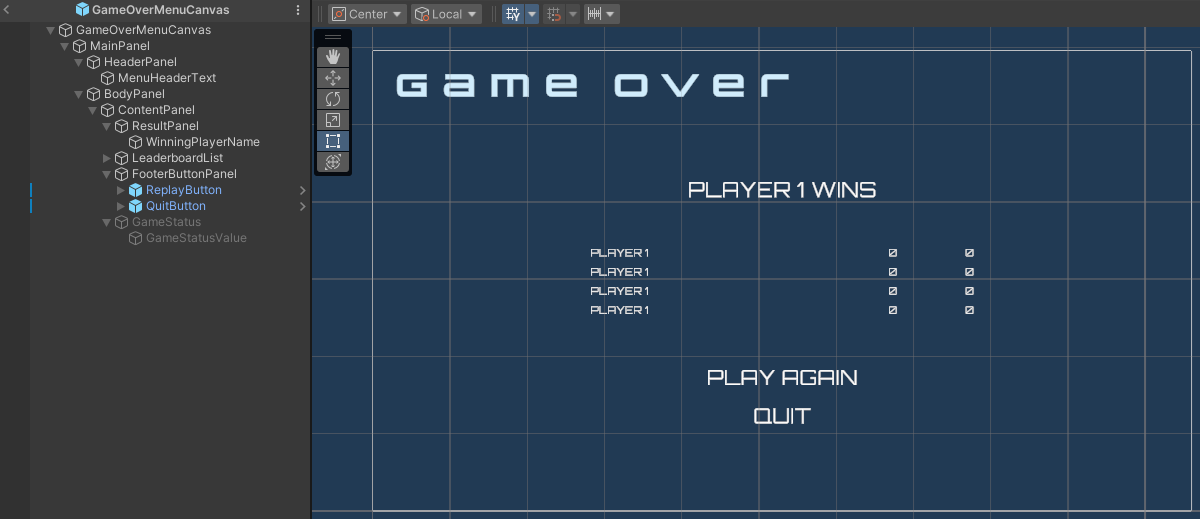
The components used in this menu are defined in the PauseMenuCanvas class:
[SerializeField] private TextMeshProUGUI winnerPlayerTextUI;
[SerializeField] private RectTransform leaderboardList;
[SerializeField] private LeaderboardEntryController leaderboardEntryPrefab;
[SerializeField] private Button playAgainBtn;
[SerializeField] private Button quitBtn;
Resources
-
The files used in this tutorial are available in the Unity Byte Wars GitHub repository.
- Assets/Scripts/UI/MainMenu/MatchLobbyMenu.cs
- Assets/Resources/Modules/MainMenu/MatchLobby/MatchLobbyMenuCanvas.prefab
- Assets/Scripts/UI/TeamEntry.cs
- Assets/Prefabs/UI/TeamEntry.prefab
- Assets/Scripts/UI/PlayerEntry.cs
- Assets/Prefabs/UI/PlayerEntry.prefab
- Assets/Scripts/UI/Gameplay/PauseMenuCanvas.cs
- Assets/Resources/Modules/MainMenu/GamePlay/PauseMenuCanvas.prefab
- Assets/Scripts/UI/Gameplay/GameOverMenuCanvas.cs
- Assets/Resources/Modules/MainMenu/GamePlay/GameOverMenuCanvas.prefab