Add quick play menu - Quick match with peer-to-peer - (Unity module)
AccelByte Gaming Services (AGS) SDK for Unity does not support P2P on WebGL. This module cannot be used in WebGL builds.
What's on the menu
In this section, you'll learn how to prepare the UI menus for matchmaking. These UIs are defined in the following classes:
-
MatchmakingMenu: A C# class used to display the game mode selection before matchmaking.
- C# file:
Assets/Resources/Modules/Play/MatchmakingEssentials/Scripts/UI/MatchmakingMenu.cs - Prefab file:
Assets/Resources/Modules/Play/MatchmakingEssentials/Prefabs/MatchmakingMenu.prefab
- C# file:
-
MatchmakingServerTypeMenu: A C# class used to display the server type selection (peer-to-peer or peer-to-peer) before matchmaking.
- C# file:
Assets/Resources/Modules/Play/MatchmakingEssentials/Scripts/UI/MatchmakingServerTypeMenu.cs - Prefab file:
Assets/Resources/Modules/Play/MatchmakingEssentials/Prefabs/MatchmakingServerTypeMenu.prefab
- C# file:
-
MatchmakingP2PMenu_Starter: A C# class used to display matchmaking states, such as matchmaking started, match found, and matchmaking canceled.
- C# file:
Assets/Resources/Modules/Play/MatchmakingP2P/Scripts/UI/MatchmakingP2PMenu_Starter.cs - Prefab file:
Assets/Resources/Modules/Play/MatchmakingP2P/Prefabs/MatchmakingP2PMenu_Starter.prefab
- C# file:
Take a look at more details on how these UIs are constructed.
Matchmaking menu
Below is a preview of the MatchmakingMenu prefab. This prefab contains buttons to select a game mode before starting matchmaking.
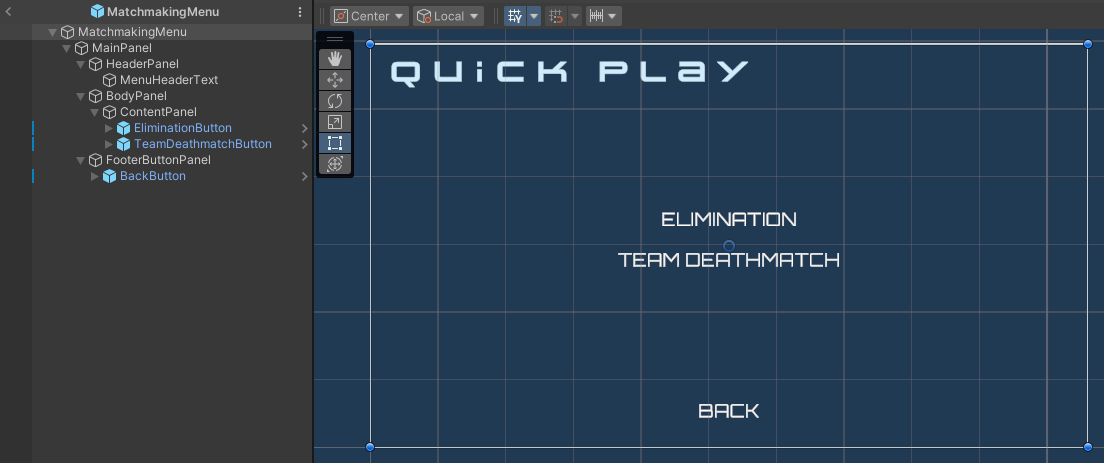
The components used in this menu are defined in the MatchmakingMenu class. When one of the game mode buttons is clicked, the selected game mode is stored in the SelectedGameMode property.
public static InGameMode SelectedGameMode { get; private set; }

[SerializeField] private Button eliminationButton;
[SerializeField] private Button teamDeathMatchButton;
[SerializeField] private Button backButton;
Matchmaking server type menu
Below is a preview of the MatchmakingServerTypeMenu prefab. This prefab contains buttons to select a server type before starting matchmaking.
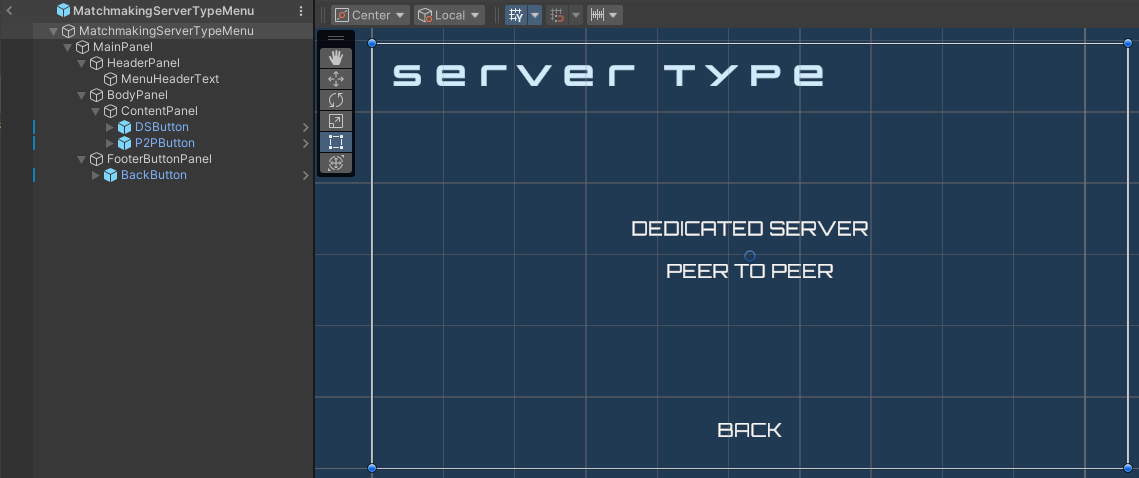
The components used in this menu are defined in the MatchmakingServerTypeMenu class. When one of the server type buttons is clicked, it will open the next menu based on the selected type. For example, if the peer-to-peer button is clicked, it will instantiate the MatchmakingP2PMenu_Starter prefab.
[SerializeField] private Button dedicatedServerButton;
[SerializeField] private Button peerToPeerButton;
[SerializeField] private Button backButton;
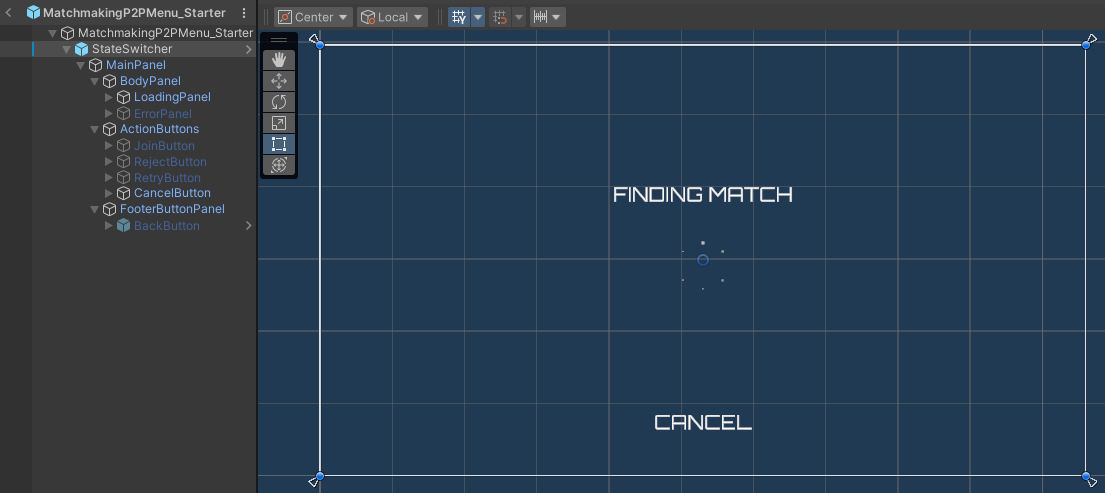
Matchmaking P2P menu
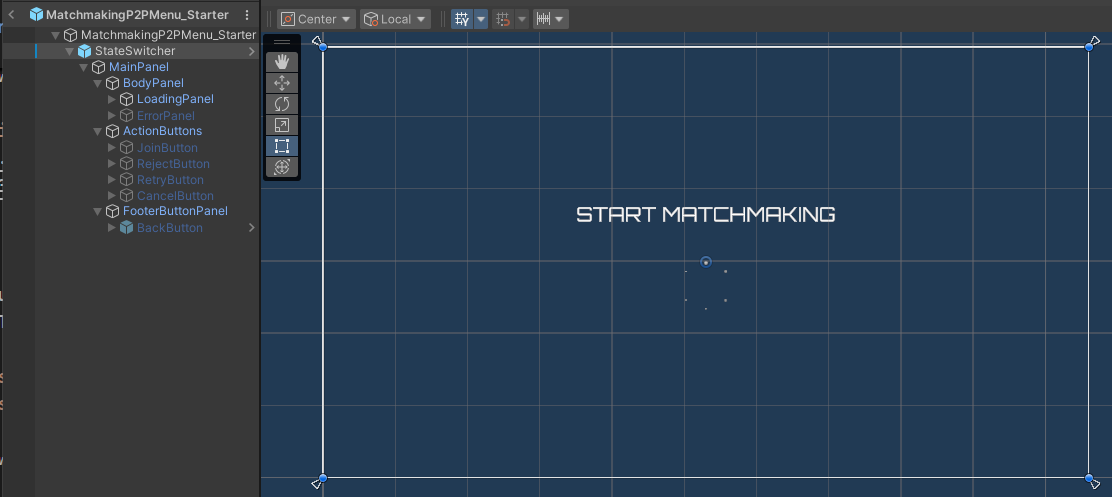
The MatchmakingP2PMenu_Starter prefab contains a state switcher to display a specific menu based on the matchmaking state. To switch the menu state, it uses the component defined below in the MatchmakingP2PMenu_Starter class.
[SerializeField] private MatchmakingStateSwitcher stateSwitcher;
Below is the list of states included in this menu.
-
Start matchmaking state
This state displays a message indicating that matchmaking has started and that the matchmaking request is being sent.
-
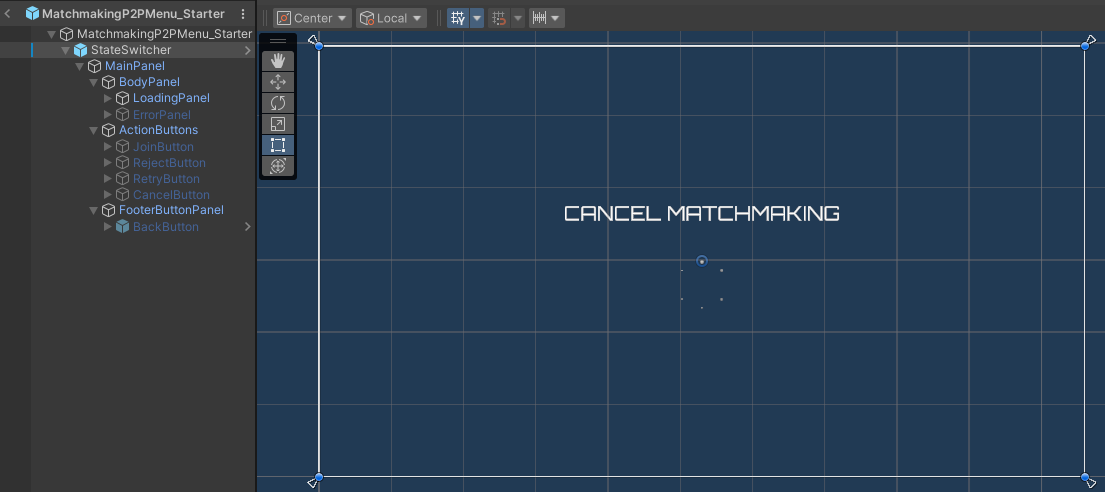
Cancel matchmaking state
This state displays a message indicating that matchmaking has been canceled.
-
Finding match state
This state displays a message indicating that matchmaking is in progress. It also shows a button allowing the player to cancel the matchmaking process.
-
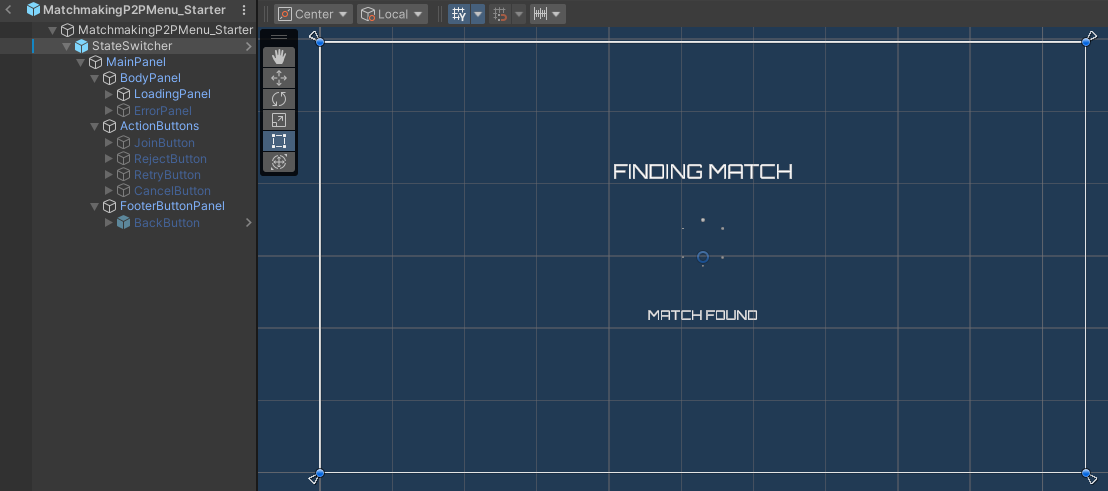
Match found state
This state displays a message indicating that matchmaking has successfully found matched players and is ready to create a new session.
-
Join match confirmation state
This state displays a dialog with buttons allowing the player to either join the match or reject the match invitation. It also includes an auto-join countdown if the player does not make a selection.

-
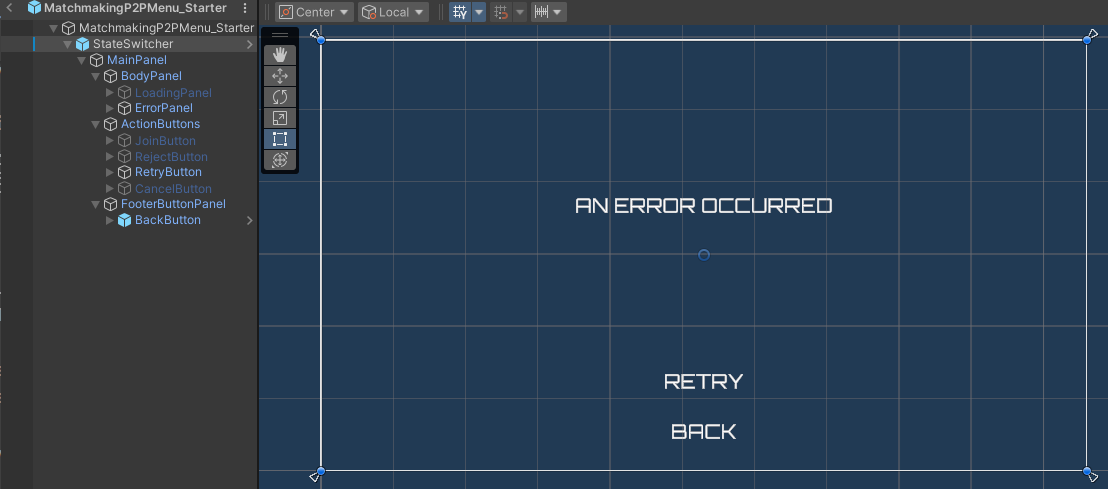
Error state
This state displays any error messages that occurred during the matchmaking process. It also shows a button to retry matchmaking.
Ready the UI
In this section, you will prepare the menus mentioned earlier to start integrating the matchmaking feature.
-
Open the
MatchmakingP2PMenu_Starterclass and create the function below. Later, you will use this function to send the start matchmaking request. For now, add the code below to switch the menu to the start matchmaking state.private void StartMatchmaking()
{
stateSwitcher.SetState(MatchmakingMenuState.StartMatchmaking);
} -
Next, create the following function to cancel matchmaking. You will use this function later to send the cancel matchmaking request. For now, it switches the menu to the cancel matchmaking state.
private void CancelMatchmaking(string matchTicketId)
{
    stateSwitcher.SetState(MatchmakingMenuState.CancelMatchmaking);
} -
Replace the pre-defined
Awake()function with the code below to bind the retry button to restart matchmaking when a request fails.private void Awake()
{
stateSwitcher.OnRetryButtonClicked = StartMatchmaking;
} -
Then, replace the the pre-defined
OnEnable()function with the code below to start matchmaking automatically when the menu is displayed.private void OnEnable()
{
StartMatchmaking();
} -
In the Unity Editor, navigate to
Assets/Resources/Modules/Play/MatchmakingP2Pand open theMatchmakingP2PEssentialsAssetConfig.asset. Ensure the module is activated in starter mode by checking both the Is Active and Is Starter Active checkboxes. -
Finally, play the game in the Editor. You should be able to navigate to the main menu via Play Online > Quick Play, select any game mode, and click on the Perr to Peer button. Then, the menu will switch to the start matchmaking state. Later, you will replace this behavior with the actual matchmaking request.
Resources
-
The files used in this tutorial are available in the Unity Byte Wars GitHub repository.
- Assets/Resources/Modules/Play/MatchmakingEssentials/Scripts/UI/MatchmakingMenu.cs
- Assets/Resources/Modules/Play/MatchmakingEssentials/Prefabs/MatchmakingMenu.prefab
- Assets/Resources/Modules/Play/MatchmakingEssentials/Scripts/UI/MatchmakingServerTypeMenu.cs
- Assets/Resources/Modules/Play/MatchmakingEssentials/Prefabs/MatchmakingServerTypeMenu.prefab
- Assets/Resources/Modules/Play/MatchmakingP2P/Scripts/UI/MatchmakingP2PMenu_Starter.cs
- Assets/Resources/Modules/Play/MatchmakingP2P/Prefabs/MatchmakingP2PMenu_Starter.prefab