Add session creation menu - Introduction to Session - (Unity module)
What's on the menu
In this section, you'll learn how to prepare the UI menus for creating a session. These UIs are defined in the following class:
- CreateSessionMenu_Starter: A C# class responsible for displaying the session creation menu.
- C# file:
Assets/Resources/Modules/Play/SessionEssentials/Scripts/UI/CreateSessionMenu_Starter.cs - Prefab file:
Assets/Resources/Modules/Play/SessionEssentials/Prefabs/CreateSessionMenu_Starter.prefab
- C# file:
The components responsible for handling this menu are defined in the CreateSessionMenu_Starter class. The widgetSwitcher is a helper component used to display the current menu state (e.g., loading, error, empty result, or result).
[SerializeField] private AccelByteWarsWidgetSwitcher widgetSwitcher;
[SerializeField] private Transform createSessionPanel;
[SerializeField] private Transform sessionResultPanel;
[SerializeField] private TMP_Text sessionIdText;
[SerializeField] private Button createSessionButton;
[SerializeField] private Button leaveSessionButton;
[SerializeField] private Button backButton;
Take a closer look at how these menu states are constructed.
-
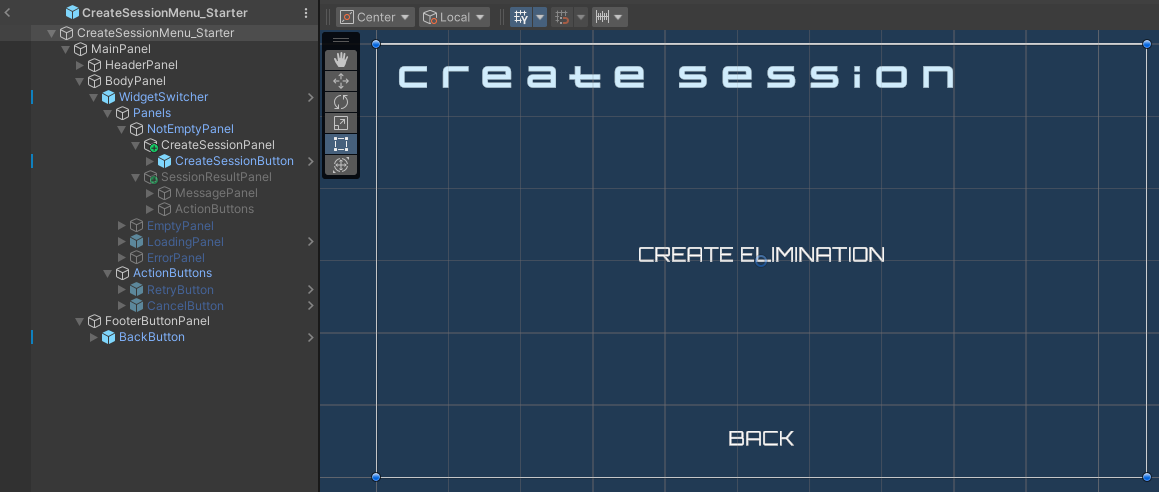
Default state
This state displays a single button to create a session. Below is a preview of this state:
-
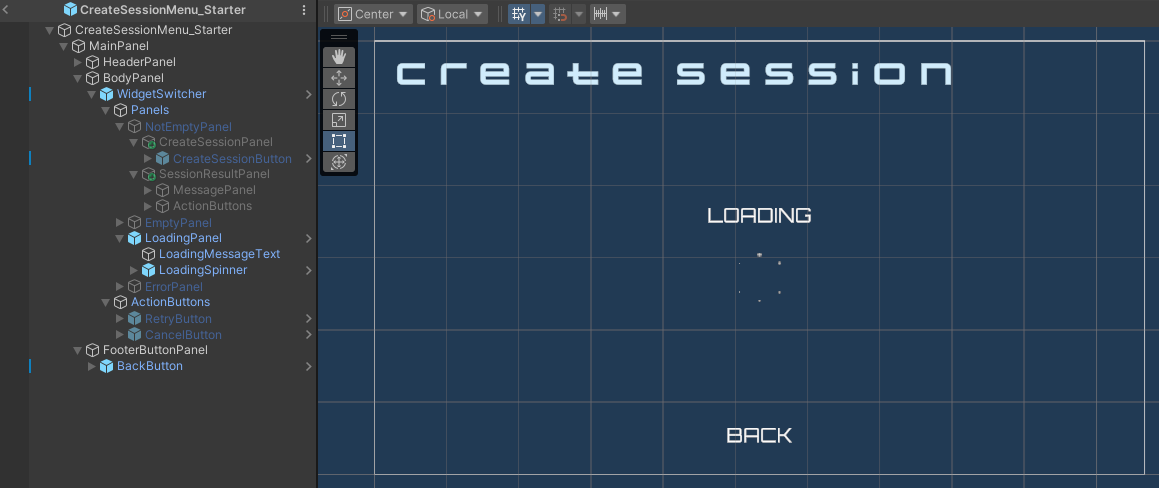
Loading state
This state displays a loading spinner with a short message. Below is a preview of this state:
-
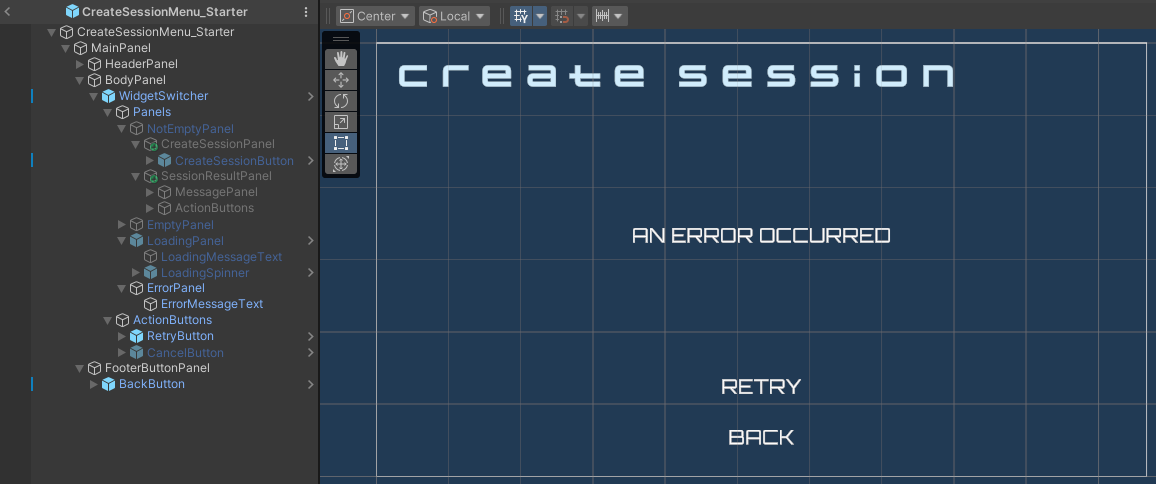
Error state
This state displays an error message with buttons to either retry the request or return to the previous menu. Below is a preview of this state:
-
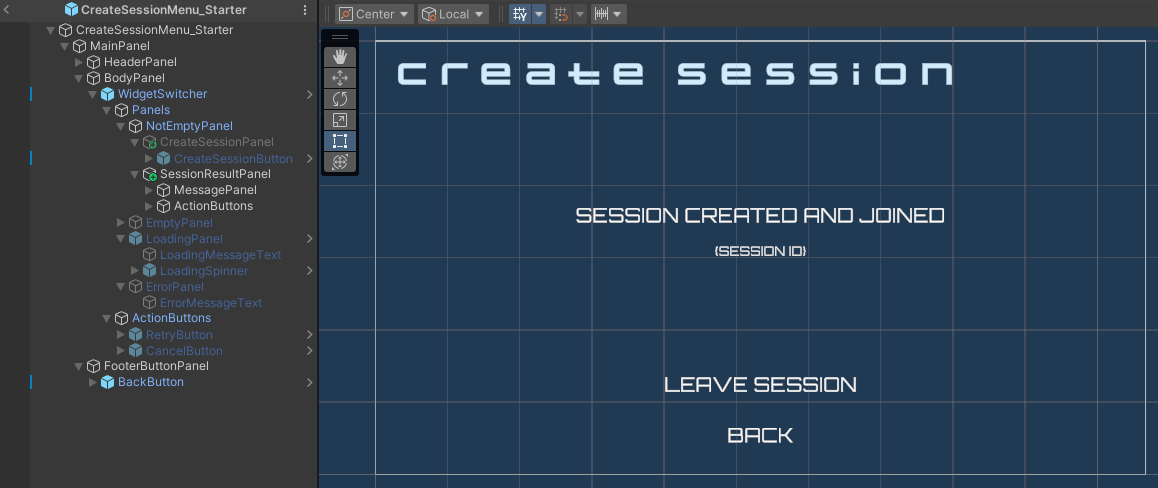
Success state
This state displays the created session ID along with a button to leave the session. Below is a preview of this state:
Ready the UI
In this section, you will prepare the menu mentioned earlier to begin integrating the session creation feature.
-
Open the
CreateSessionMenu_Starterclass and create the following function. You will use this function to send a session creation request later. For now, add the code below to switch the state to the loading state:private async UniTask CreateSession()
{
widgetSwitcher.LoadingMessage = CreatingSessionMessage;
widgetSwitcher.SetWidgetState(AccelByteWarsWidgetSwitcher.WidgetState.Loading);
} -
Next, create the function below. You will use this function to send a leave session request later. For now, add the code below to switch the state to the loading state:
private void LeaveSession()
{
    widgetSwitcher.LoadingMessage = LeavingSessionMessage;
    widgetSwitcher.SetWidgetState(AccelByteWarsWidgetSwitcher.WidgetState.Loading);
} -
Then, bind the functions created earlier to their respective buttons by replacing the predefined
Awake()function with the code below:private void Awake()
{
backButton.onClick.AddListener(MenuManager.Instance.OnBackPressed);
createSessionButton.onClick.AddListener(() => CreateSession().Forget());
widgetSwitcher.OnRetryButtonClicked = () => CreateSession().Forget();
leaveSessionButton.onClick.AddListener(LeaveSession);
} -
In the Unity Editor, navigate to
Assets/Resources/Modules/Play/SessionEssentialsand open theSessionEssentialsAssetConfig.asset. Ensure the module is activated in starter mode by checking both theIs ActiveandIs Starter Activecheckboxes. -
Finally, play the game in the Editor. You should be able to navigate to the Main Menu > Play Online > Create a Session menu. When you click the Create Elimination button, the menu will switch to the loading state. Later, you will replace this behavior with the actual session creation request.
Resources
-
The files used in this tutorial are available in the Unity Byte Wars GitHub repository.