Play Byte Wars
Overview
You can directly try out the AccelByte Gaming Services (AGS) and AccelByte Multiplayer Servers (AMS) with the integrated sample game, Byte Wars. This tutorial will guide you on how you can easily and quickly set up a game namespace, deploy a dedicated server, and play Byte Wars using the integrated onboarding features.
Activate AGS and set up a new game namespace
First of all, you need to activate the AccelByte Gaming Services (AGS) product and create a game namespace to use the AGS features. You can quickly set up a new Byte Wars Namespace, which is a template game namespace you can use to test out the AGS features using the Byte Wars game.
-
First, go to the AccelByte main landing page and click on the Get Started for Free button. You'll be redirected to the Admin Portal sign-up page.
-
On the Admin Portal sign-up page, fill in the registration form to create a new account for free. If you already have an account, select the Sign In option to sign in.
-
After you register a new account, you'll receive an e-mail to complete your account profile. Click on the Complete My Profile button and fill in the required form to complete your account profile.
-
Once your account is complete, you'll be asked to select a product: AccelByte Gaming Services (AGS) or AccelByte Multiplayer Servers (AMS). Let's activate AGS first and activate AMS later. So, select the AGS option and click on the Get Started for Free button to start using the AGS free trial.
-
Next, you'll be redirected to the onboarding page. Since we want to use the Byte Wars game to explore the AGS features, click on the Explore AGS Now button to set up a new Byte Wars Namespace.
-
On the Byte Wars Namespace form, name your new game namespace and click on the Create button to create it. Once done, you'll be redirected to your new Byte Wars Namespace Admin Portal dashboard.
-
On the dashboard, you'll see a pop-up window showing your IAM Client credentials. These credentials are the default credentials for your game client and servers. Click on the Copy button to copy these credentials and save them, as they are only shown once. In case you missed it, you can always create a new IAM Client later. Refer to Create IAM Client for more information. Once done, click on the Continue button.
-
To view your game namespace list, expand the game namespace dropdown on the top left corner of the side panel menu, then click on the View All button. On the game namespace list page, you can also click on the Create dropdown button if you want to create other game namespaces.
-
Congratulations! You've created an account, activated the AGS product, and created a new Byte Wars Namespace as your first game namespace.
Activate and set up AMS
Previously, you've activated the AccelByte Gaming Services (AGS) product and created your first game namespace. Next, you can activate the AccelByte Multiplayer Servers (AMS) product to manage your dedicated servers.
-
Open the Admin Portal dashboard, then select your game namespace. From the side panel menu, click on the AccelByte Multiplayer Servers button.
-
On the new menu, click on the Get Started for Free button. You'll be redirected to a new page showing the free trial offer details. Click on the Activate Free Trial button to activate and start the AMS free trial.
-
Now that your AMS product is activated, the next step is to create a new AMS account. This account links the game namespaces inside the multiple environments that you own, allowing you to share dedicated server images across environments. For more information, refer to AMS Account.
-
To create the AMS account, go back to your Admin Portal dashboard and select your game namespace. Then, click on the AccelByte Multiplayer Servers button from the side panel menu again.
-
On the new menu, enter a name for the AMS Account Name field, then click on the Create button to create the AMS account.
-
Once complete, you'll be redirected to your AMS account page details. On the Linked Namespaces List, you can see that your game namespace is linked to your AMS account.
-
Congratulations! You've activated the AMS product and created an AMS account for your game namespaces.
Set up the Byte Wars game client
Next, let's use your game namespace with the Byte Wars sample game so you can explore the AGS features that are integrated in an actual game.
-
Open the Admin Portal dashboard, then select your game namespace. From the side panel menu, click on the Home button.
-
On the Home menu, select the Explore Byte Wars tab. It will display the steps you need to follow to download and play the Byte Wars game client using your game namespace.
-
The first step is to download the Byte Wars Launcher. This is a custom launcher powered by AccelByte Development Toolkit (ADT), where you can find and download the latest Byte Wars build. Once you've downloaded it, open the executable file to install the launcher.
-
Next, go back to the Admin Portal dashboard and follow the next step shown in the Home menu, which is to configure the Byte Wars game client. Simply click the Configure button, and on the pop-up window, click on the Open Byte Wars Launcher button.
-
On the launcher, a pop-up window will be displayed. It displays the configuration needed for the Byte Wars game client based on your game namespace. Click on the Ok button to confirm the configuration.
-
Now, on the launcher, select the game client track and click on the Download button to download the game client.
-
Congratulations! You've downloaded and configured the Byte Wars game client to use your game namespace. In the next section, you'll learn how to configure the dedicated servers running on AccelByte Multiplayer Servers (AMS).
Set up the Byte Wars dedicated server
Previously, you've configured the Byte Wars game client using your game namespace. Next is to set up dedicated servers running on AccelByte Multiplayer Servers (AMS) to enable Byte Wars online multiplayer features.
-
Open the Admin Portal dashboard, then select your game namespace. From the side panel menu, click on the Home button.
-
On the Home menu, select the Explore Byte Wars tab. This time, look for the "Set up AccelByte Multiplayer Servers (AMS)" step.
-
The first step to configure AMS is to upload the server image. Click on the Configure Byte Wars Server button, and on the pop-up window, click on the Open Byte Wars Launcher button.
-
On the launcher, a pop-up window will be displayed. It displays the configuration needed for the Byte Wars game server image based on your game namespace. Simply click on the Upload button to upload your server image.
-
A terminal window will show up to display the server image uploading progress. If the process is complete, you will see the
imageID: <imageId> has endedlog message. Once complete, you can close the terminal window. -
You can also check the uploaded server image on your Admin Portal dashboard by clicking on the AccelByte Multiplayer Servers button from the side panel menu and selecting Server Images from the submenu.
-
Next, you need to create an AMS fleet to manage and spawn your dedicated servers based on your uploaded Byte Wars server image. From the Admin Portal dashboard, click on the AccelByte Multiplayer Servers button from the side panel menu and select Fleet Manager from the submenu.
-
Then, click on the Create Fleet button and select the Create Byte Wars Fleet option. You'll be redirected to a new menu to create a new AMS fleet from a template specifically for Byte Wars.
-
On the new menu, enter a name for the Fleet Name field and select your uploaded server image for the Image config. Then, click on the Next button.
-
On the next menu, you'll see your fleet details information before its creation. The default region where your server is deployed is in the us-east-2 region, as shown in the Regional Configuration section. Next, click on the Create button to create your AMS fleet.
-
On the confirmation pop-up window, toggle the fleet to Active and click on the Create button to finalize the AMS fleet creation. The fleet activation usually takes around 3–5 minutes.
-
Next, you need to enable the QoS regions. These regions are needed for game sessions to claim your dedicated servers from your AMS fleet. From the Admin Portal dashboard, click on the AccelByte Multiplayer Servers button from the side panel menu and select Qos Regions from the submenu.
-
As mentioned earlier, the default region where your dedicated server is spawned is us-east-2. So in the QoS Regions menu, make sure to activate the us-east-2 QoS region.
-
Congratulations! You've configured the AMS account, AMS fleet, and QoS regions for your dedicated servers.
Play Byte Wars
Now that your AGS, AMS, Byte Wars game client, and its dedicated servers are configured, it is time to play the game and explore its features.
-
On your computer, launch the Byte Wars Launcher. Select the game client track and click on the Play button to launch the Byte Wars game.
-
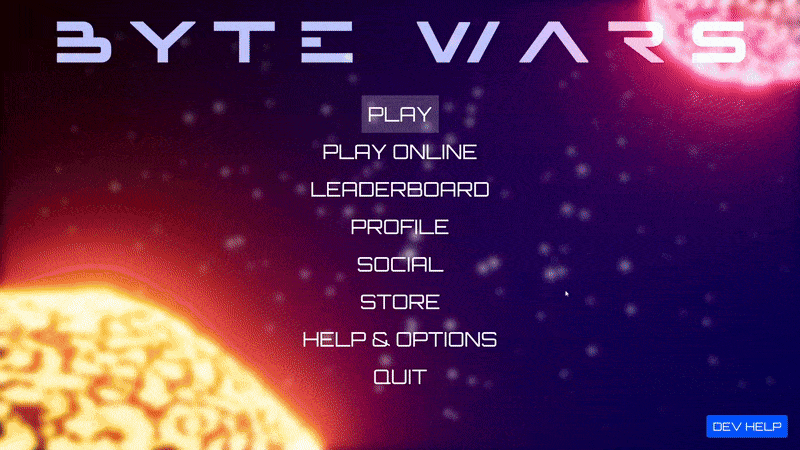
Log in to the game to enter the Main Menu. There, you can explore integrated AGS features such as statistics, social, leaderboards, store, etc.
-
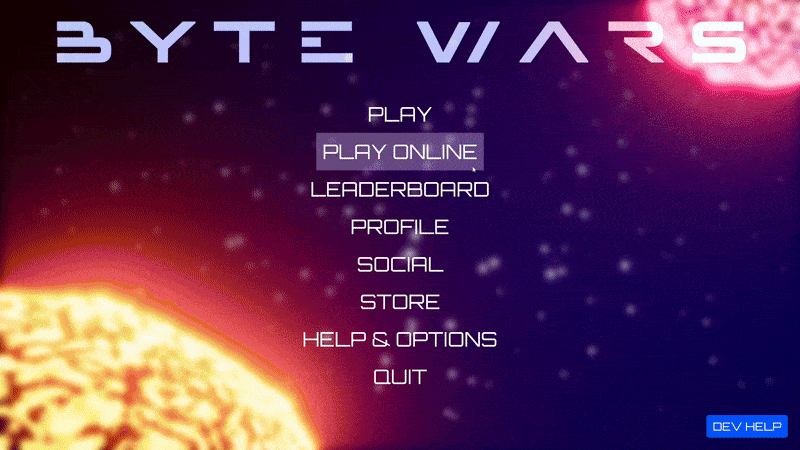
To play the online multiplayer, from the Main Menu select Play Online > Quick Play > select game mode > Dedicated Server. This will start the online matchmaking, and when a match is found, the dedicated server from your AMS fleet will serve the game session.
-
From this point, you can explore the game features on your own. If you need additional information, you can click on the Dev Help button on the bottom right side of the game to trigger the onboarding dialog.