Set Up Login Queue - Login Queue - (Unreal Engine module)
The Login Queue feature works with any login method.
Set up Login Queue in the Admin Portal
-
Login in to the Admin Portal and go to your game namespace dashboard.
-
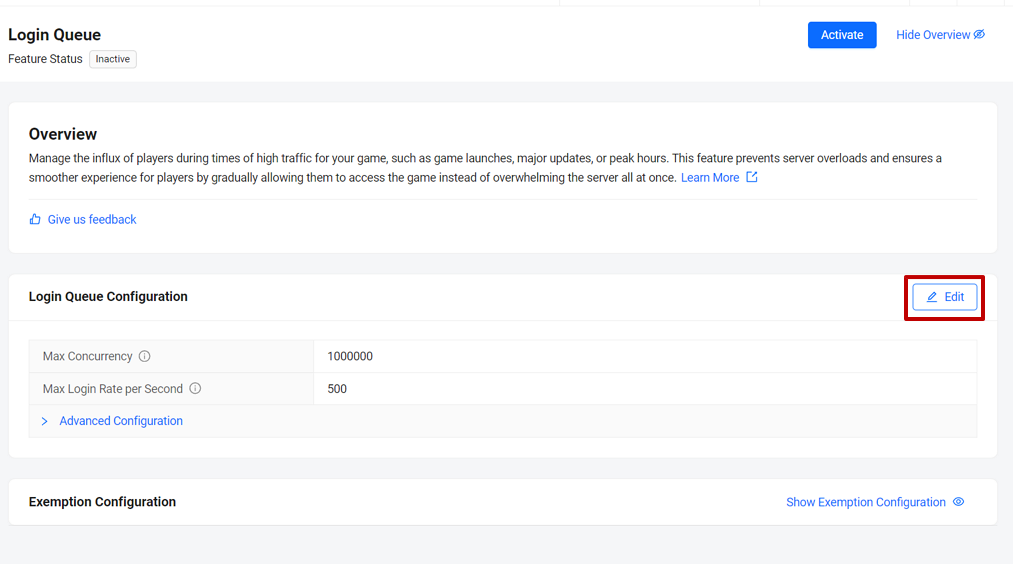
On the sidebar menu, select Foundations > Tools & Utilities > Login Queue. Click the Edit button on the Login Queue Configuration section.
-
Normally, the default setting would be good enough. Refer to the Configure Login Queue guide for more information on what each configuration does. But, for tutorial purposes, set the configurations so that the queue trigger for every login attempt. Set the configurations to the following, click the Save button once you're done.
- Max Concurrency: 1
- Max Login Rate per Second: 1
- Safety Margin: 99
- Cool-downs: 21600
- Queue Reconnect Grace Duration: 40
- Player Reconnect Grace Duration: 1
- Polling Time: 10
-
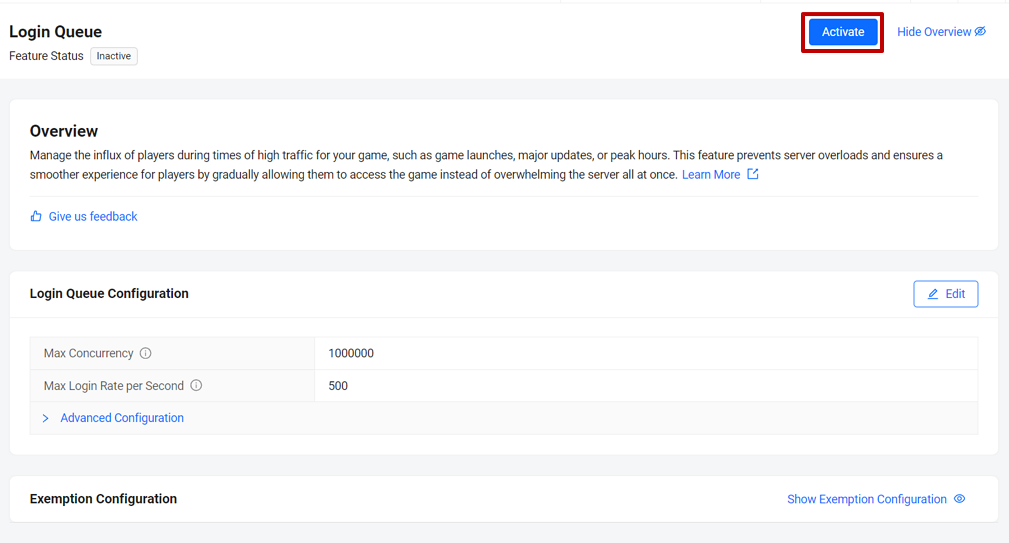
Now, you will see the Login Queue screen once again. Click the Activate button to activate the Login Queue feature.
Configure AccelByte OSS
-
Open the
DefaultEngine.inifile in your Byte Wars project, which located inAccelByteWars\Config\. Look forLoginQueuePresentationThresholdand set its value to 0, this value is in second. Alternatively, if you don't see that field, create one under[OnlineSubsystemAccelByte]category. This configuration is intended for tutorial purpose. In the real game, you might want to set this value to more than 0.[OnlineSubsystemAccelByte]
bEnabled=true
LoginQueuePresentationThreshold=0 -
Build the project and make sure there's no error.