ユーザーにロールを割り当てる
Overview
This article contains information on how to use AccelByte Gaming Services (AGS) Admin Portal to assign a role to a user. You can do this from either the Admin Management or Roles page.
Prerequisites
To assign a role in Shared Cloud, you need to have:
- Admin Management menu in the Studio Namespace
- Studio Admin or Game Admin role in your account
-
You have created at least one role in your environment.
-
You have access to the Admin Portal and have sufficient permissions for roles management.
-
In Private Cloud, make sure you have the following permissions:
Usage Resource Action Create Role ADMIN:ROLECreate Add Role Permissions ADMIN:ROLEUpdate Invite User Admin ADMIN:NAMESPACE:{namespace}:USER:INVITECreate Admin Add User's Role ADMIN:NAMESPACE:{namespace}:ROLE:USER:Update
Assign roles to users
You can assign roles to your users from the Admin Management page and the Roles & Permissions page.
From the Admin Management page
- AGS Shared Cloud
- AGS Private Cloud
-
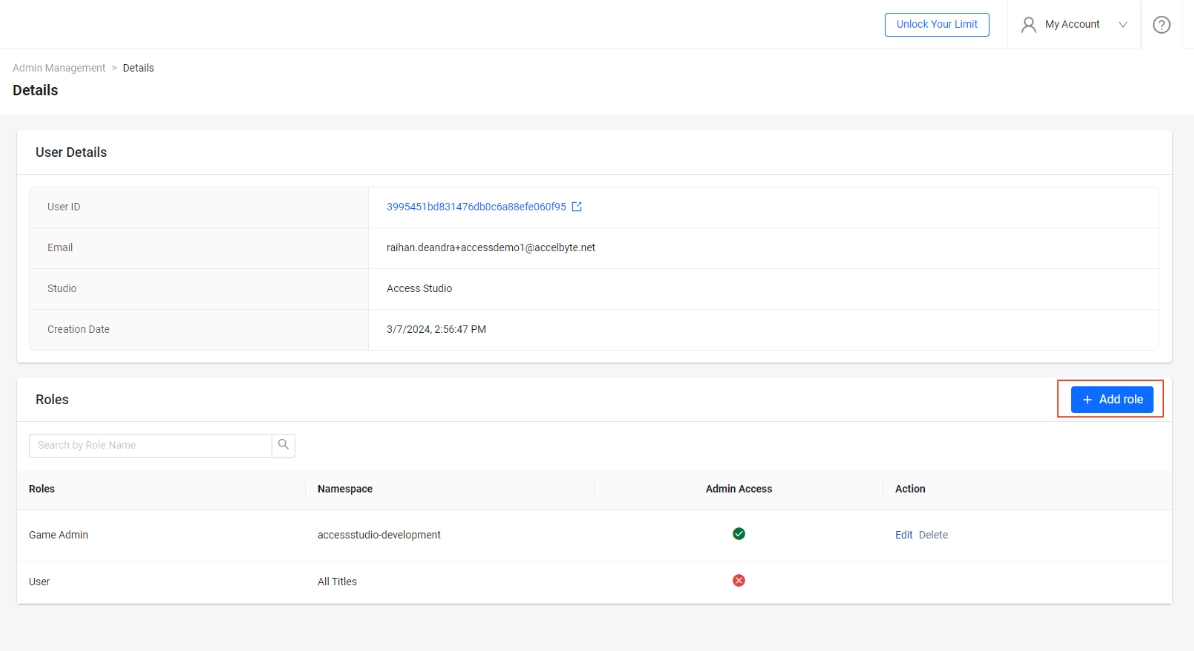
In the Admin Portal, go to your studio namespace. Go to Admin Task > Admin Management. Find the role that you want to add permissions to and click View next to it.
-
On the Details page, click Add role.
-
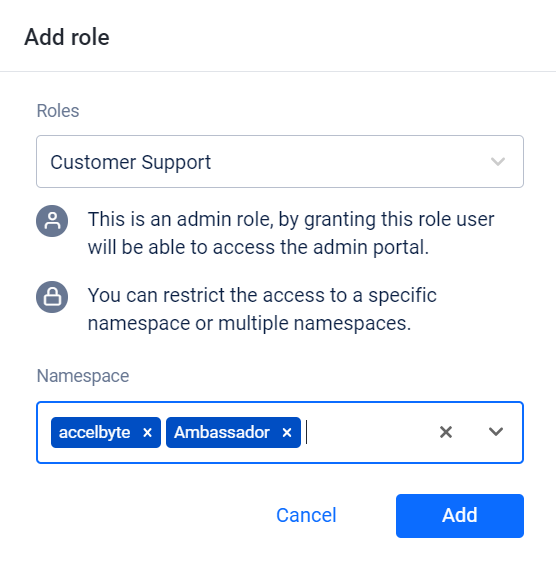
On the Add Role form, fill in the fields with the following information:
- In the Role field, you can select one of the following roles:
Studio Admin,Game Admin, orView only.- If the account already has one of the roles, then that role will not be shown. For example, if the account you want to change has a
Game Adminrole, then there will be two options for you:Studio AdminorView only. - If your account is granted a
Game AdminorView onlyrole, then theStudio Adminoption will not be shown.
- If the account already has one of the roles, then that role will not be shown. For example, if the account you want to change has a
- In the Namespace field, choose the game namespace(s) you want to grant to the chosen role.
- If you choose
Studio Namespace, the Game Namespace field will not be shown, as a studio namespace can access all game namespaces.
- If you choose
- In the Role field, you can select one of the following roles:
-
Click Add after you complete the form and the role on the account will be updated.
-
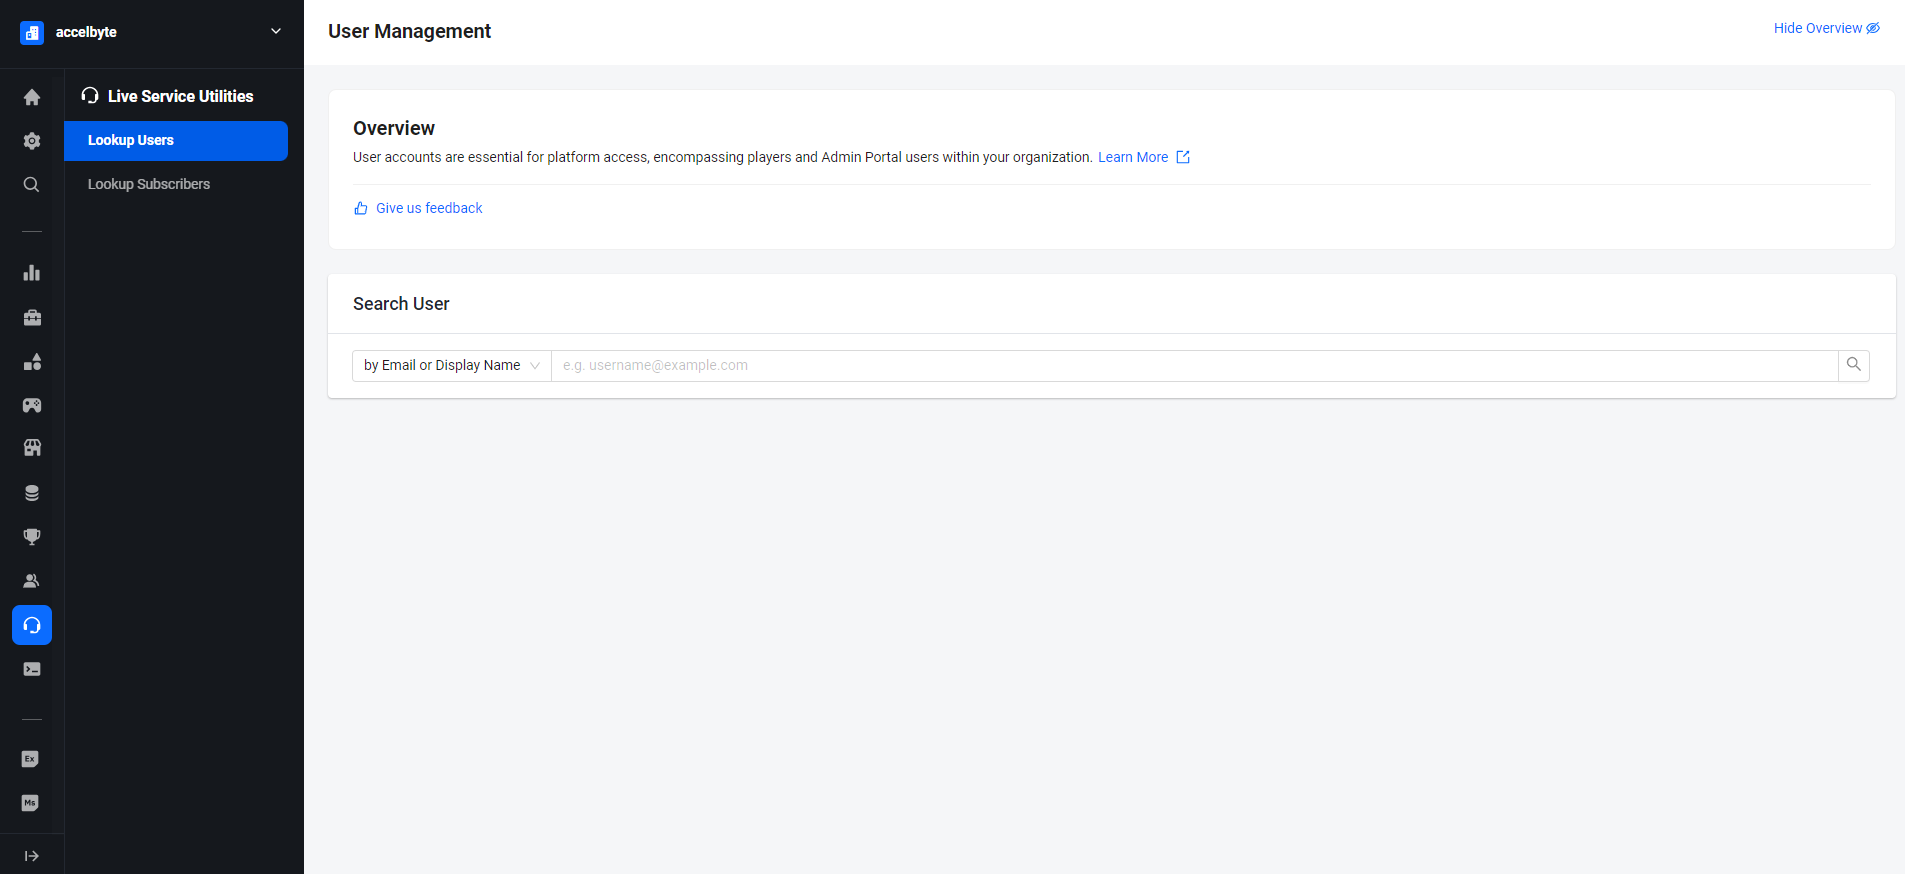
In your publisher namespace, go to Admin Task > Admin Management.
-
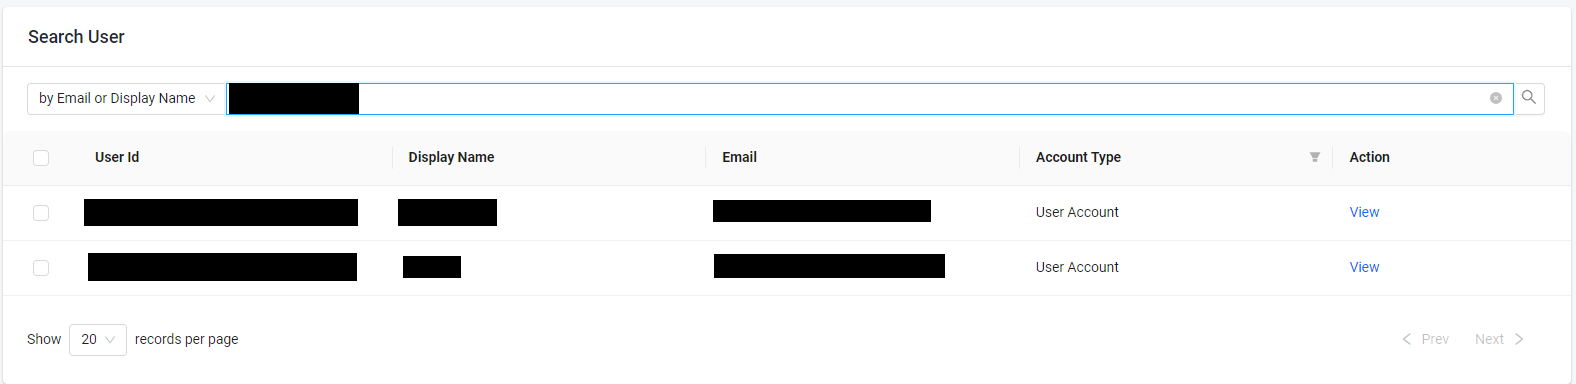
On the Admin Management page, search for the user account that you want to assign a role to.

-
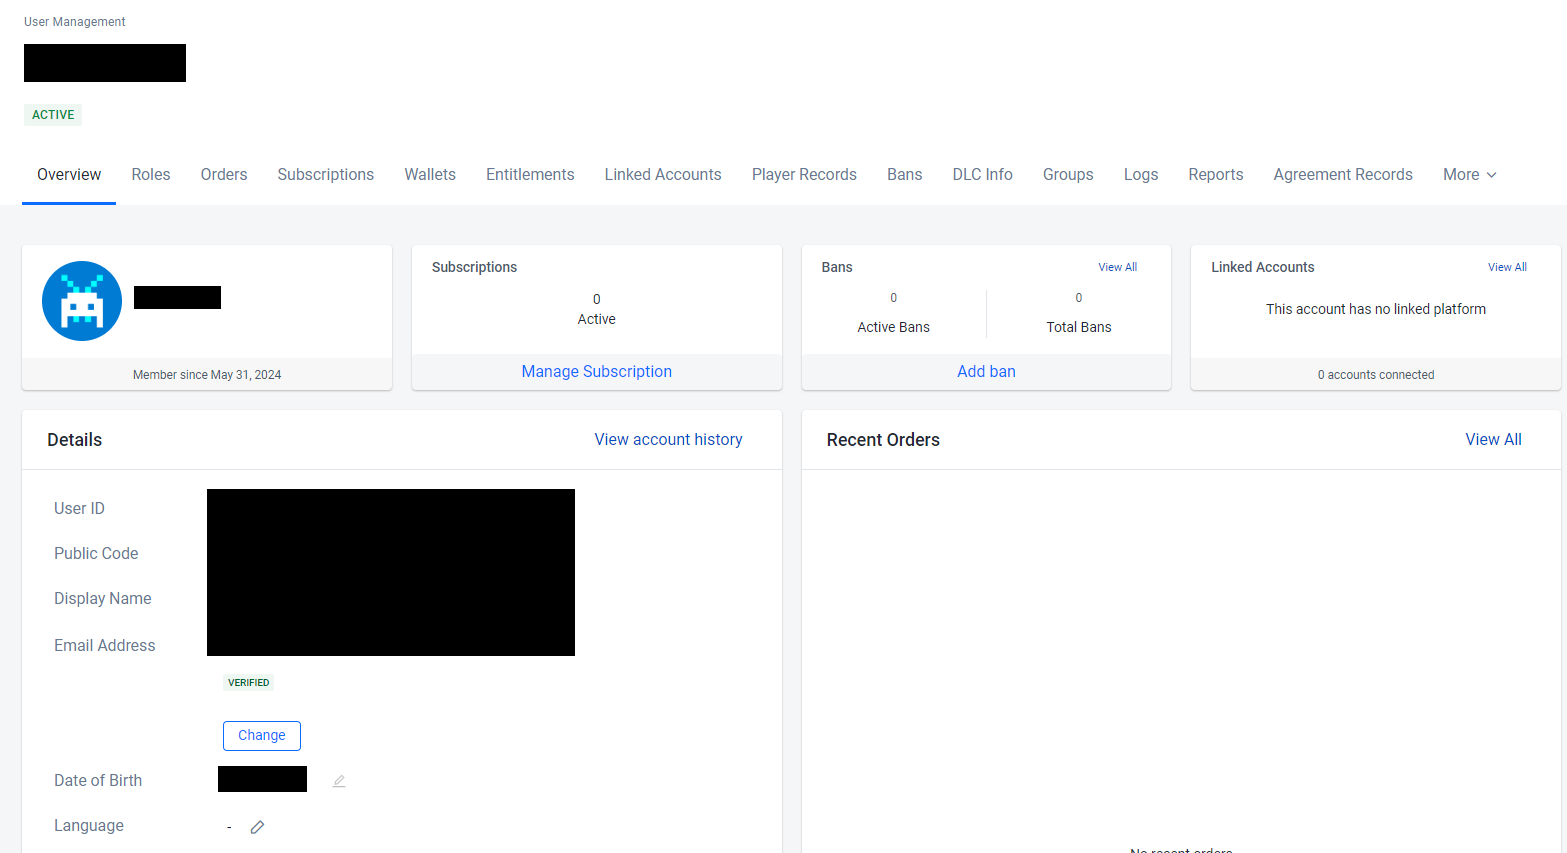
Browse the search results to find the account you're looking for and click View in the Action column of the Account Listing to open it.
-
On the User Overview page, open the Roles tab at the top of the page.
-
On the Roles page, click the Add Role button.

-
On the Add Role form, fill in the fields with the following information:The Add Role form appears. Fill in the fields with the following information:
- Select the role you want to assign to the user from the Roles dropdown menu.
- If you haven't configured the role to enable access to all namespaces, the Select Namespace field appears, where you can choose one or more namespaces. These namespaces are the only namespaces in which the user has this role. This enables you to create one role that you can use for multiple games.
-
Click Add. The system adds the role to the user.
From the Roles & Permissions page
This option is only available in AGS Private Cloud tier.
-
On the Admin Portal sidebar, go to Admin Task > Roles & Permissions.

-
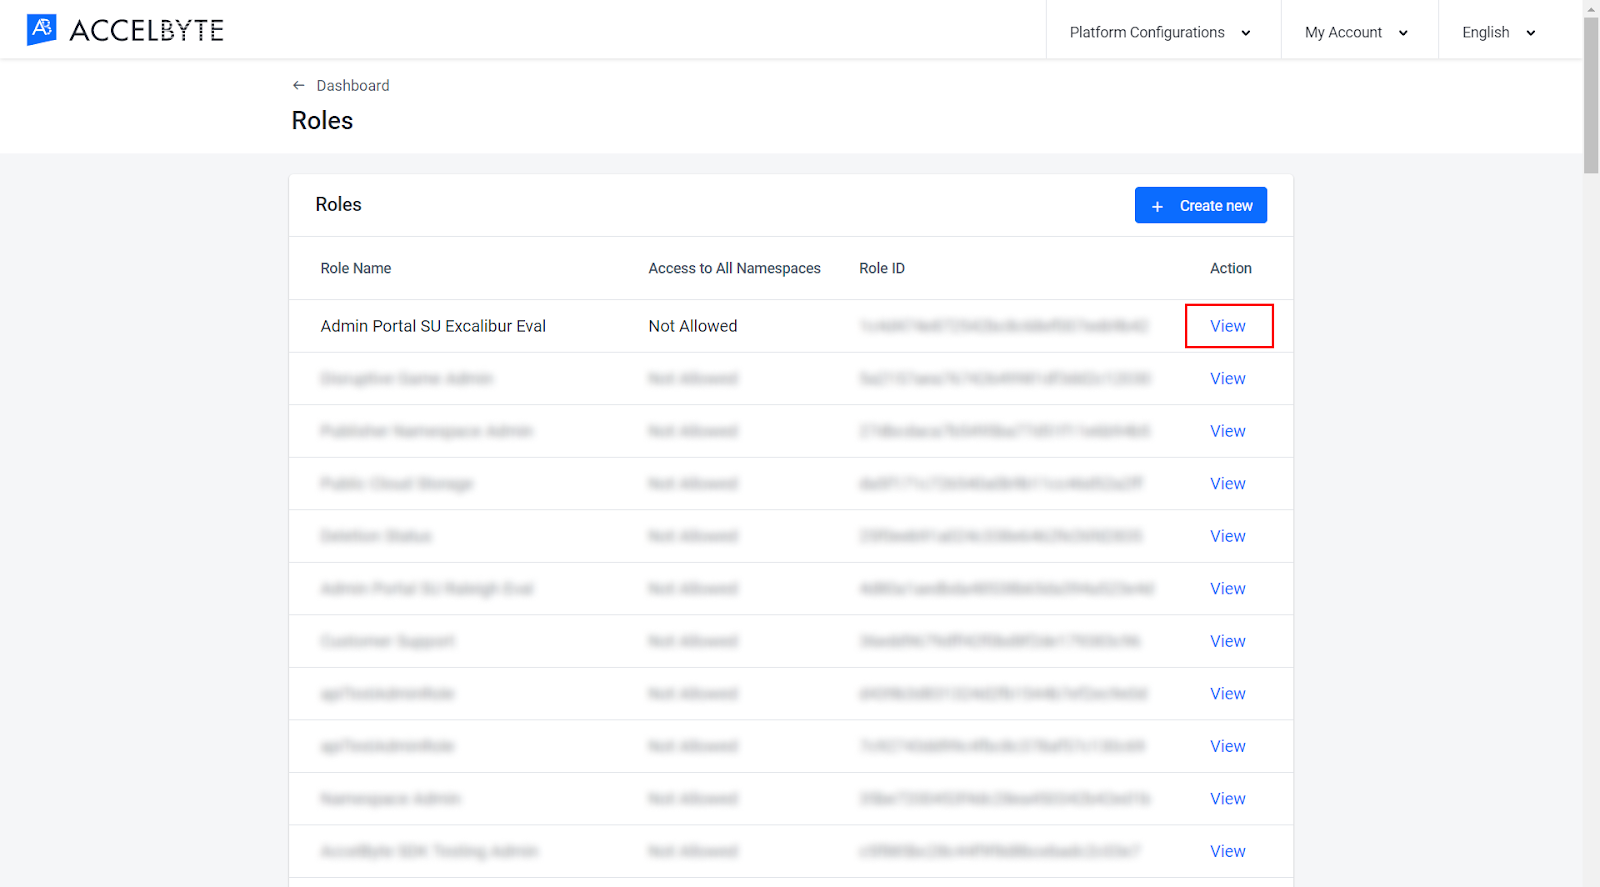
Click View next to the Role that you want to assign users to.
-
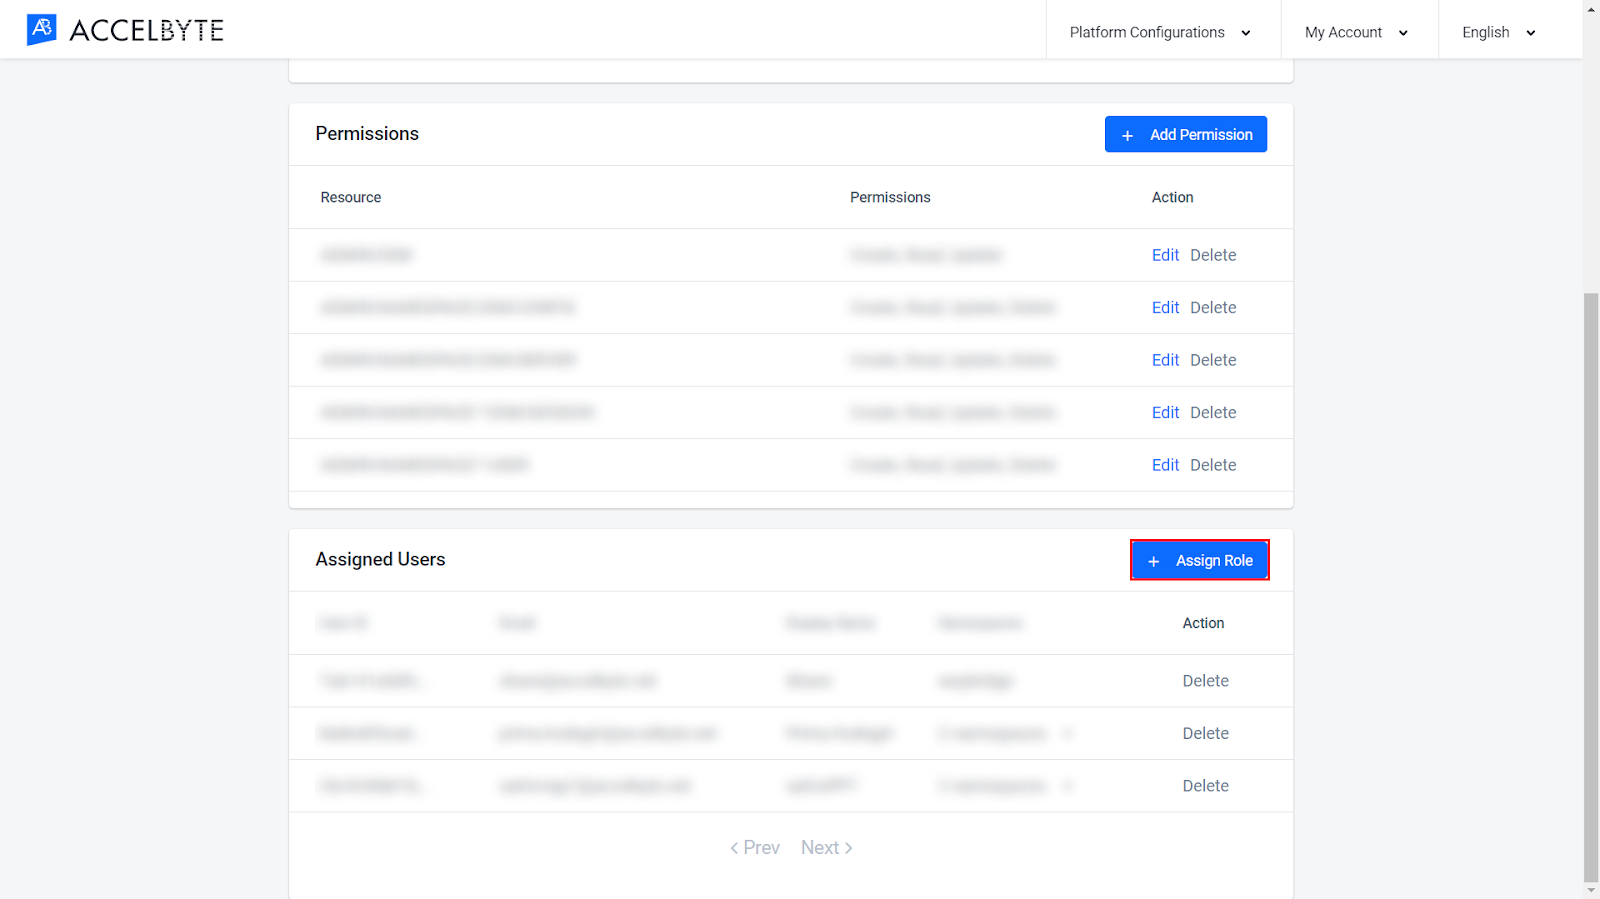
Click the Assign Role button in the Assigned Users section of the page.
-
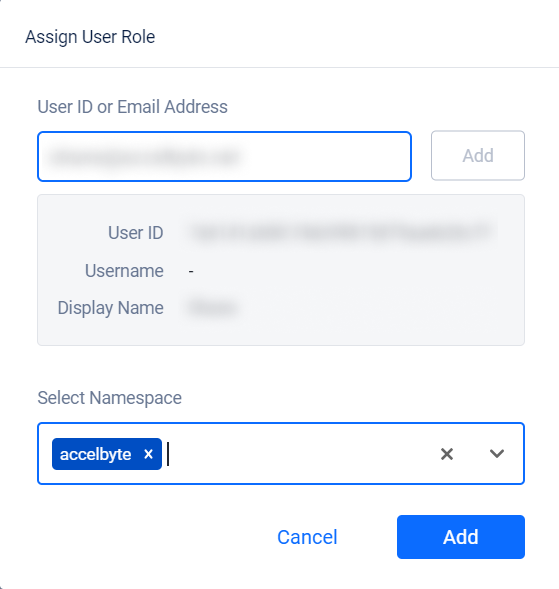
On the Assign User Role form, fill in the fields with the following information:
- In the User ID or Email Address field, type in the ID or email address of the user you want to assign the role to.
- If you haven't configured the role to enable access to all namespaces, the Select Namespace field appears, where you can choose one or more namespaces. These namespaces are the only ones in which the user has this role. This enables you to create one role that you can use for multiple games.
-
Click Add. The system assigns the user to the role.