Integrate Microsoft Azure SSO
Overview
Microsoft Azure SSO (Single Sign-on) to enable your users to use their existing Microsoft account to log in to AccelByte Development Toolkit (ADT) Web.
This guide will show you how to integrate ADT Web with Azure Active Directory.
Prerequisites
- You need access to the Azure Portal.
- You need access to ADT Web as an Administrator.
Notes and limitations
-
By default, the system assigns users the Guest permission when they log in to ADT Web using a Microsoft account. Administrators can change their roles and permissions and promote their account to a different permission.
-
We can only receive email and display names from Microsoft. Currently, we don't support reading custom permissions/custom fields from Azure Active Directory.
Support question? Contact us at adt-support@accelbyte.net.
Create the Azure App
-
Go to the https://portal.azure.com/ sign-in page.
-
Sign in to Microsoft Azure.
-
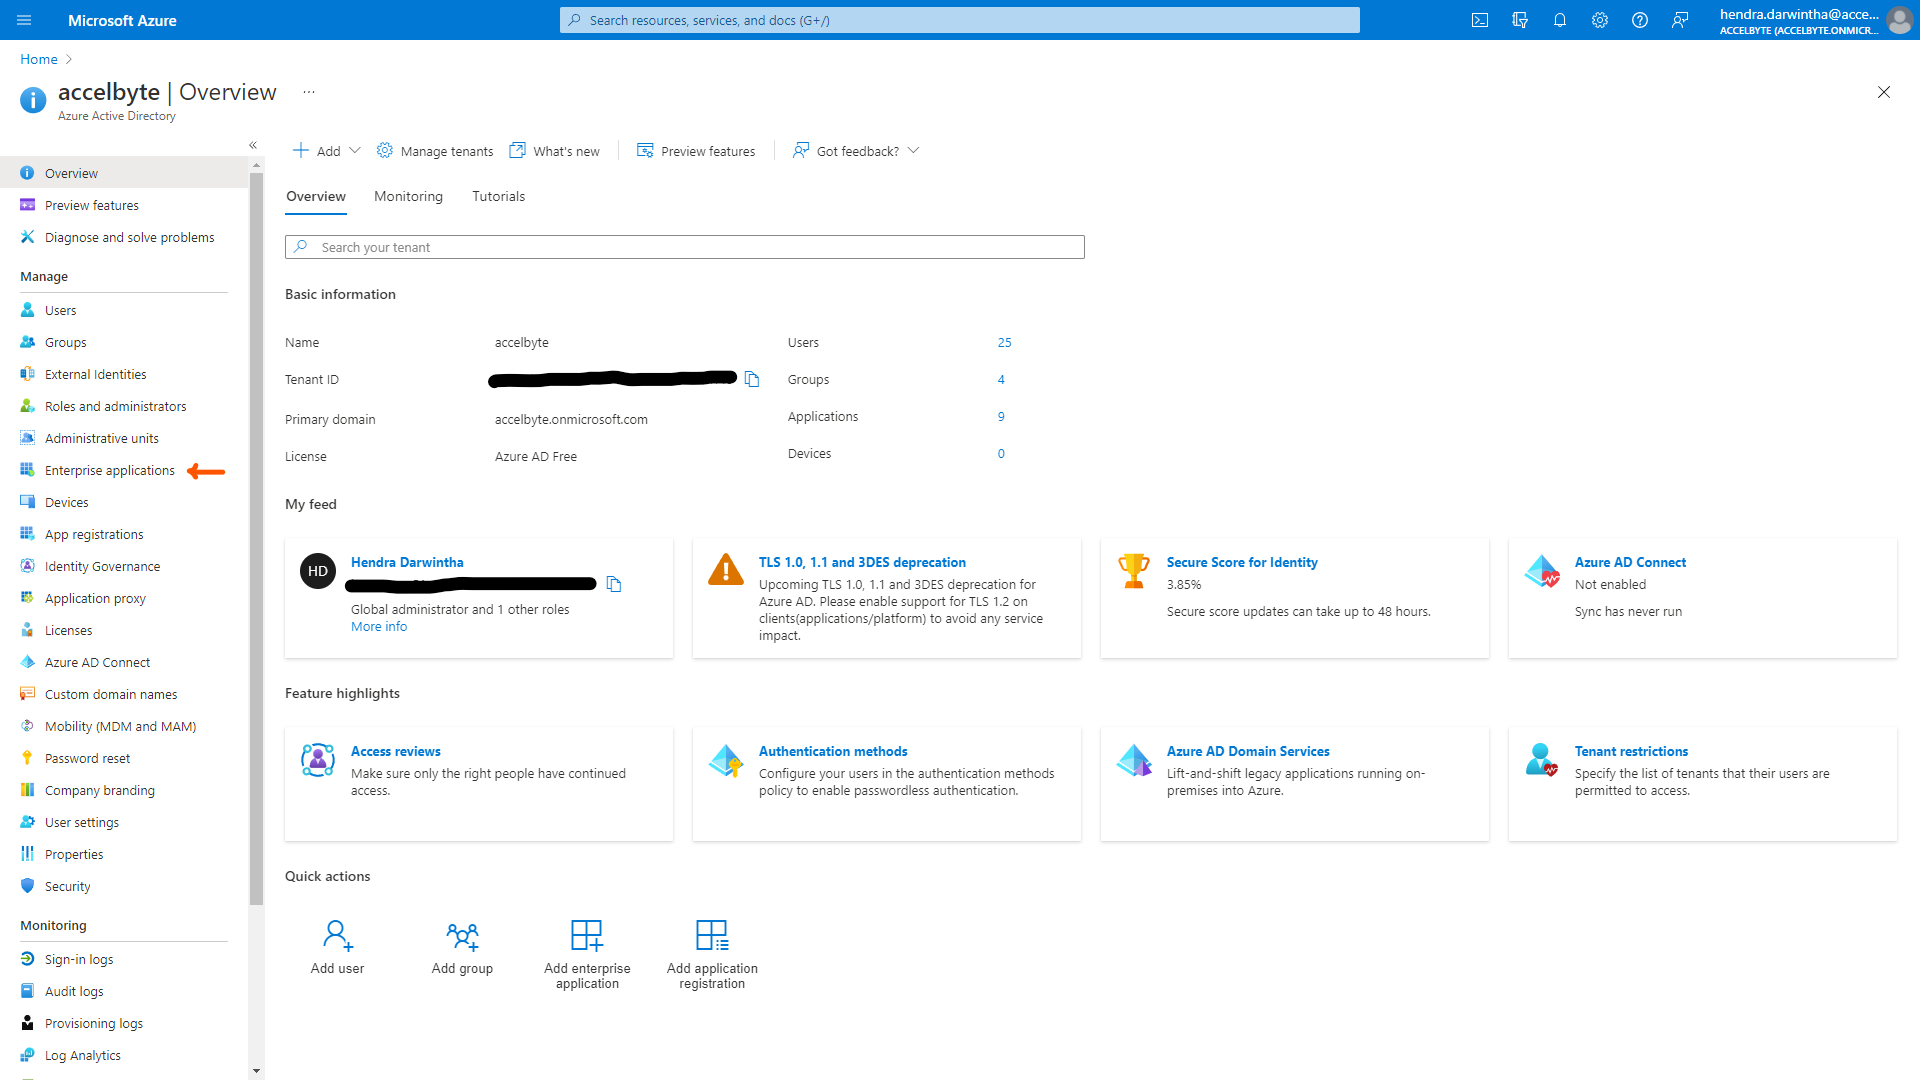
Navigate to Azure Active Directory.
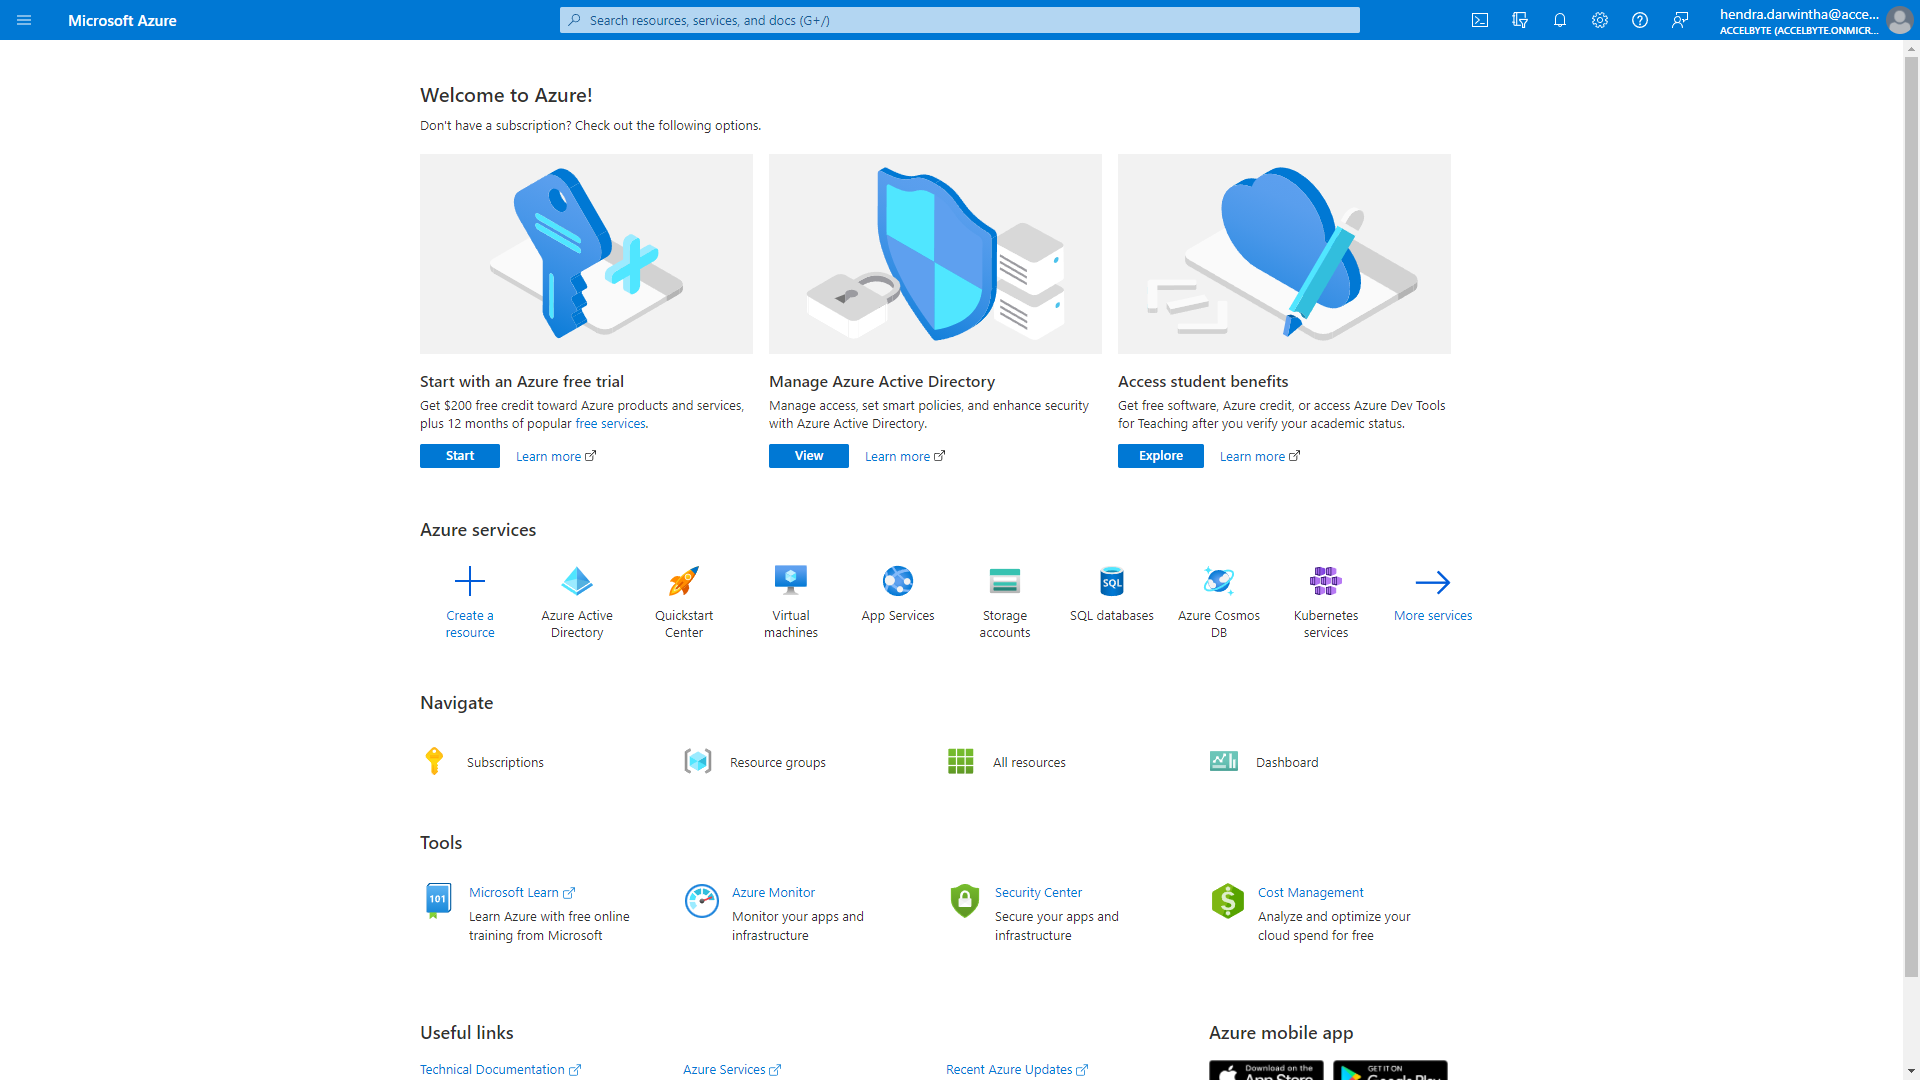
The AccelByte Overview screen displays.
-
On the left side bar, select Enterprise applications.
-
On the Enterprise applications page, click the New application button in the top left corner.
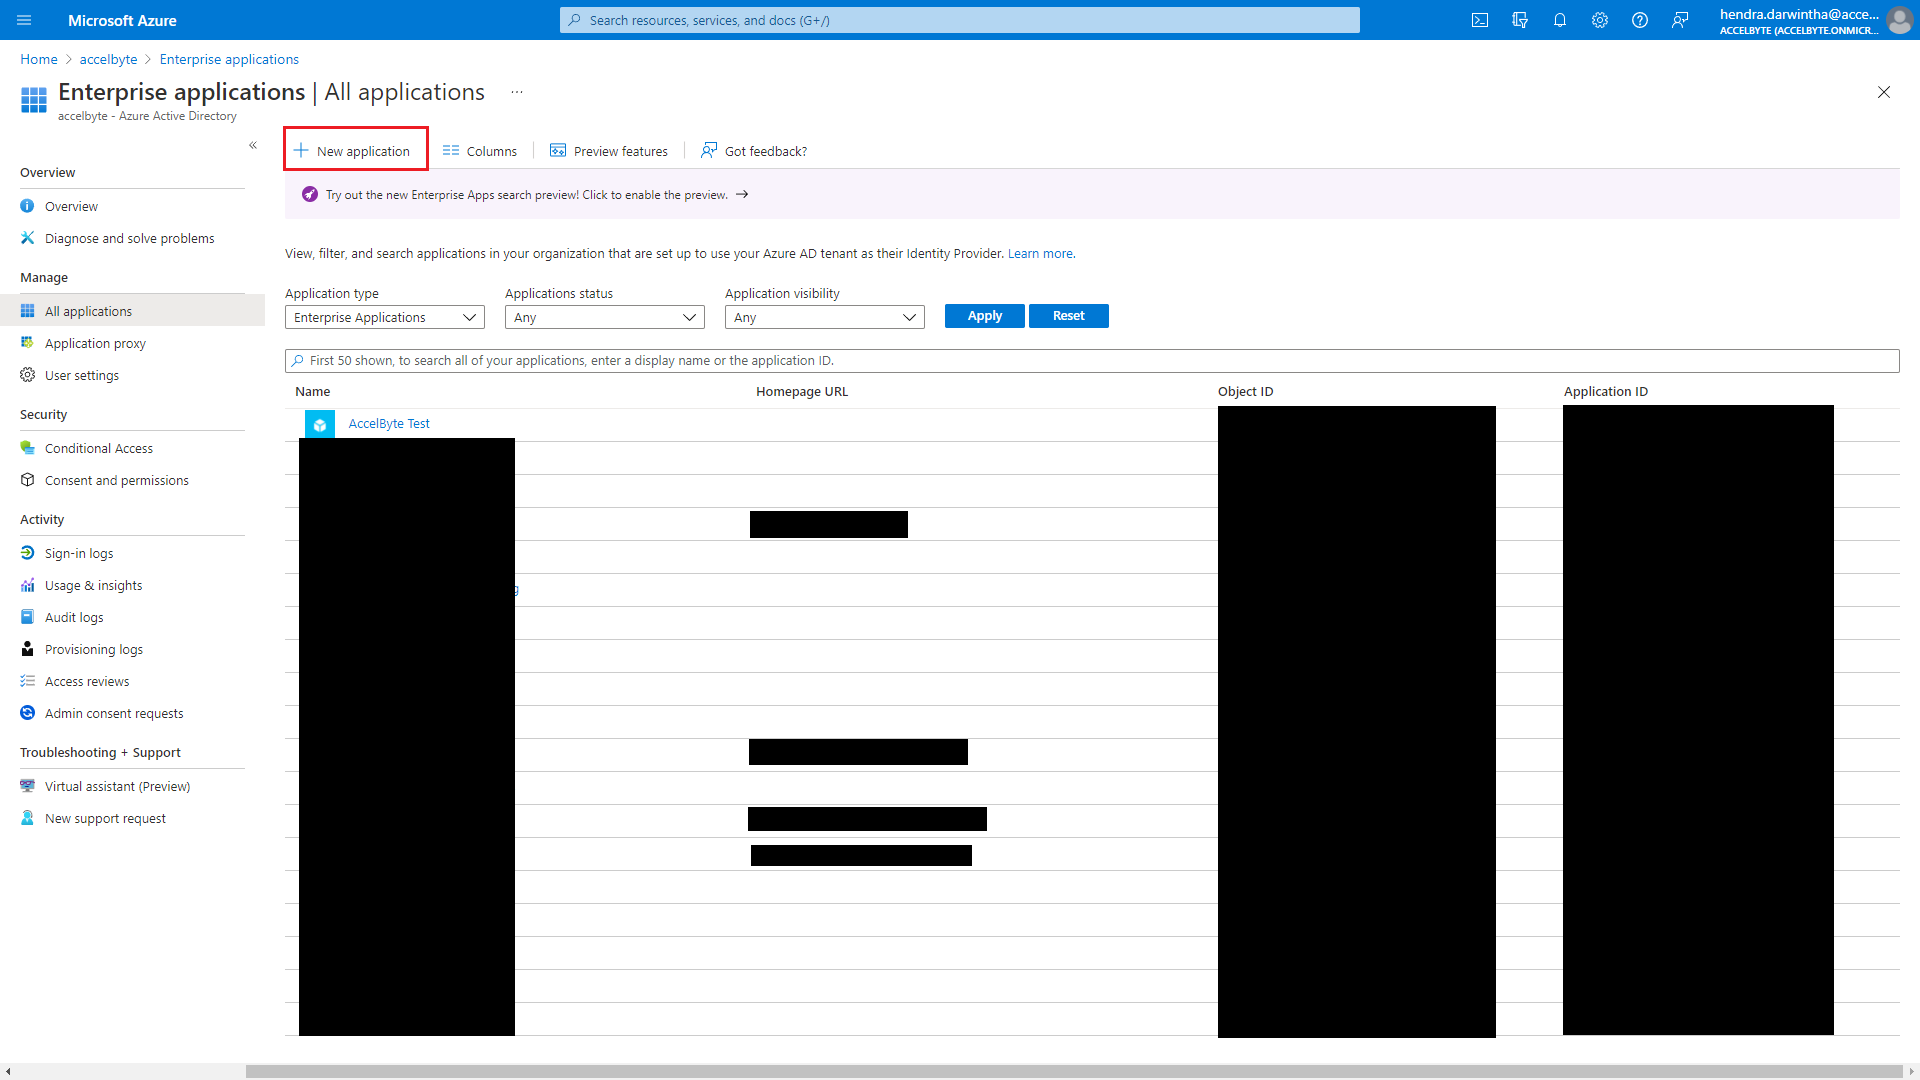
-
In the Browse Azure AD Gallery page, click Create your own application from the toolbar.
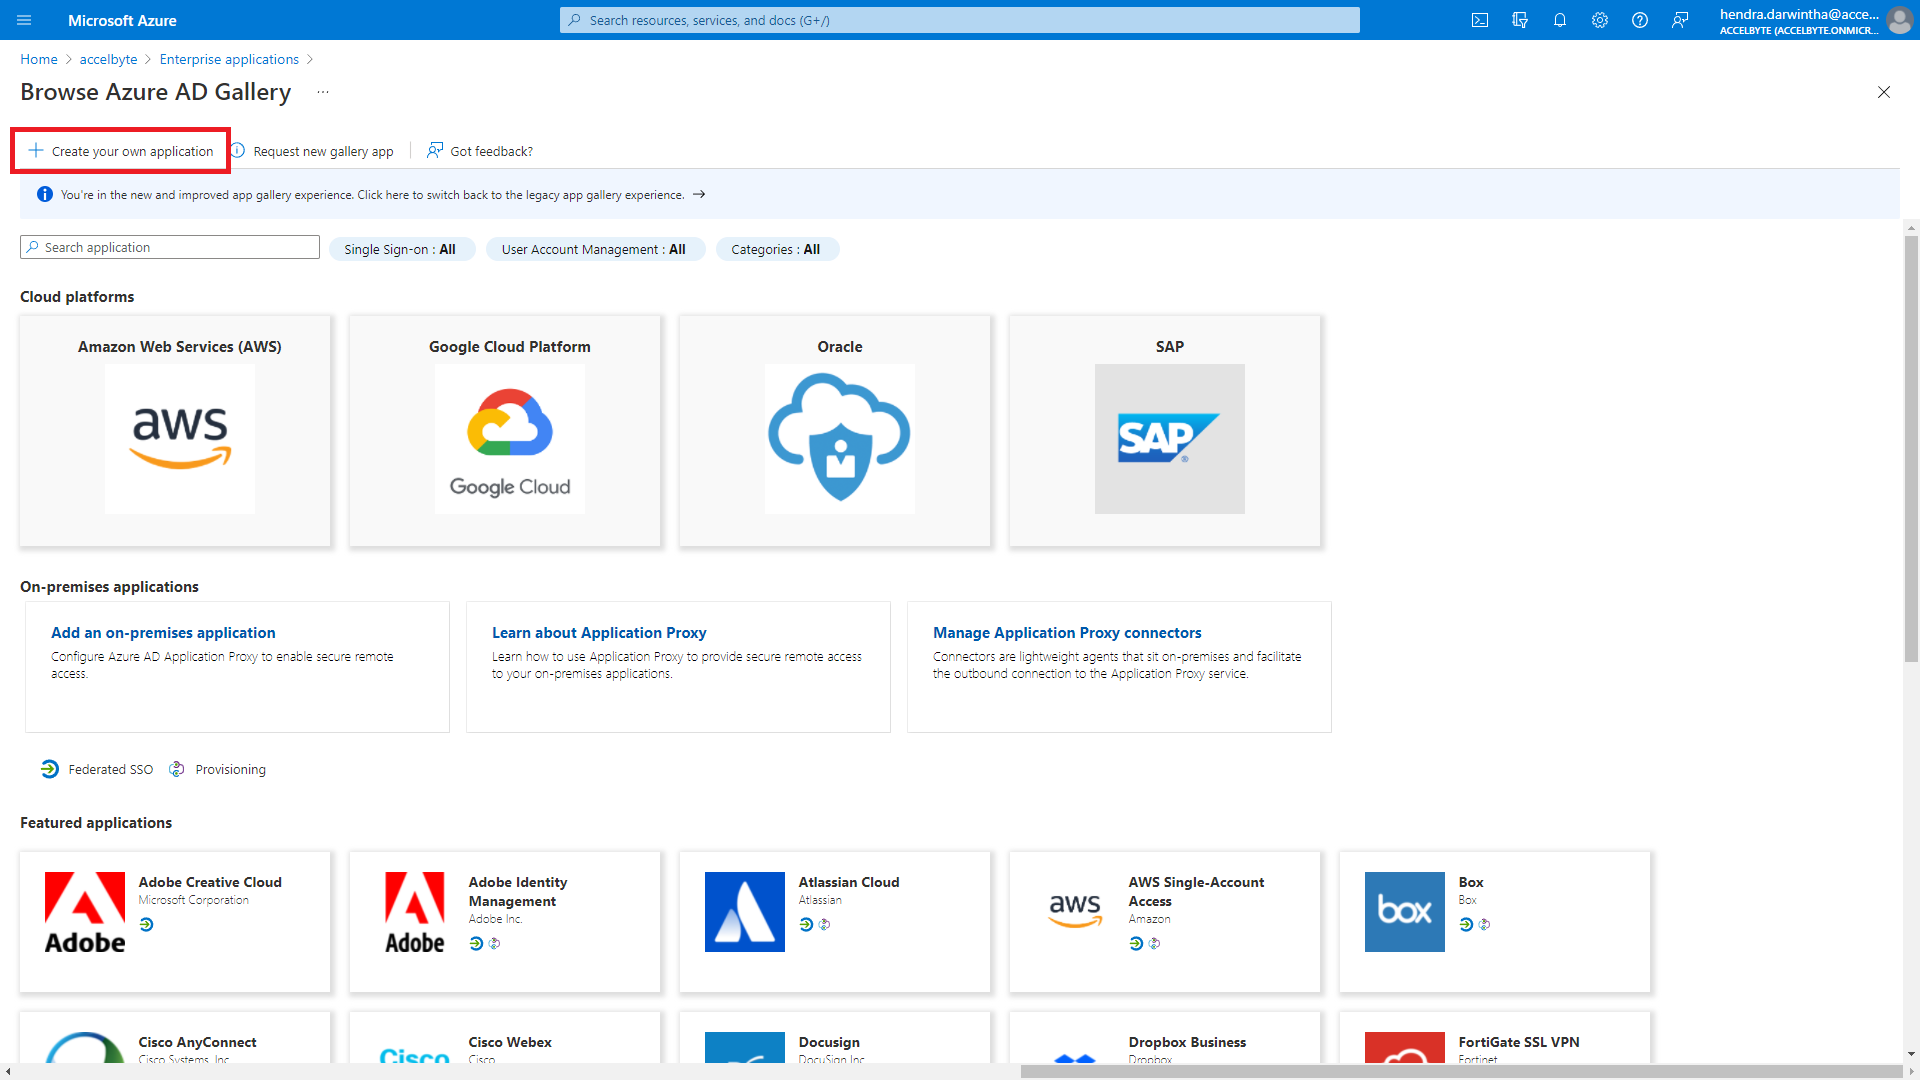
-
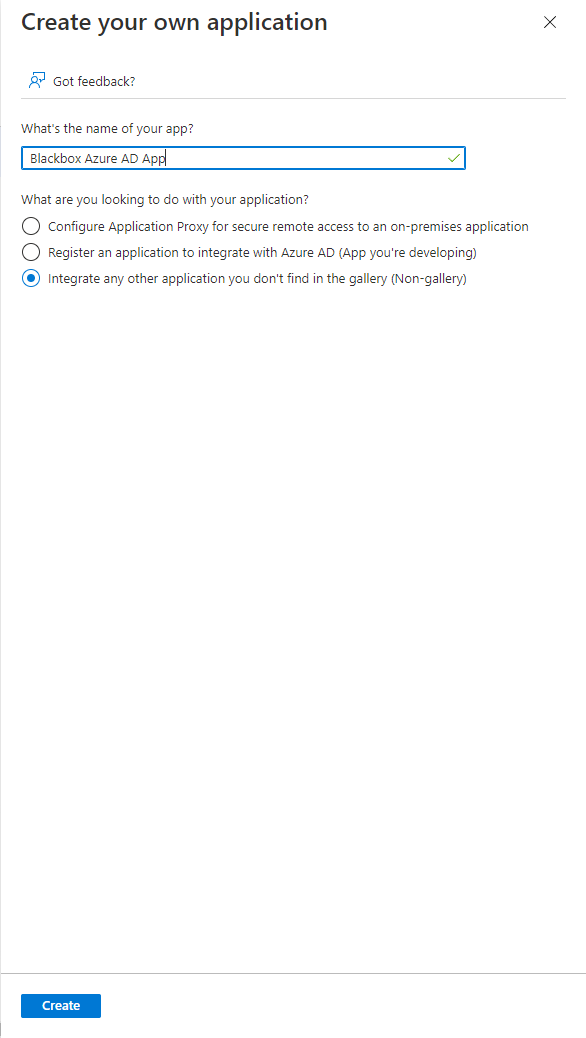
Fill in the name of your app. For example, ADT Azure AD App.
-
Select the default option for the What are you looking to do with your application? option.
-
Click the Create button at the bottom of the screen.
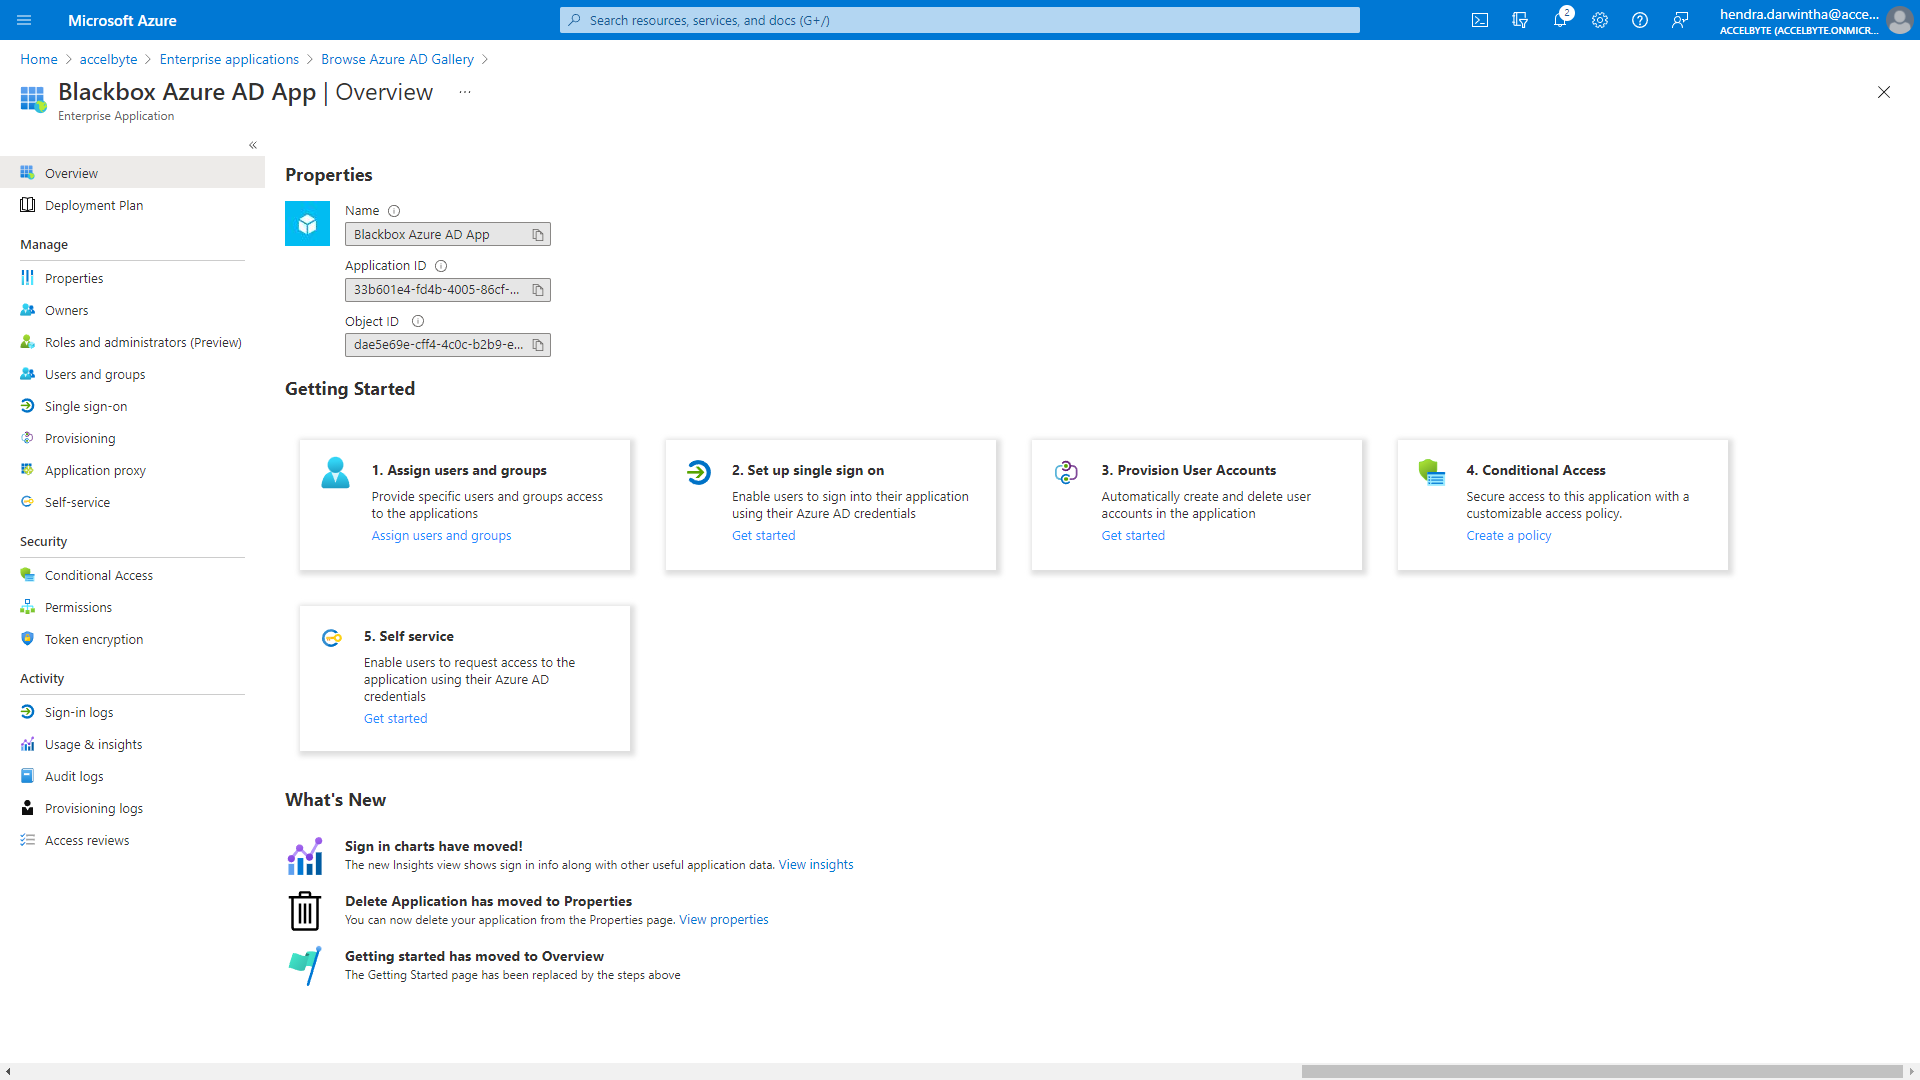
Your Azure App is successfully created. The default page for your app displays.
Set up the SSO
Follow these steps to set up the SSO.
-
In the Overview page, click:
-
The 2. Set up single sign on box in the Getting Started section
-
The Single sign-on option from the side bar
-
-
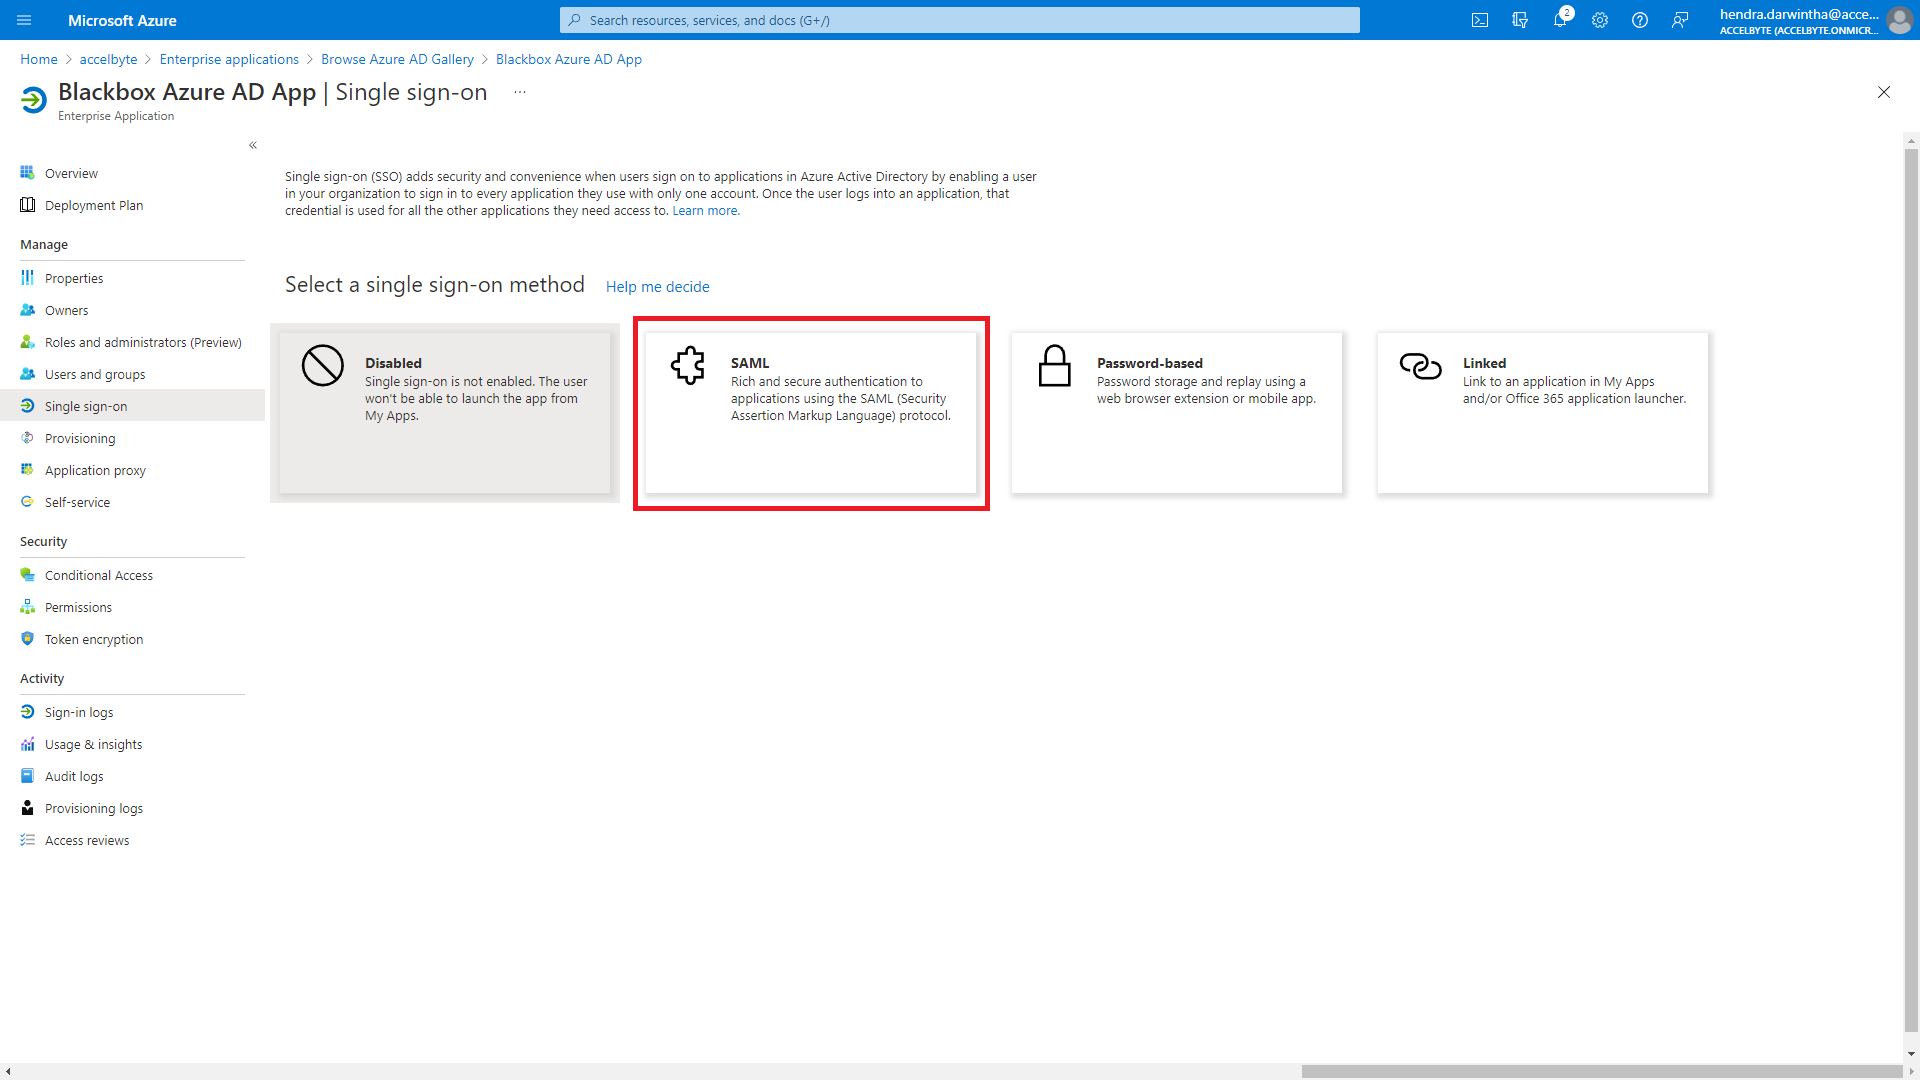
On the Single sign-on page, select SAML as the single sign-on method.
Configure SAML-based sign-on
These steps guide you through setting up the SAML-based sign-on.
-
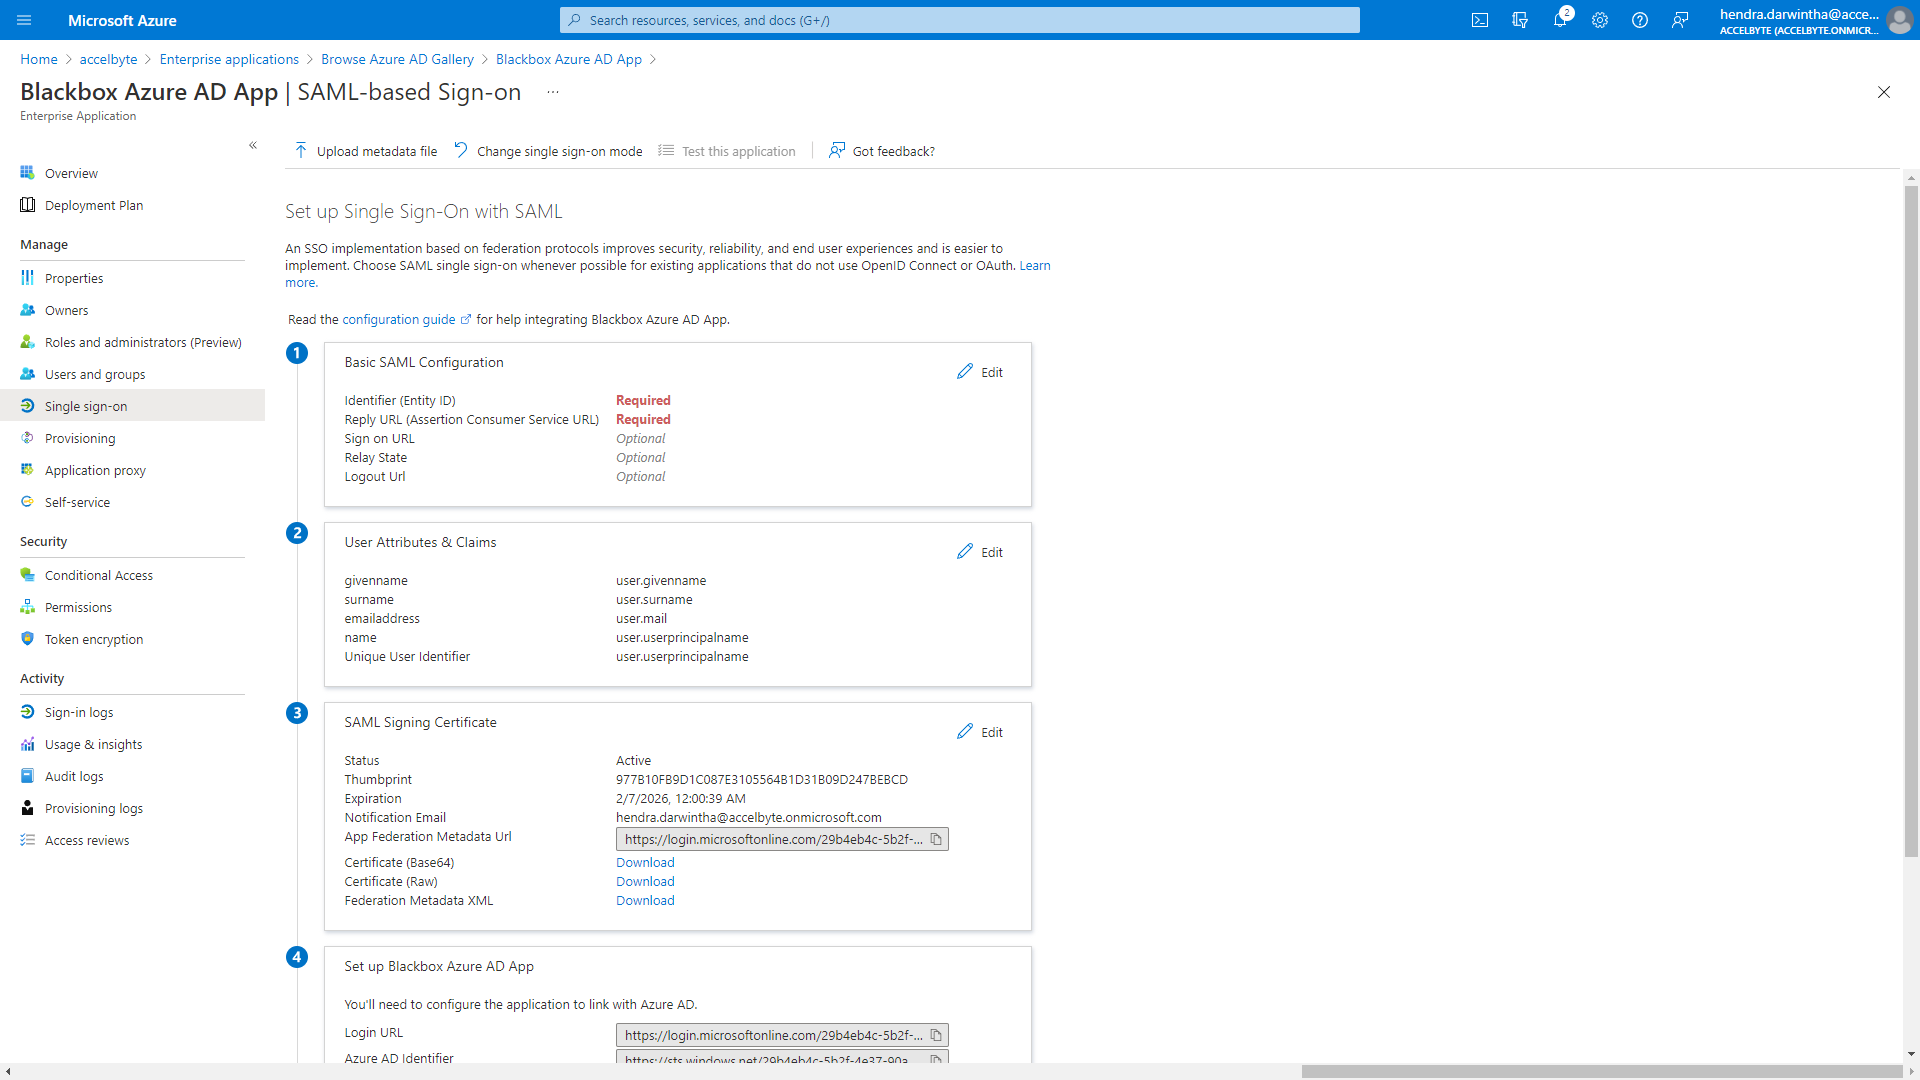
In the Basic SAML Configuration panel, click the Edit button.
-
In the Identifier (Entity ID) section, replace the default text with your own Entity ID. For example, ADTAzureID.
infoYou need to save your Entity ID for the next part of the configuration on the ADT side.

-
Do not close the current page. You will need to log in to ADT Web to get the information needed to fill in the fields on this page.
Configure the SSO in ADT Web
Follow these steps:
-
In a new browser tab, log in to ADT Web as an Administrator
-
In the Game Dropdown menu, select your namespace.
-
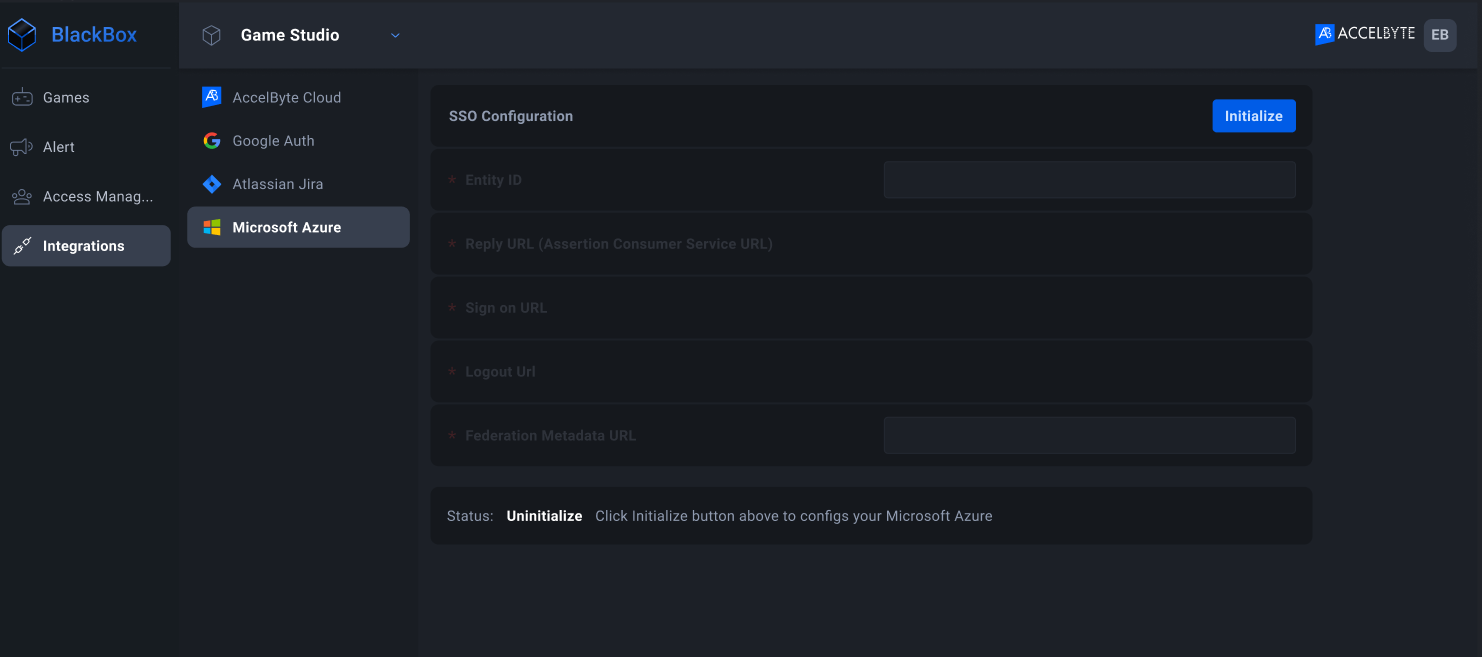
On the sidebar, select Integrations, then select Microsoft Azure.
-
Click Initialize to configure the SSO.
-
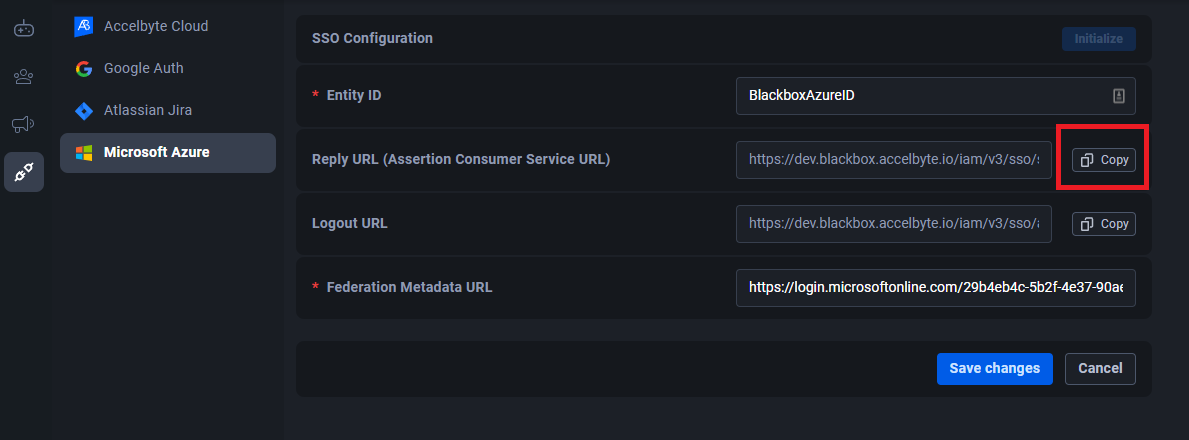
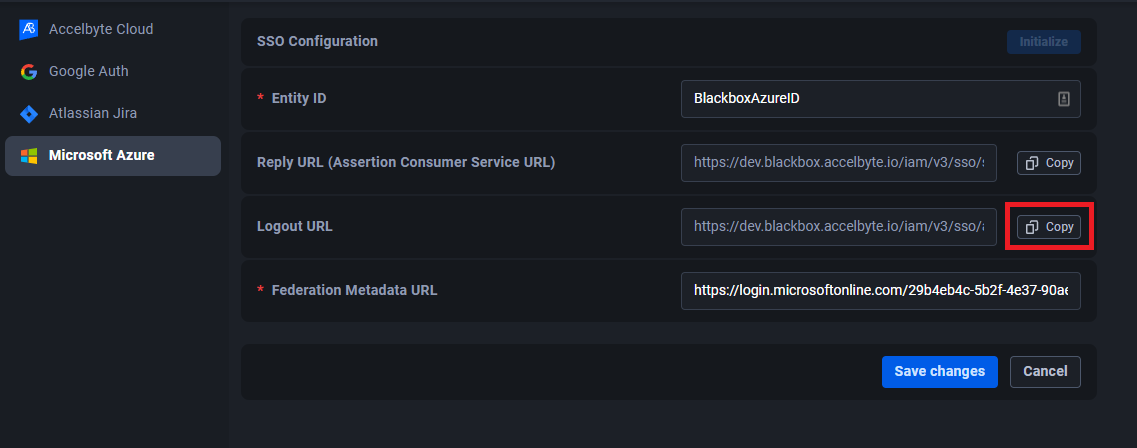
In the Entity ID field, type the value you created on the SAML-based sign-on page. In this example, we used BlackboxAzureID.
-
Click the Initialize button to auto-complete the ReplyURL and Logout URL fields.
-
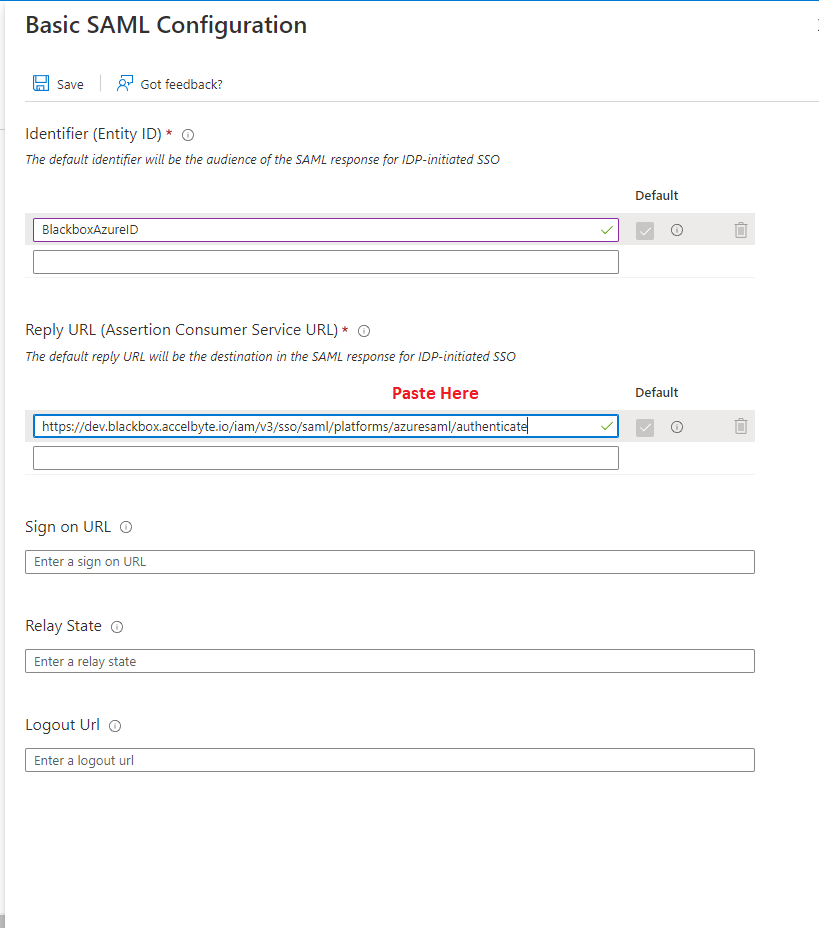
Copy the value from the Reply URL (Assertion Consumer Service URL).
-
Go to the Basic SAML Configuration page and paste the value into the Reply URL (Assertion Consumer Service URL) field.
-
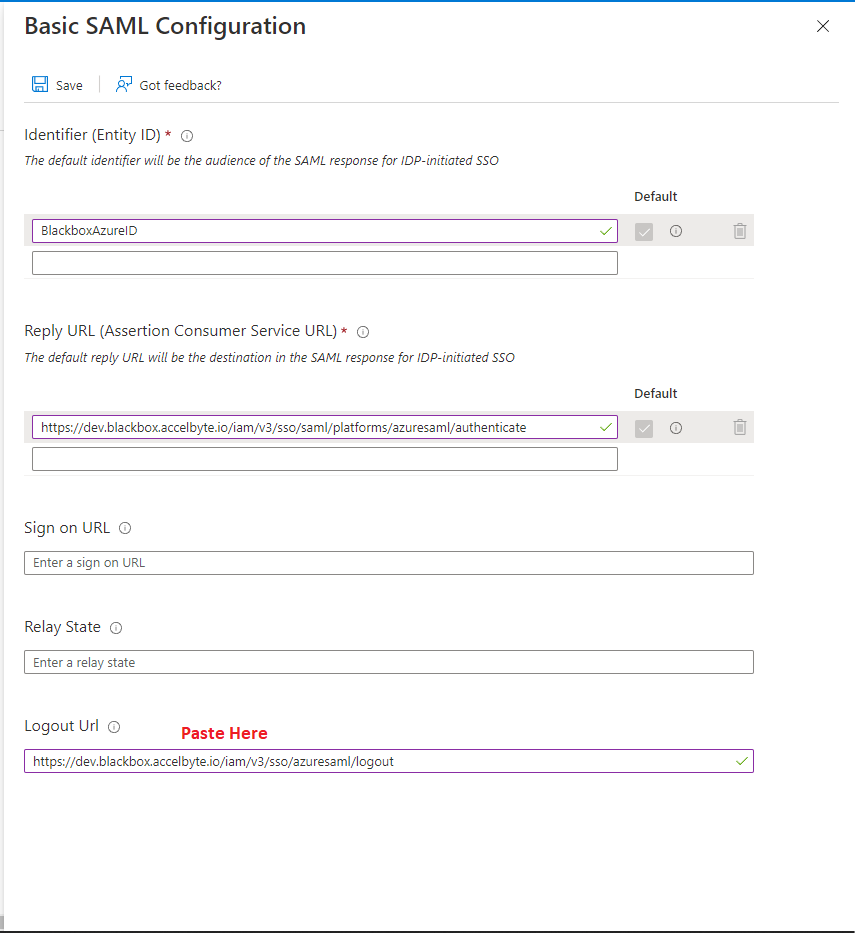
Go to ADT Web and copy the value in the Logout URL field.
-
Go to the Basic SAML Configuration page and paste the value into the Logout URL field.
-
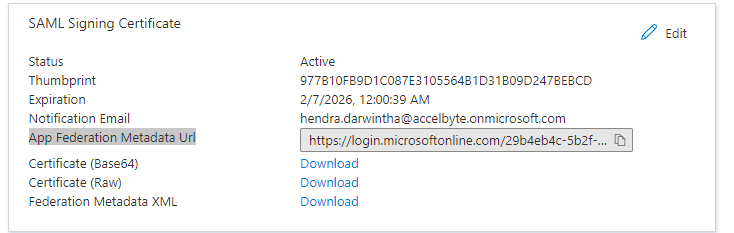
Go to the SAML Signing Certificate section.
-
Copy the App Federation Metadata Url value.
-
Go to ADT Web and paste the value into the Federation Metadata URL field.

-
Click Save changes.
Integration with ADT Web is now complete. Next, you need to set the user up in Azure.
Assign a user
You need to add a user to the application you just created before the user can log in to ADT using their Microsoft account. In this example, we use BlackBox Azure AD App.
-
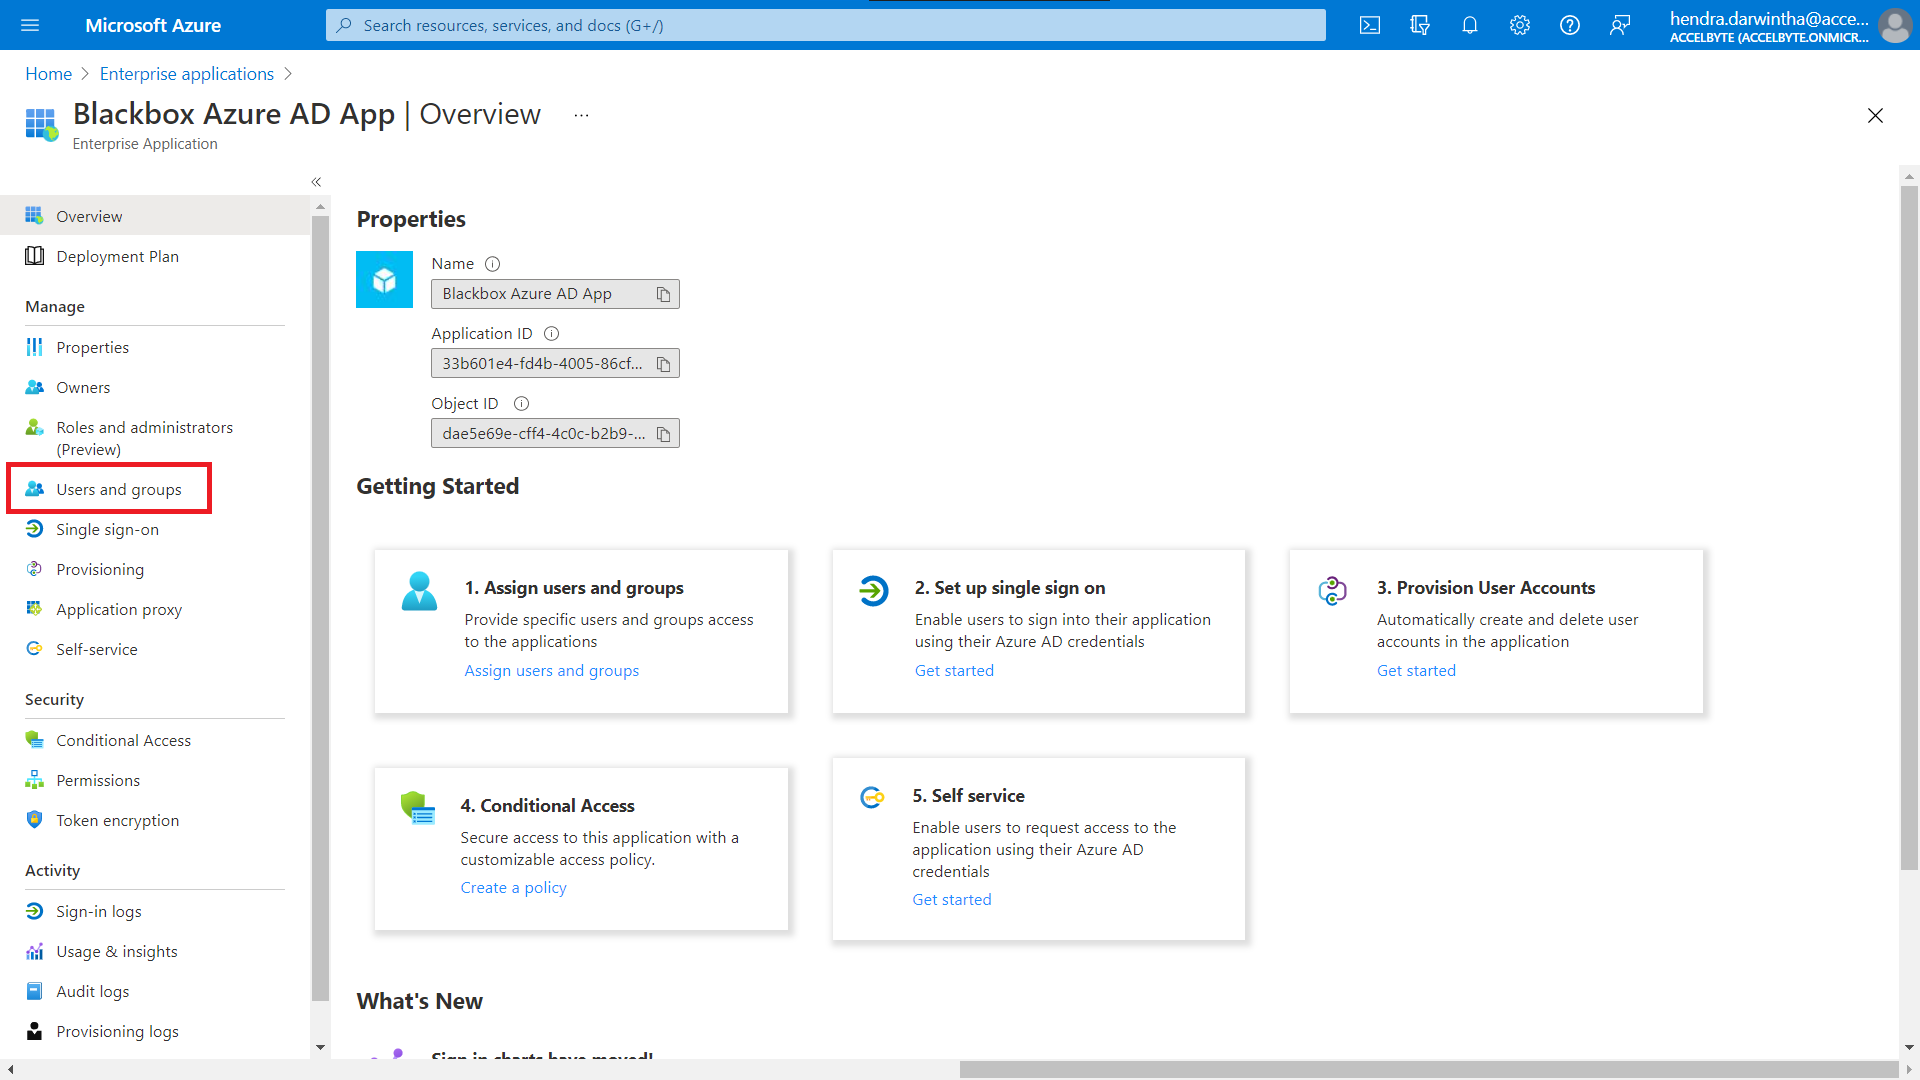
Open the Enterprise Applications screen in the Azure portal.
-
On the sidebar, select Overview, then select Users and Groups in the side bar.
-
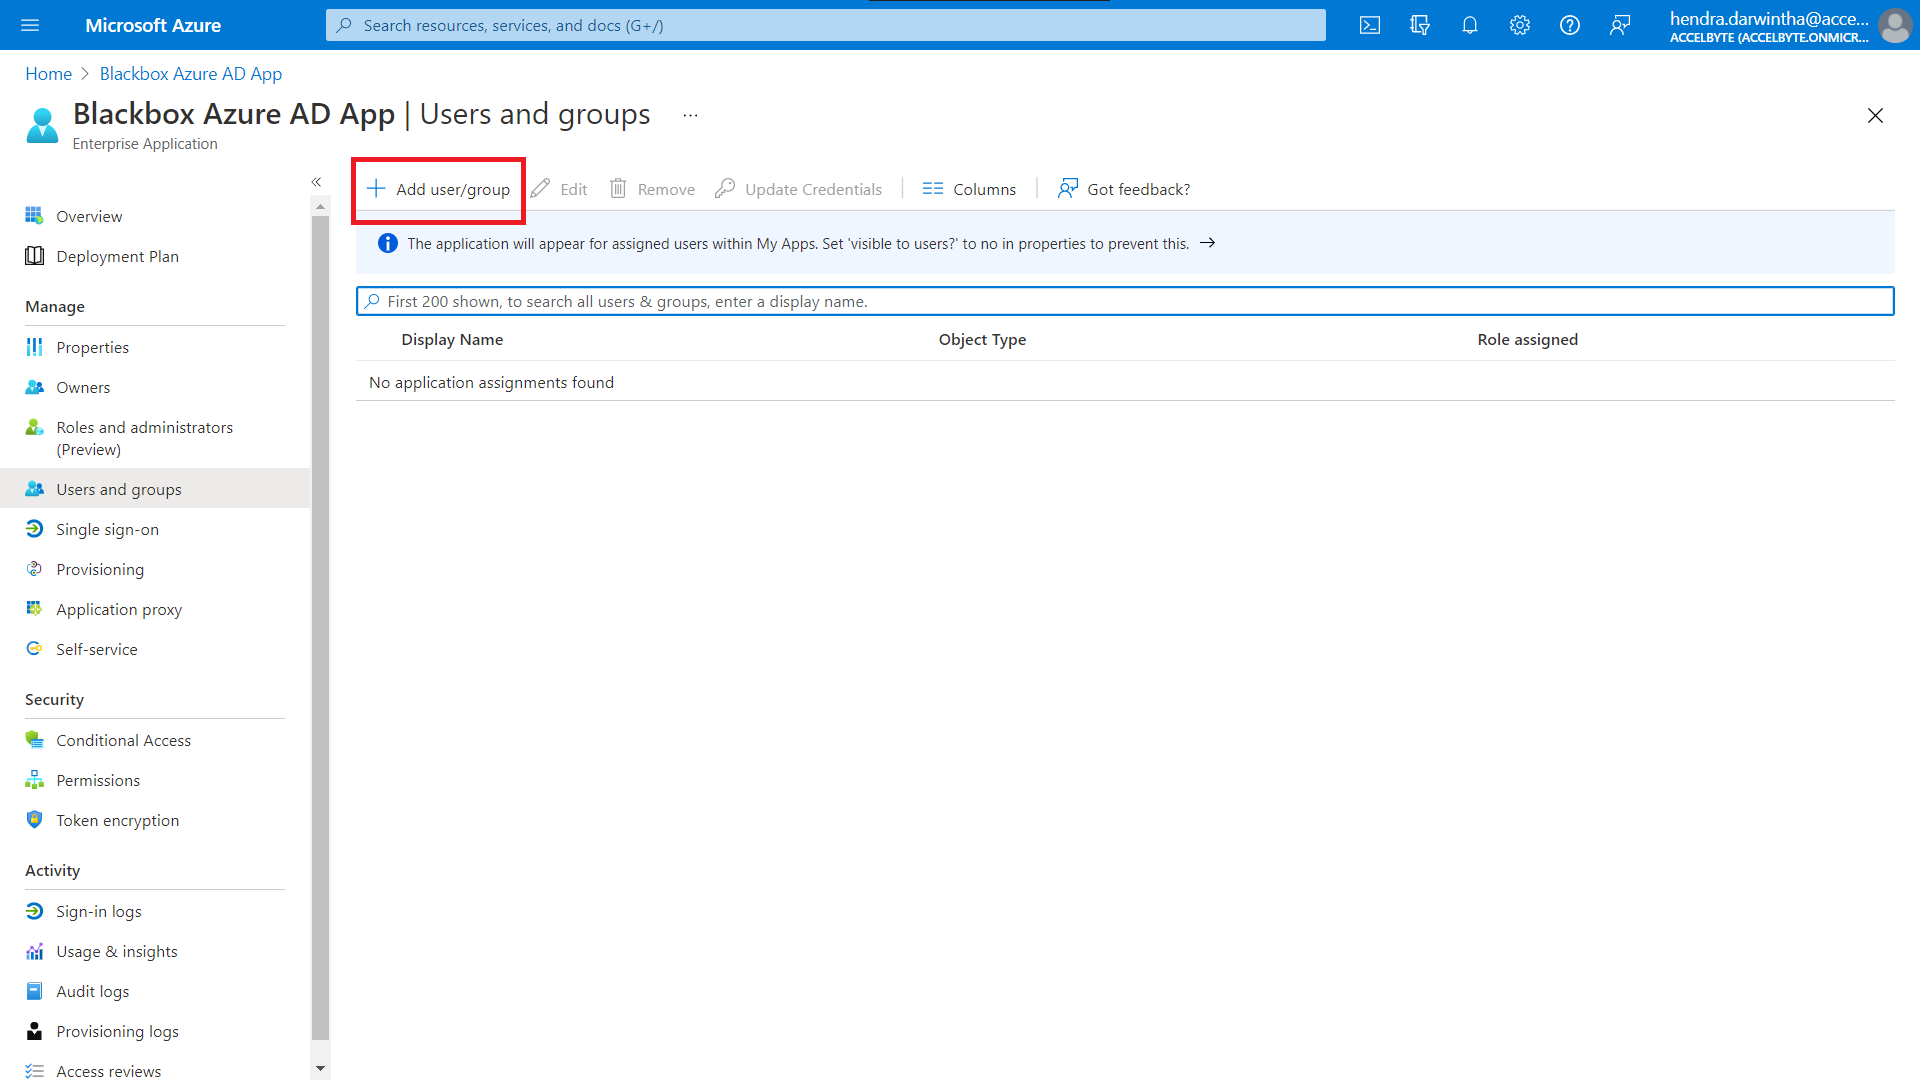
On the Users and Groups page, click the Add User/group button. This will take you to the Add Assignment page.
-
Click the Users field.
-
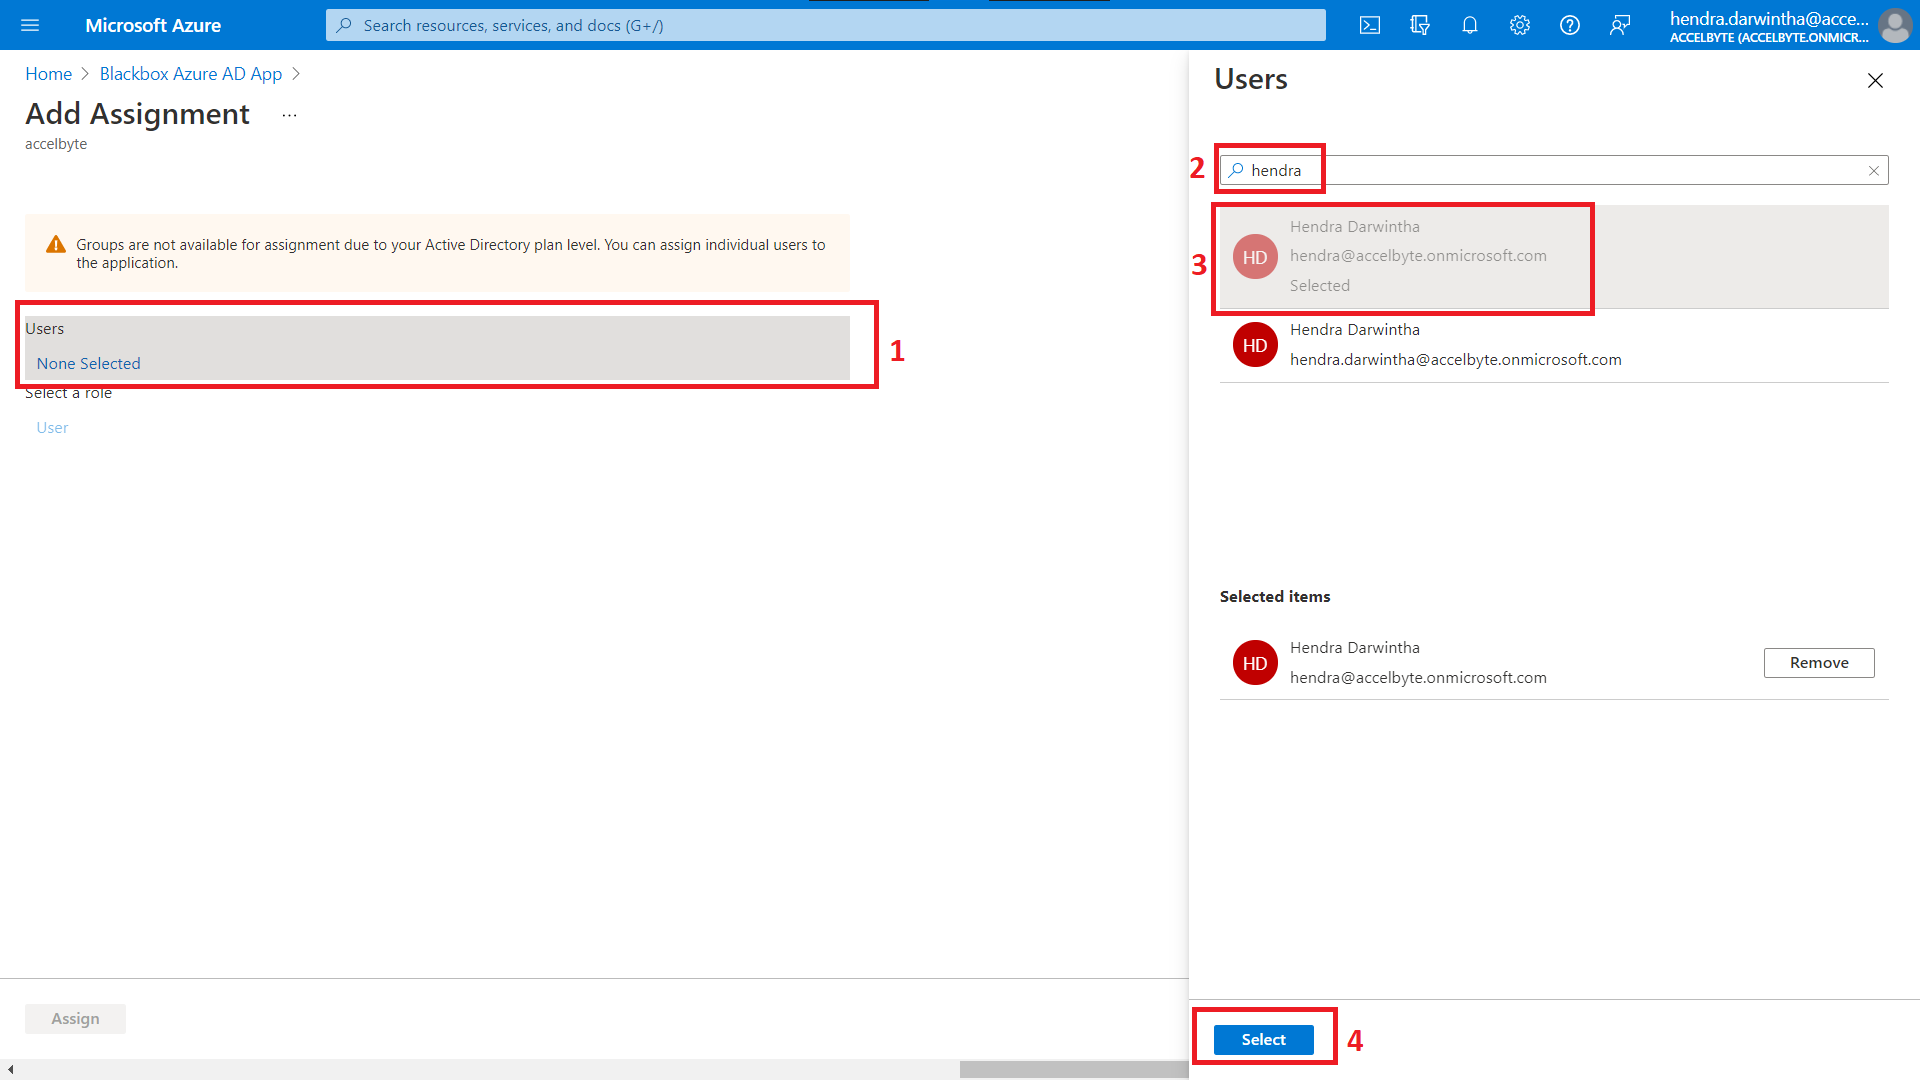
You can alternatively search for a user on the right panel.
-
Once you have found the user you want to add, click their name to add them.
-
Click the Select button.
-
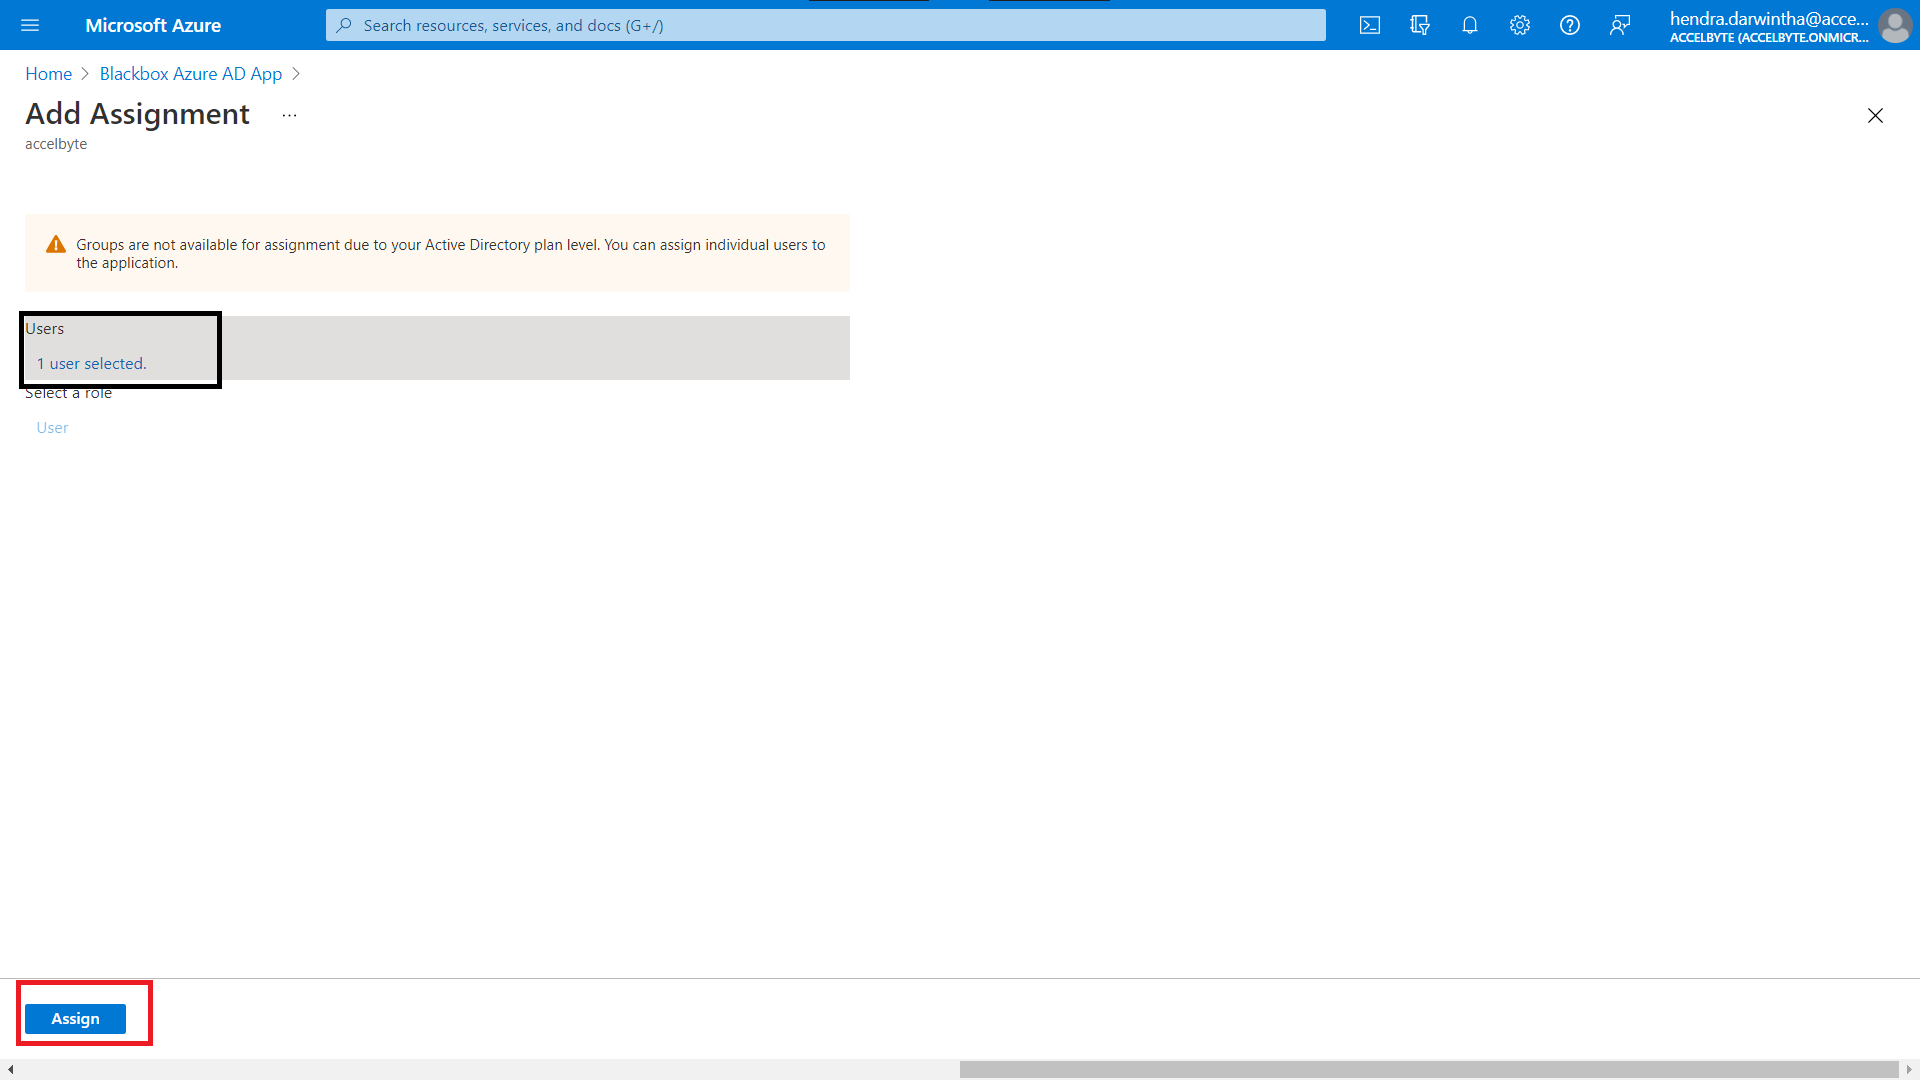
You can select more than one user at a time by repeating steps 5 to 7. The number of users you have selected is shown in the Users field.
-
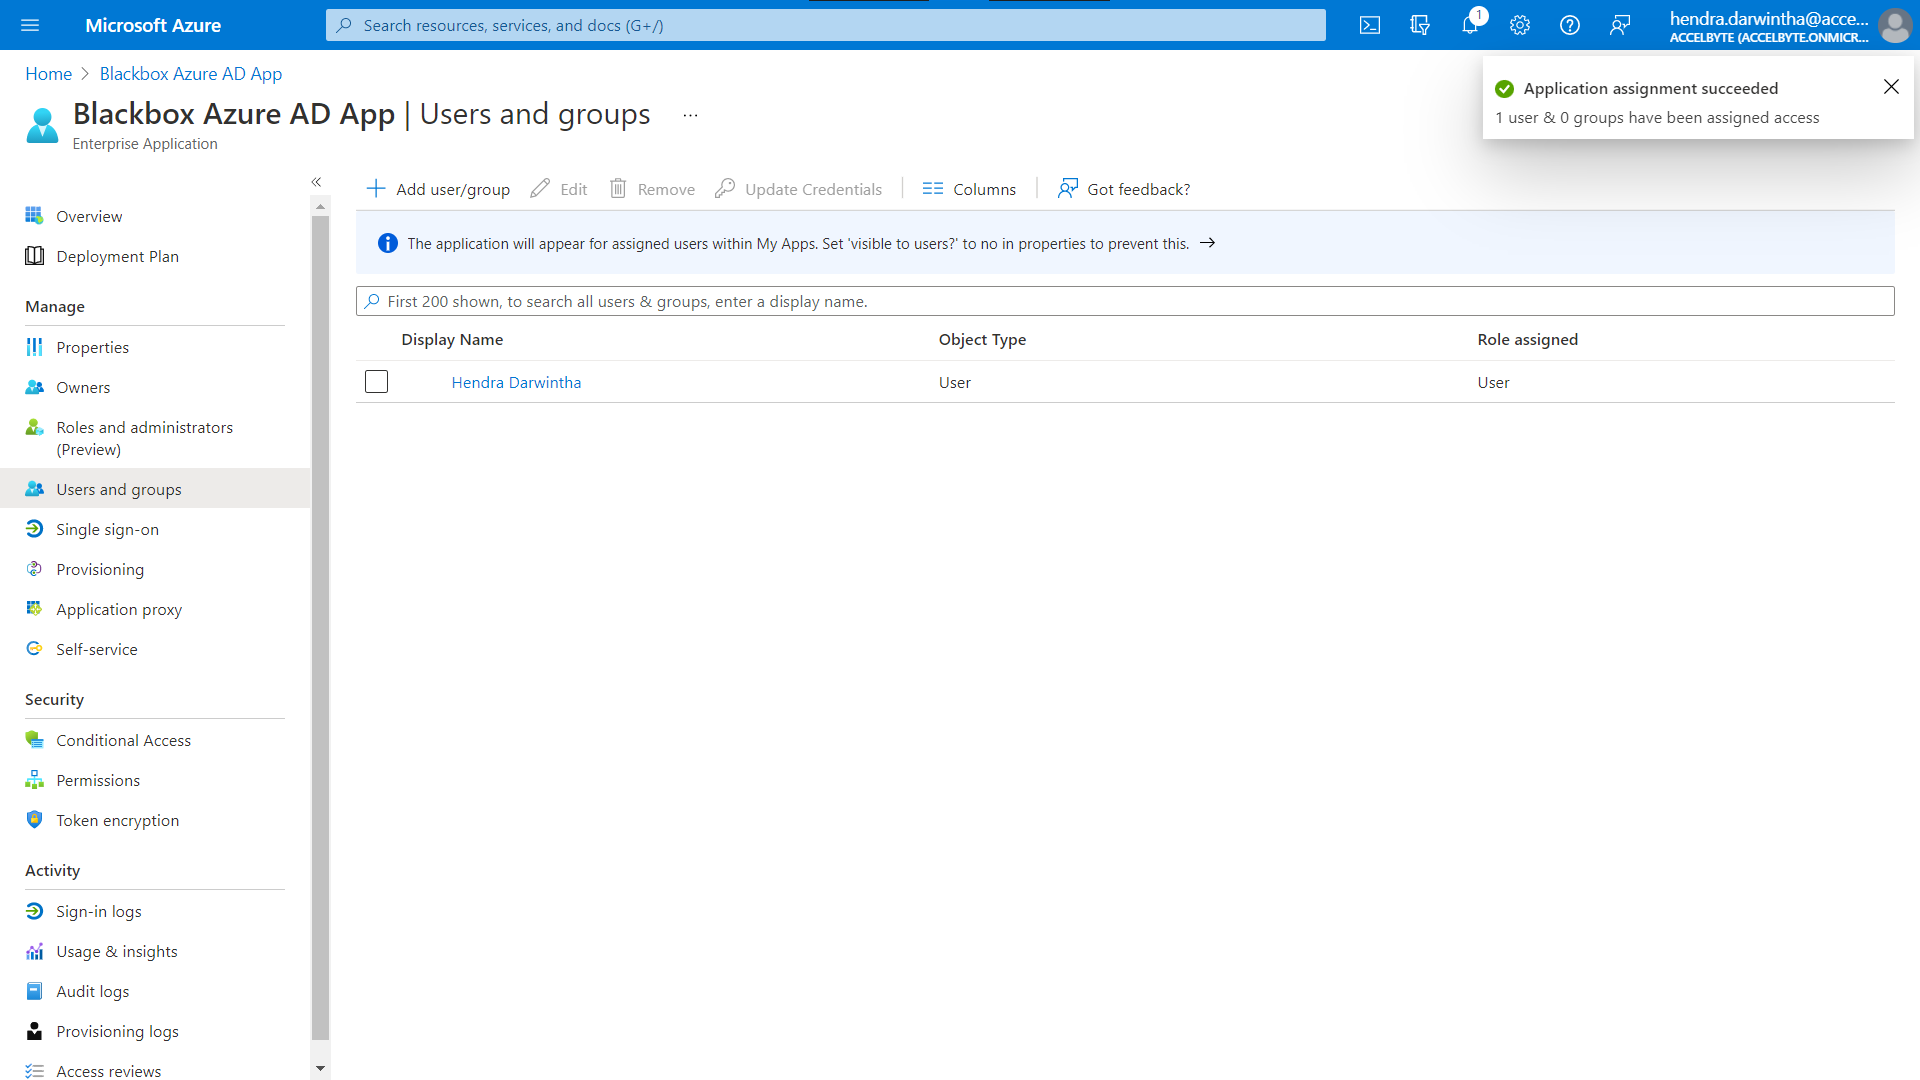
When you have finished adding users, click the Assign button.
Any users you added are shown on the Users and Groups page.
Log in to ADT Web using a Microsoft account
The next step is to test whether the users you assigned can log in to ADT Web.
Follow these steps:
-
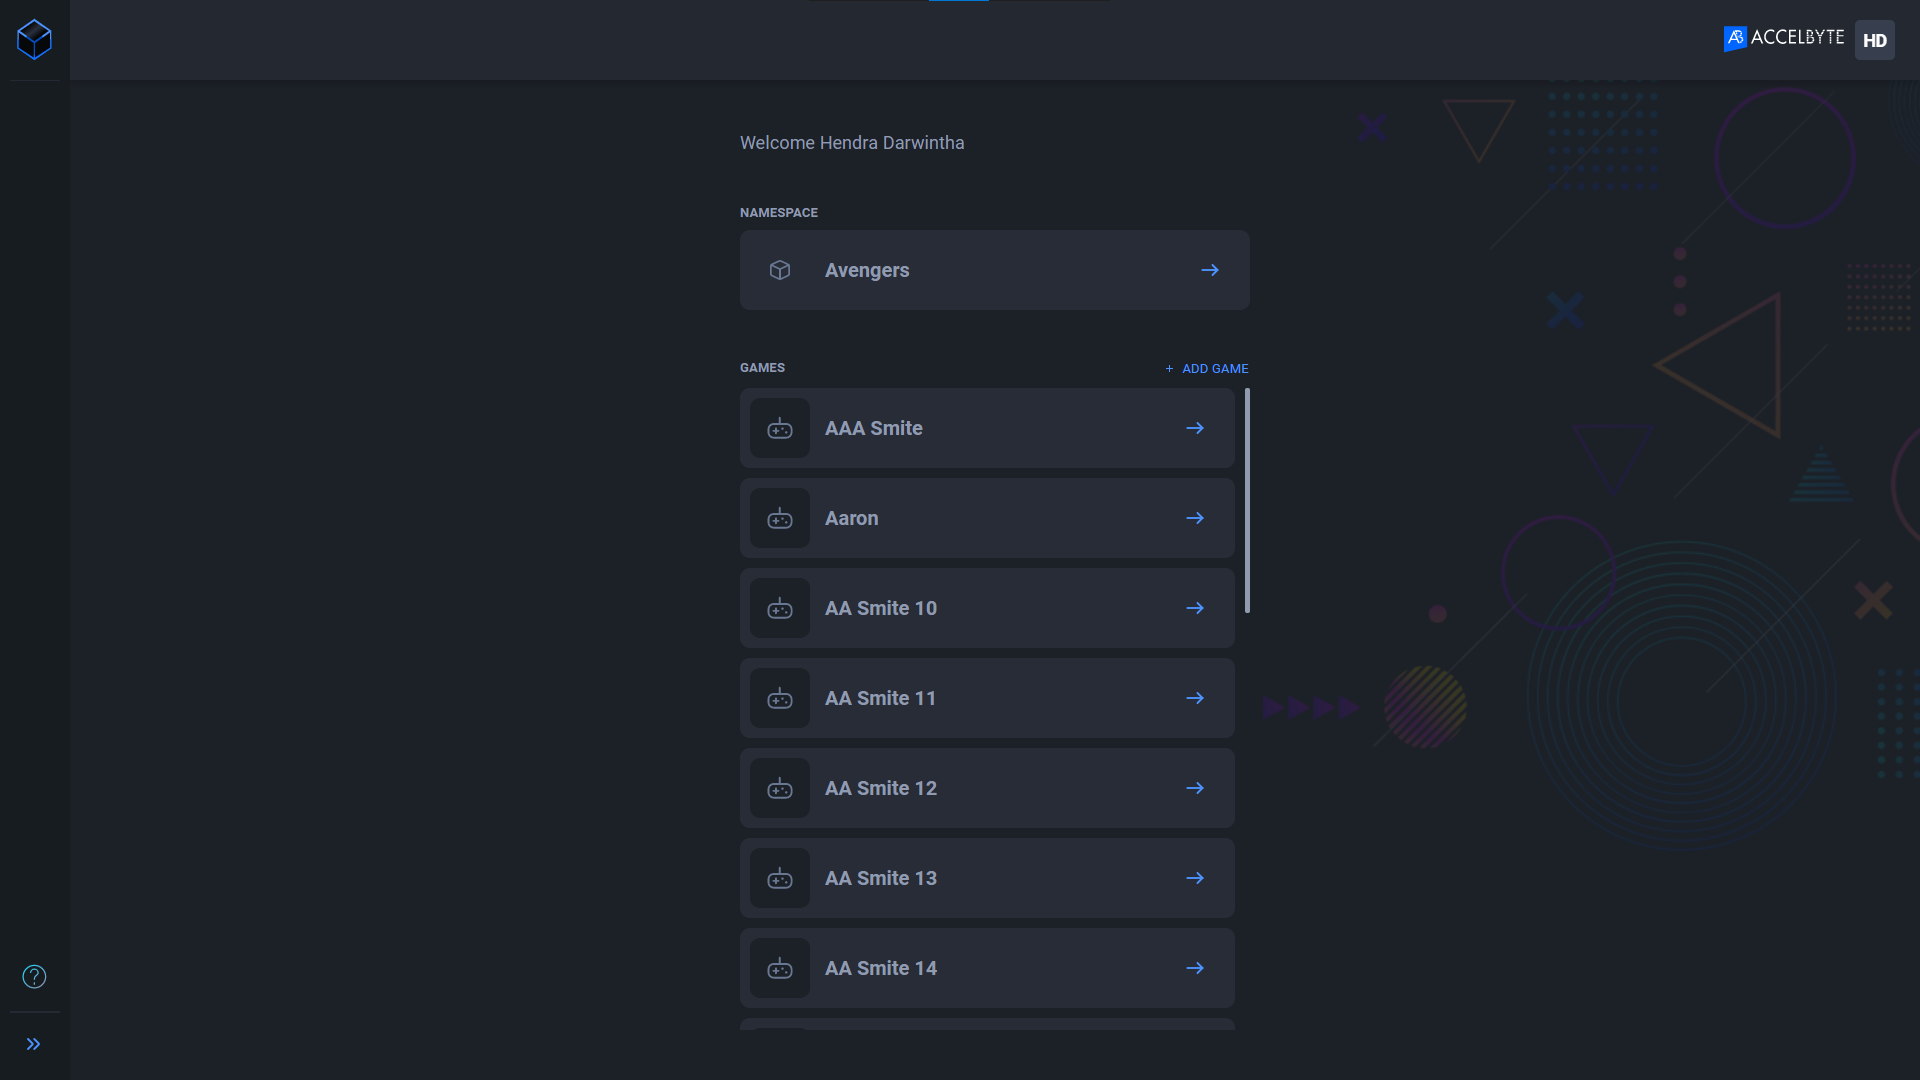
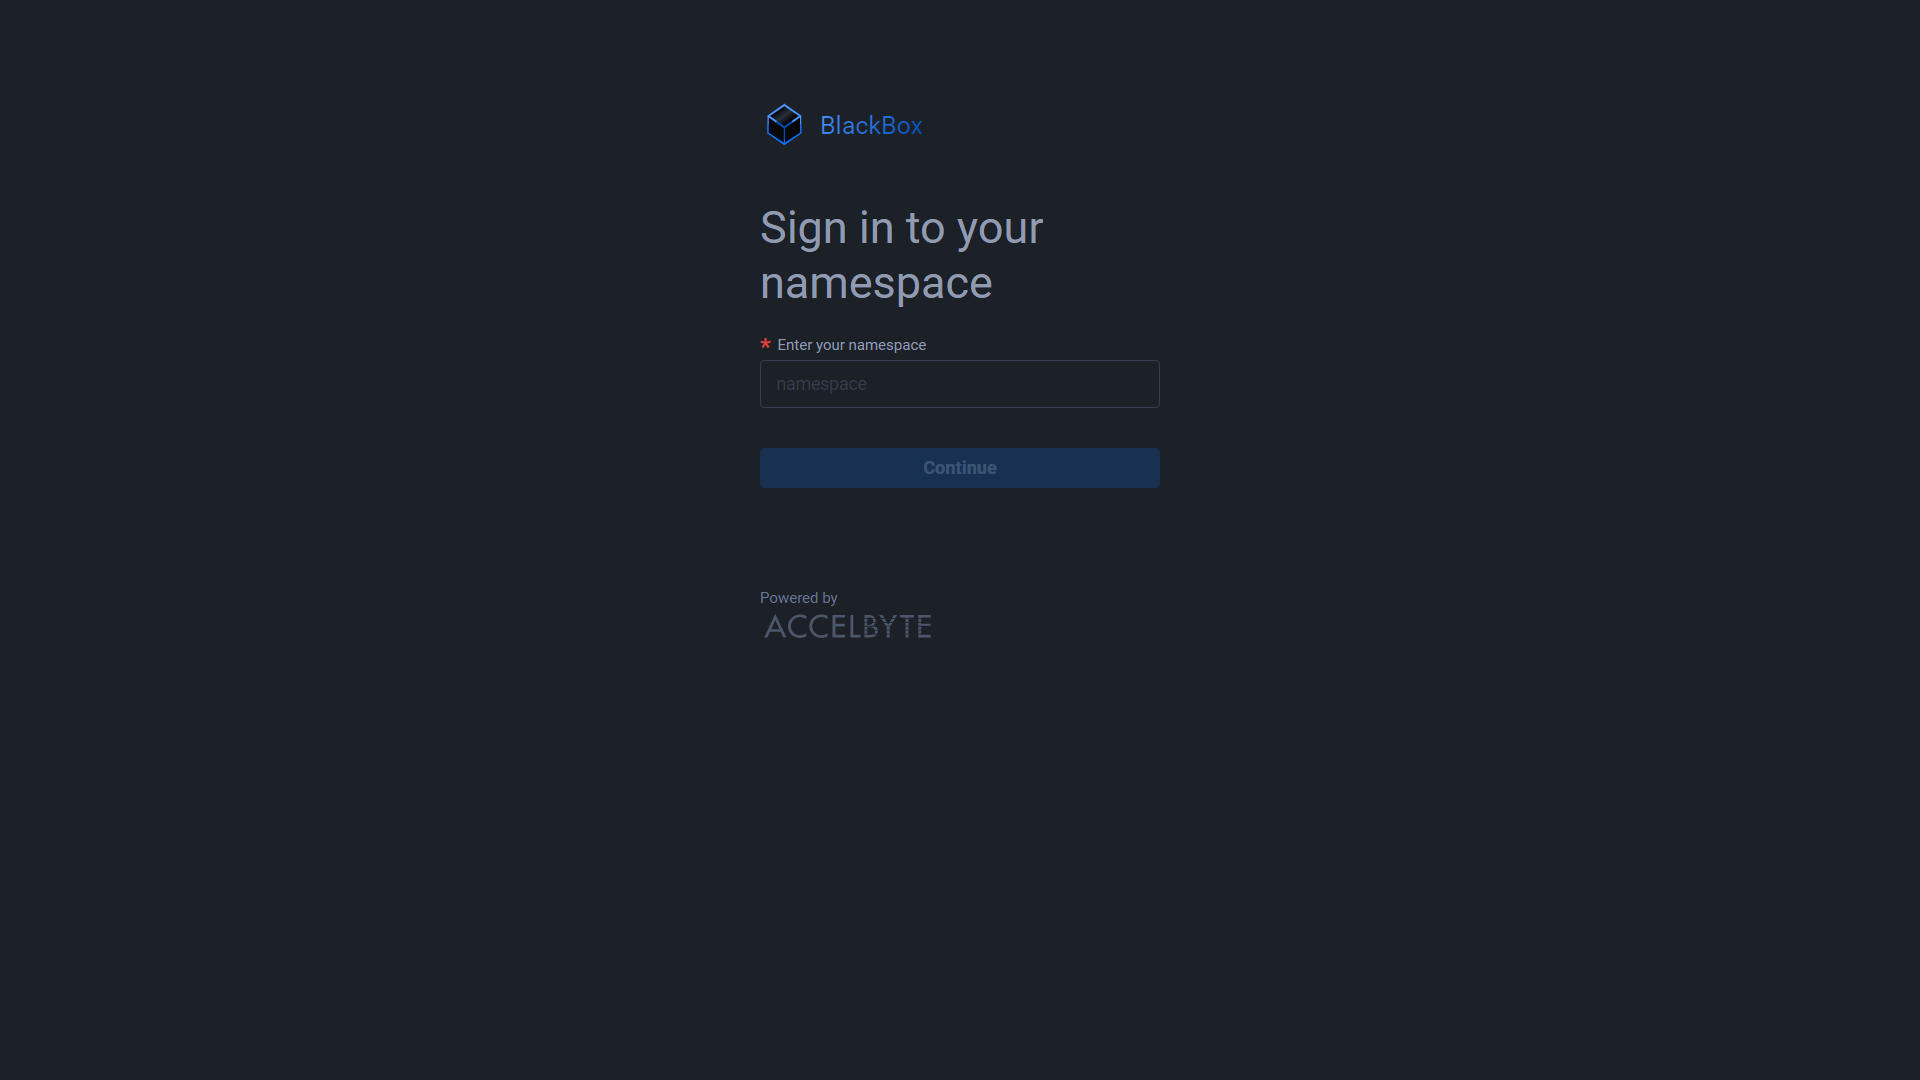
Go to ADT web.
-
Enter your namespace and click Continue.
-
Click the Microsoft icon at the bottom of the screen.
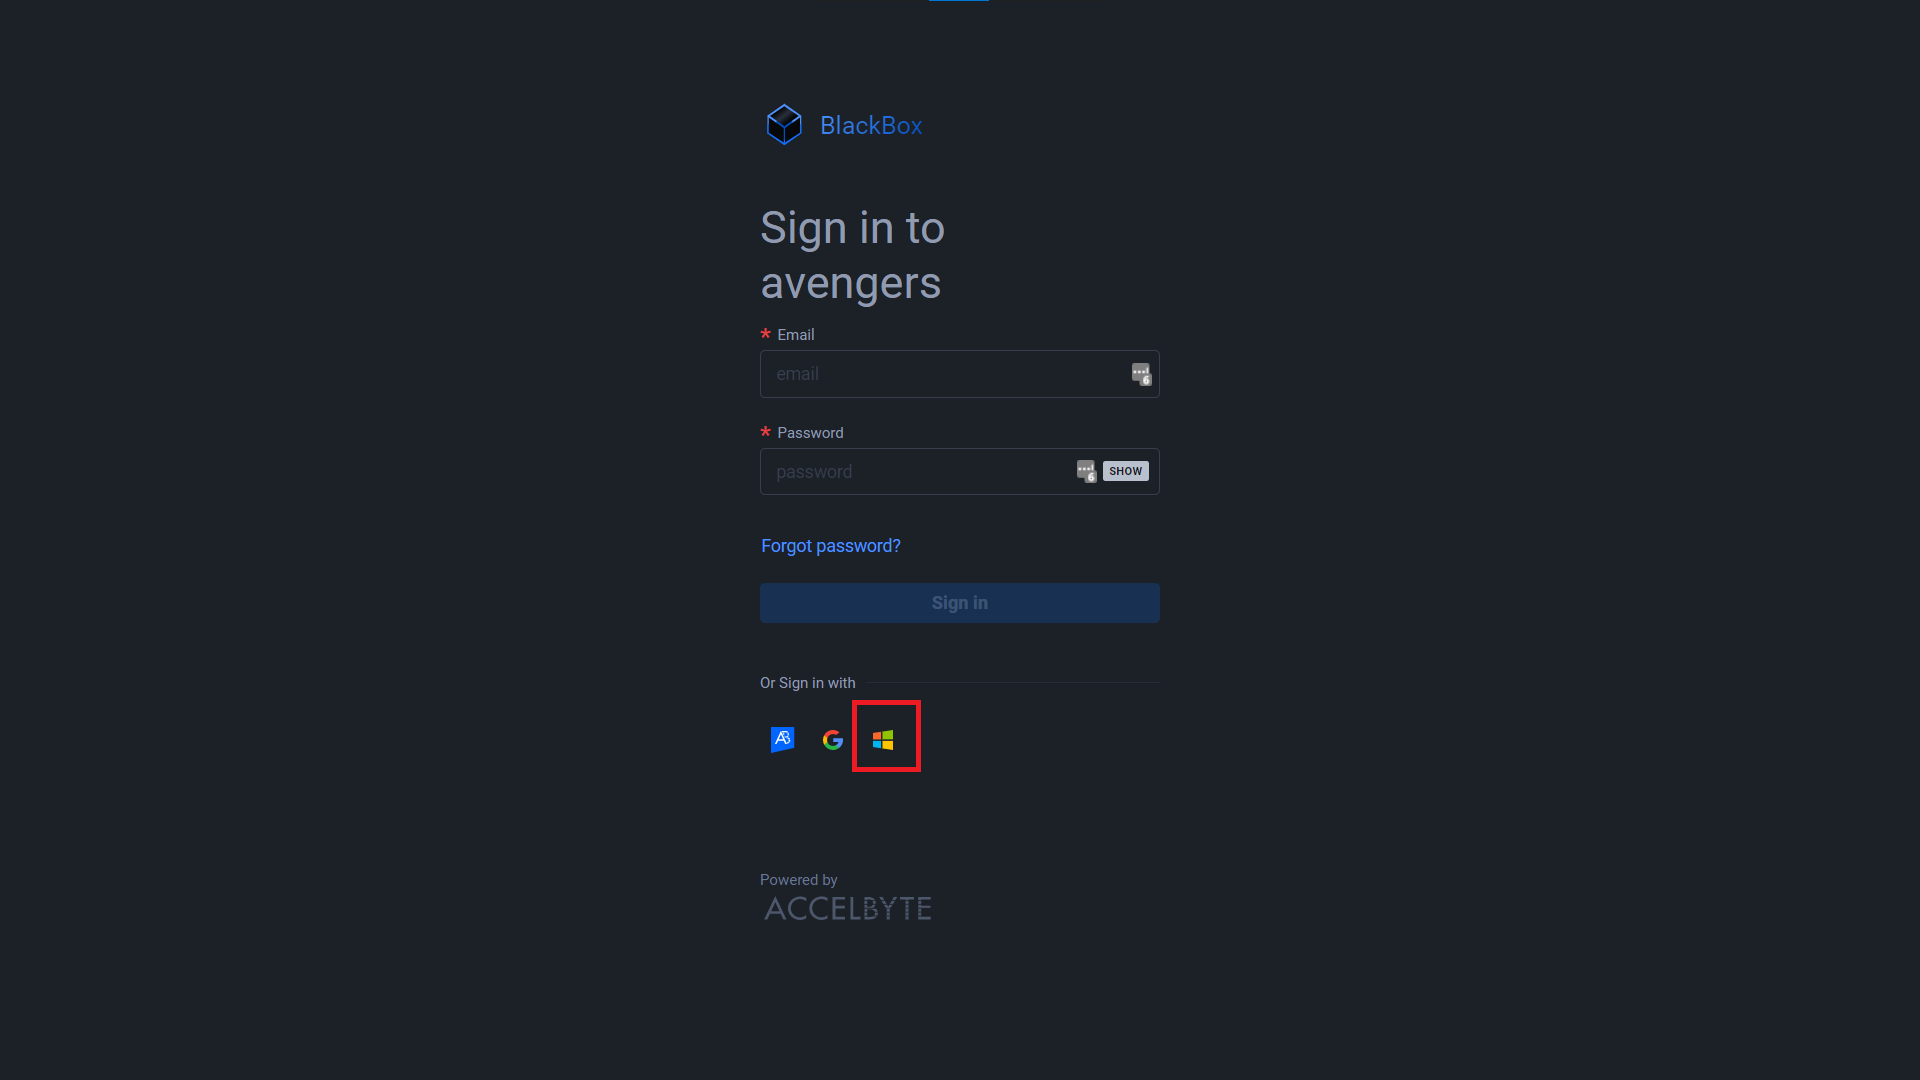
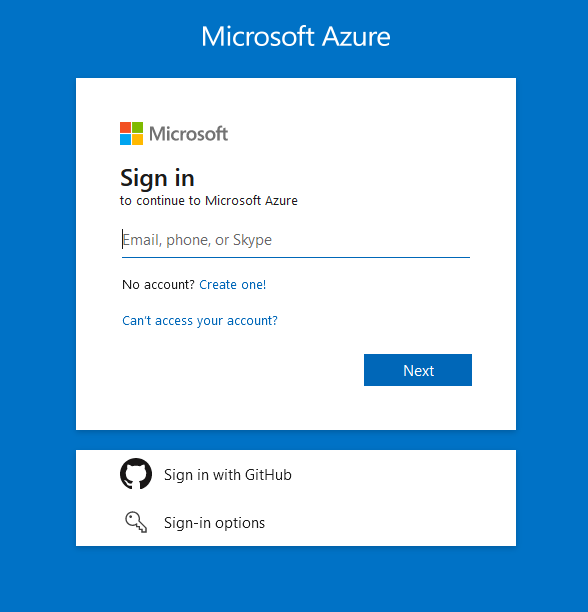
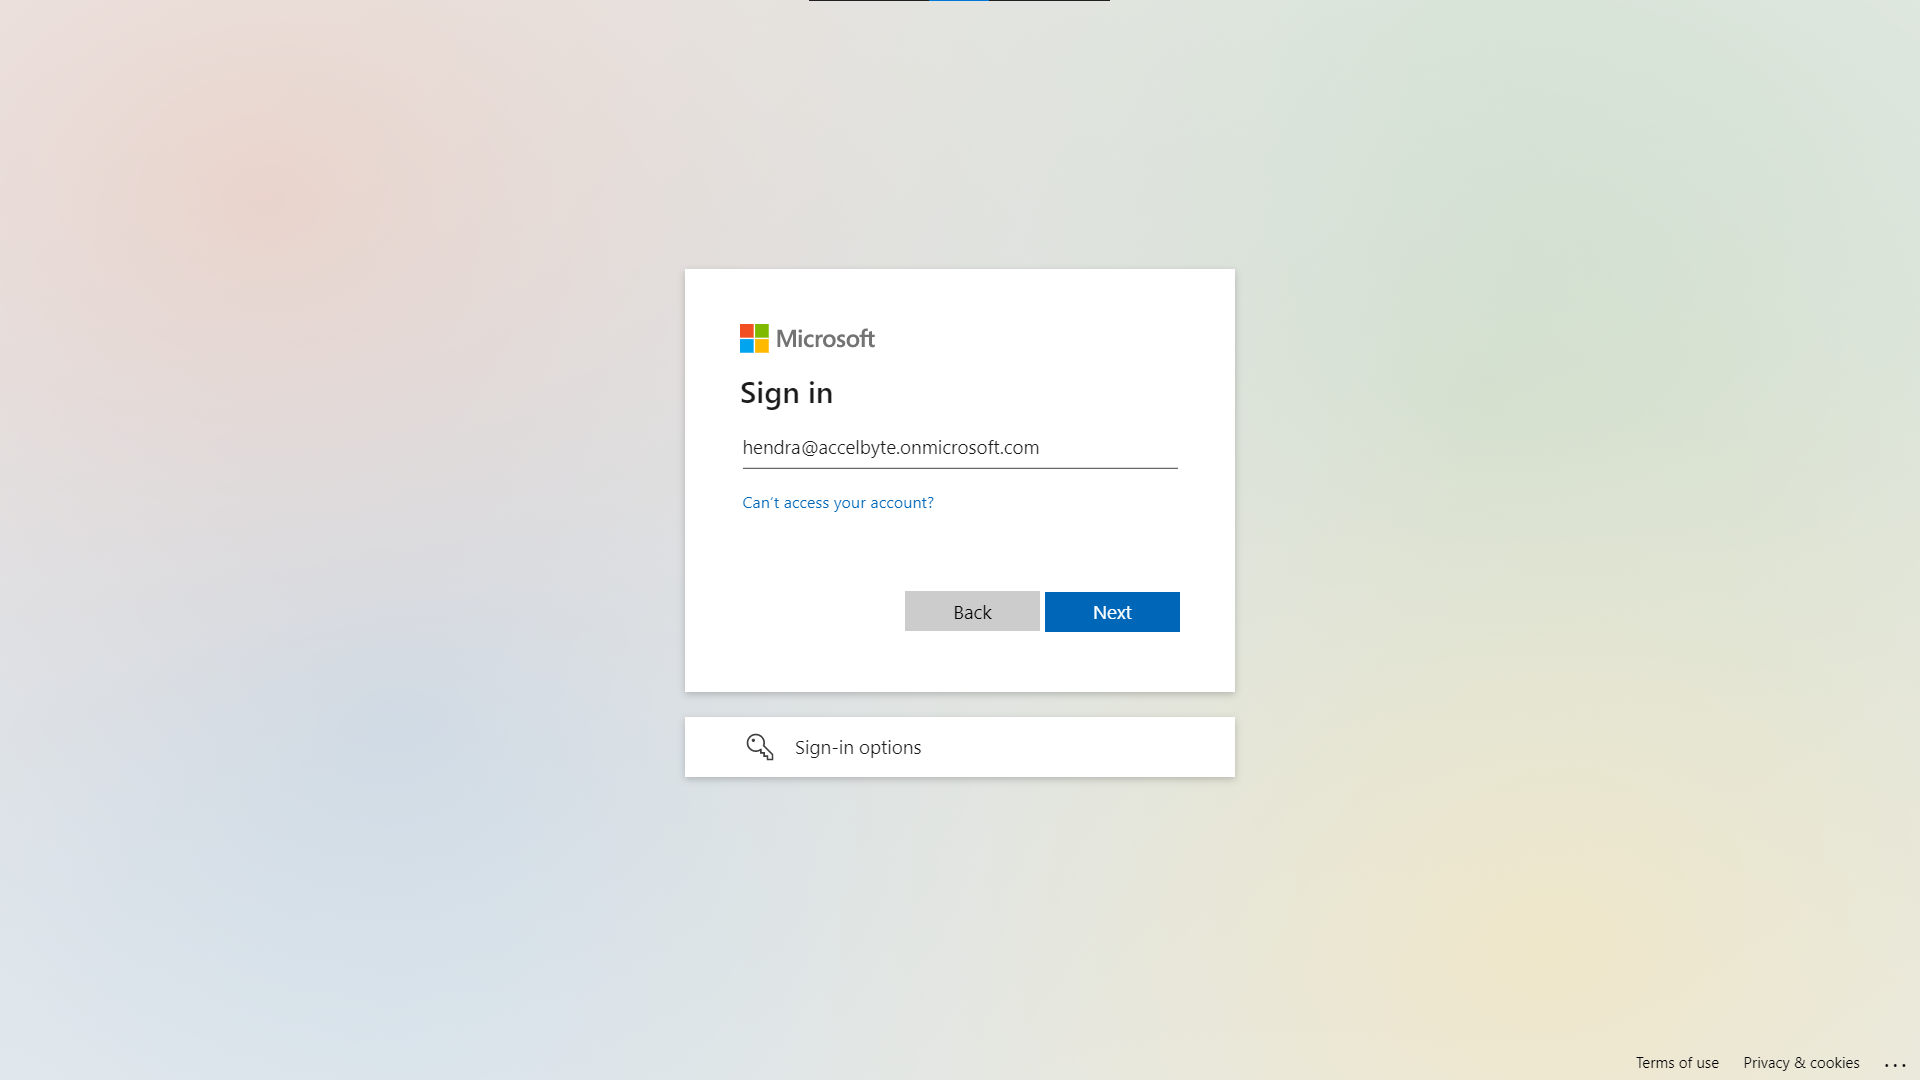
You will be redirected to the Microsoft Sign in page.
-
Log in using one of the users that you just registered.
When the login process finishes, the ADT website displays.