Nintendo Switch build distribution
Overview
To add a Devkit, you need to use the Target Manager application and specify its IP address. This ensures that AccelByte Development Toolkit (ADT) Web is always synchronized with it. You can also register Devkits through ADT Web's Devkit Manager, using the same process as in the Target Manager.
Prerequisite
Before distributing the Nintendo Switch build, ensure that you have installed and connected the Nintendo Switch SDK and Nintendo Switch Target Manager.
Register and upload Nintendo Switch build through CLI
The build has to be registered as Nintendo Switch build before you can perform upload and other function. Refer to this Upload game binaries using cli to learn the commands.
Add a Devkit for Nintendo Switch console
These instructions are for Nintendo Switch and are similar to those for other consoles like PS4, PS5, and Xbox.
- Go to the Devkit Manager page on ADT Hub.
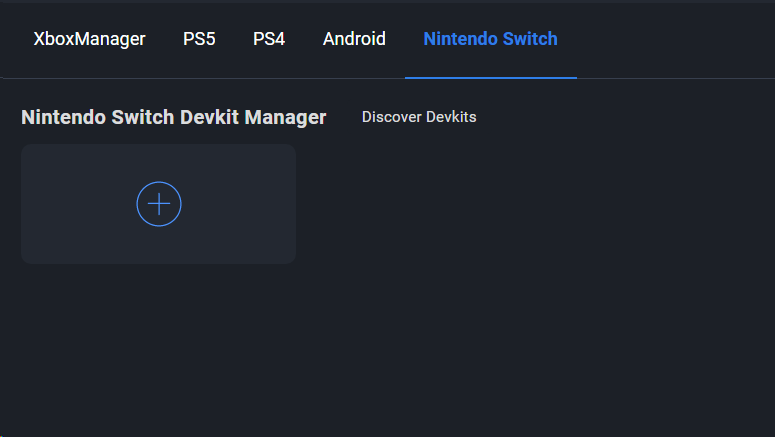
- Click the Nintendo Switch tab.
- Click the plus (+) button to add a new Devkit.
- Type in the IP address of your new DevKit.
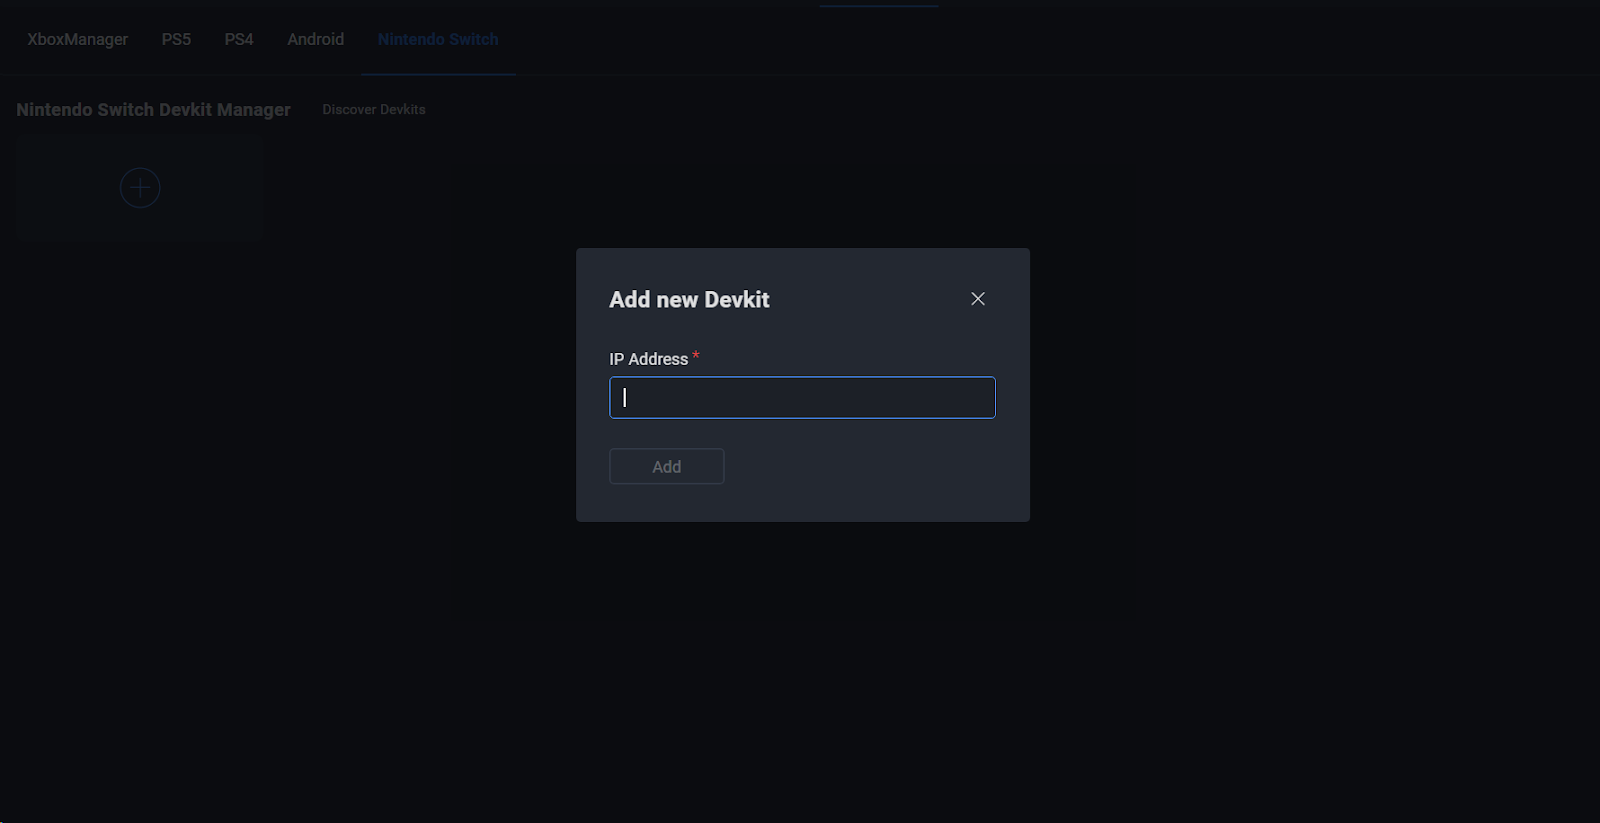
- Click the Add button. If the IP Address is valid, it will be shown in the Devkit Manager.
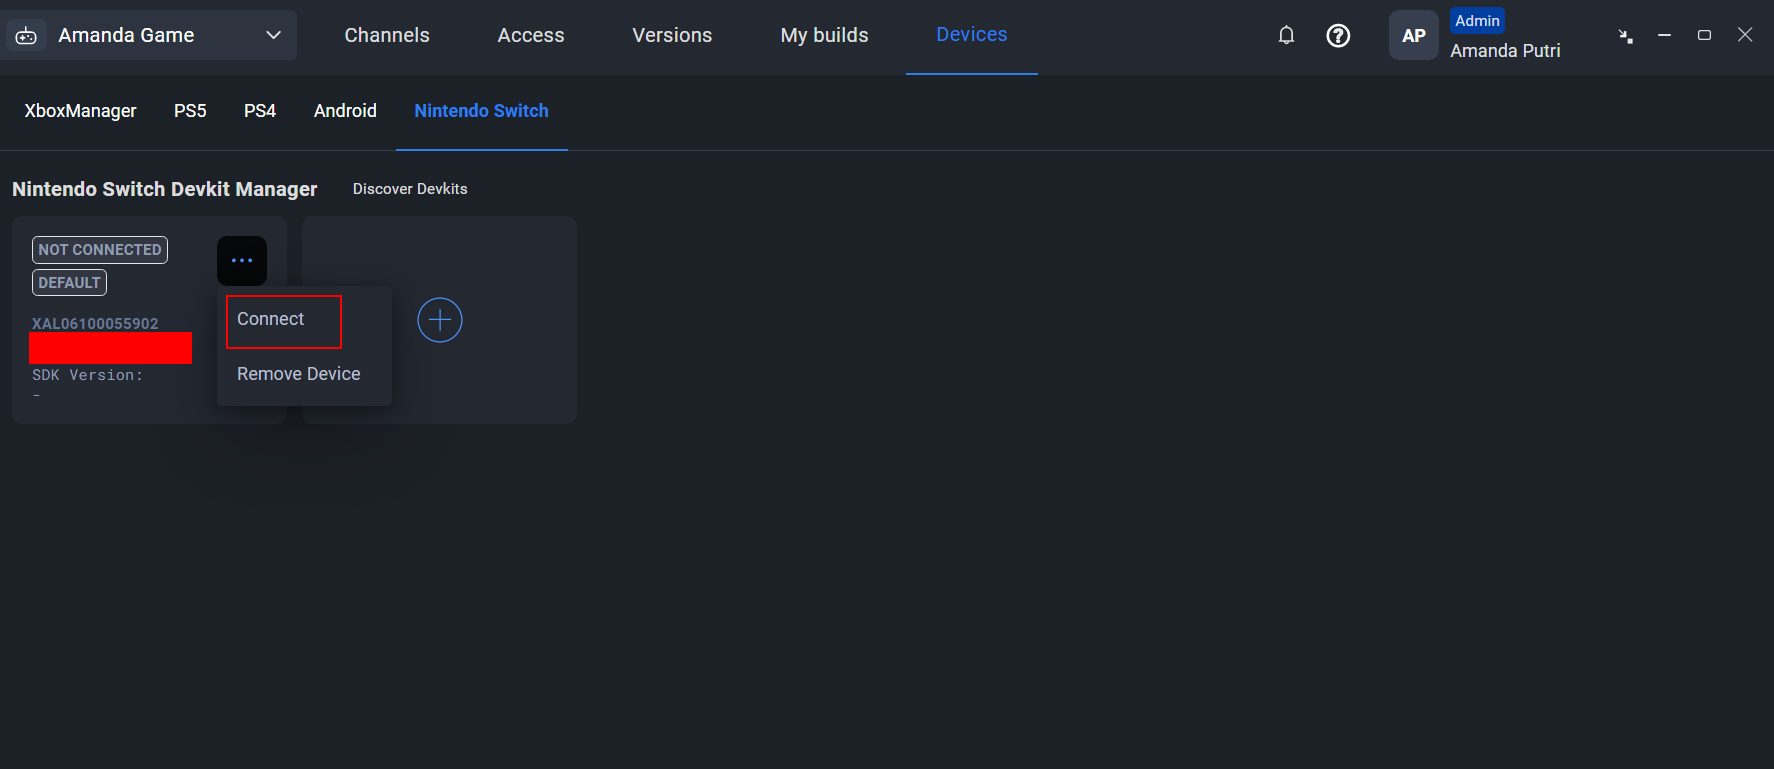
- To connect the Devkit, click the ellipsis (...) menu.
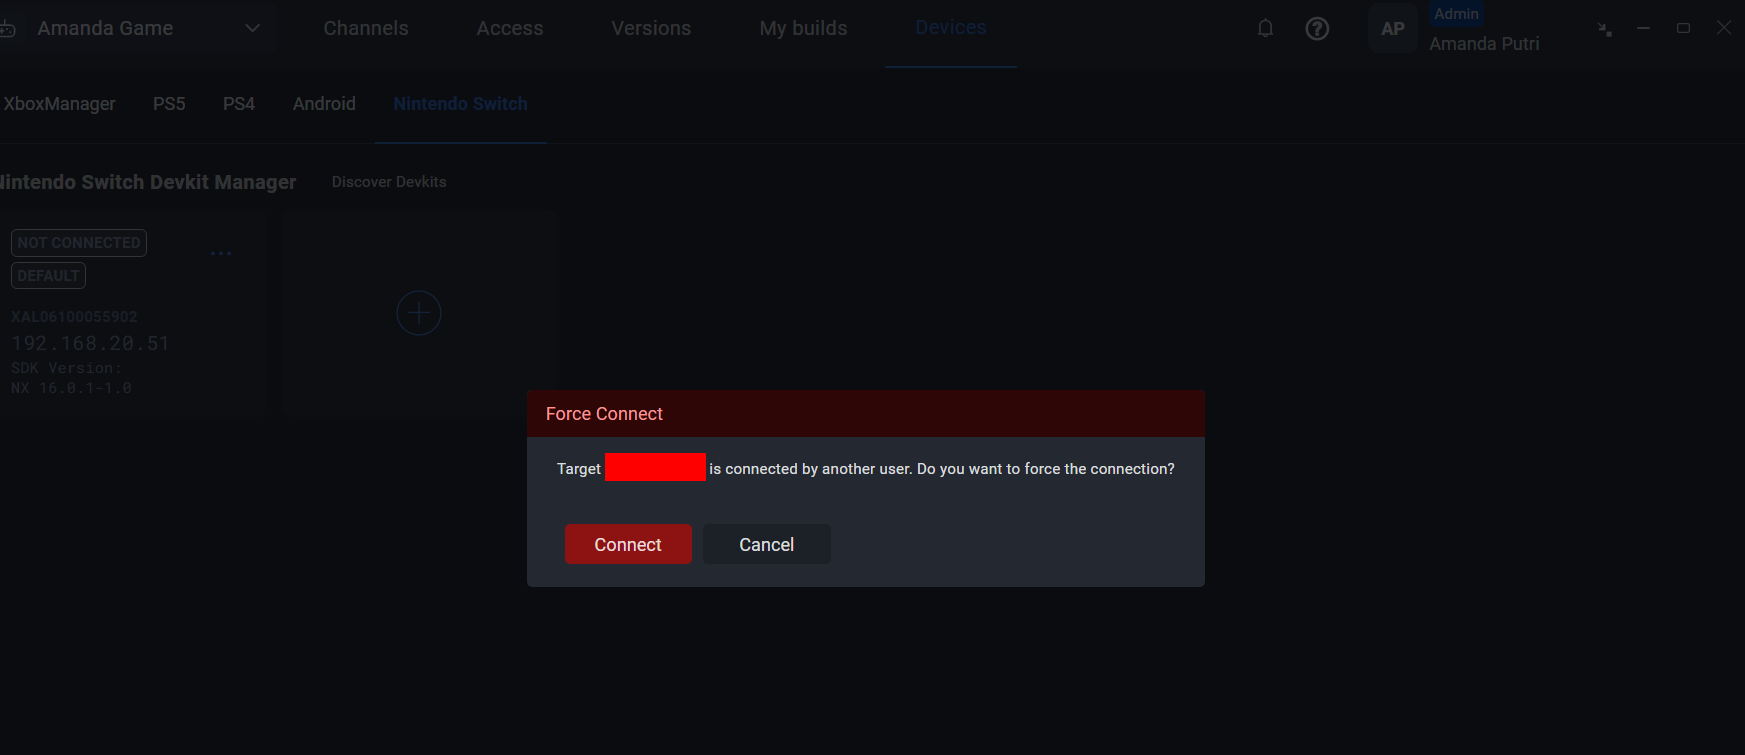
If there is another user currently using the same Devkit, a pop-up warning will appear, giving you the option to force a connection. If you choose to do so, the other user will be automatically disconnected and you will be connected to the Devkit instead.
Download the Nintendo Switch build
After the build is uploaded successfully, you can assign it to a track, and it will show on ADT Hub that the build is ready to be downloaded.
To download the Nintendo Switch build, follow these steps:
- Click Download to start downloading the build.
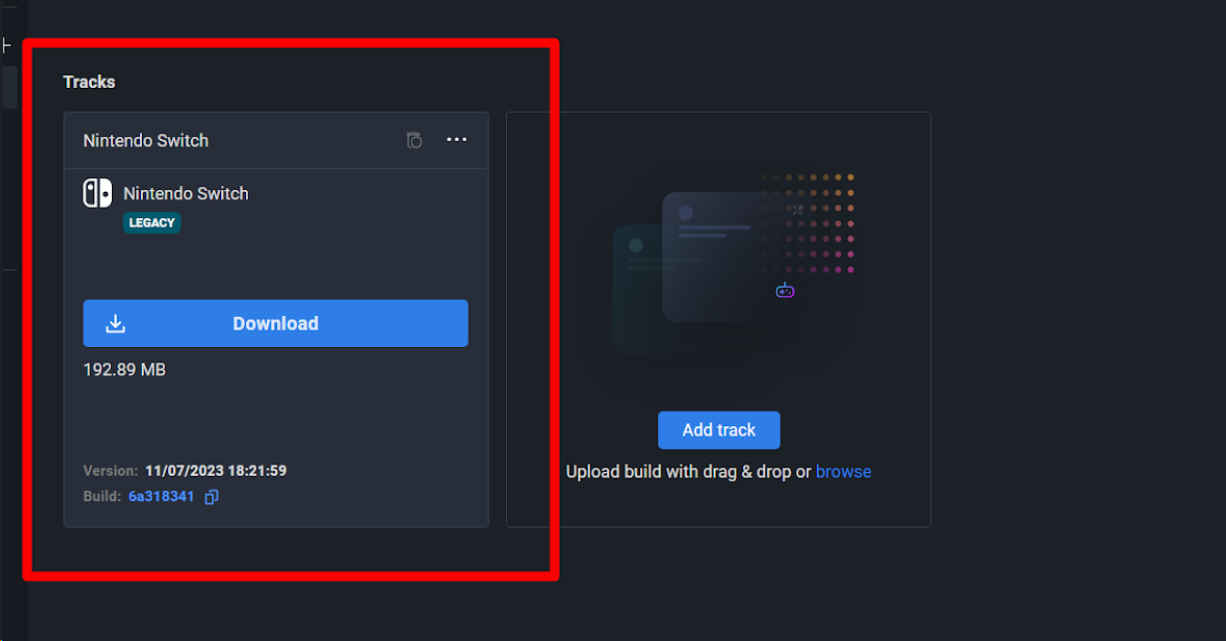
- You must select the directory where the files will be saved then, click the Install button.
- The build will start to download and you can see the progress on the Track.
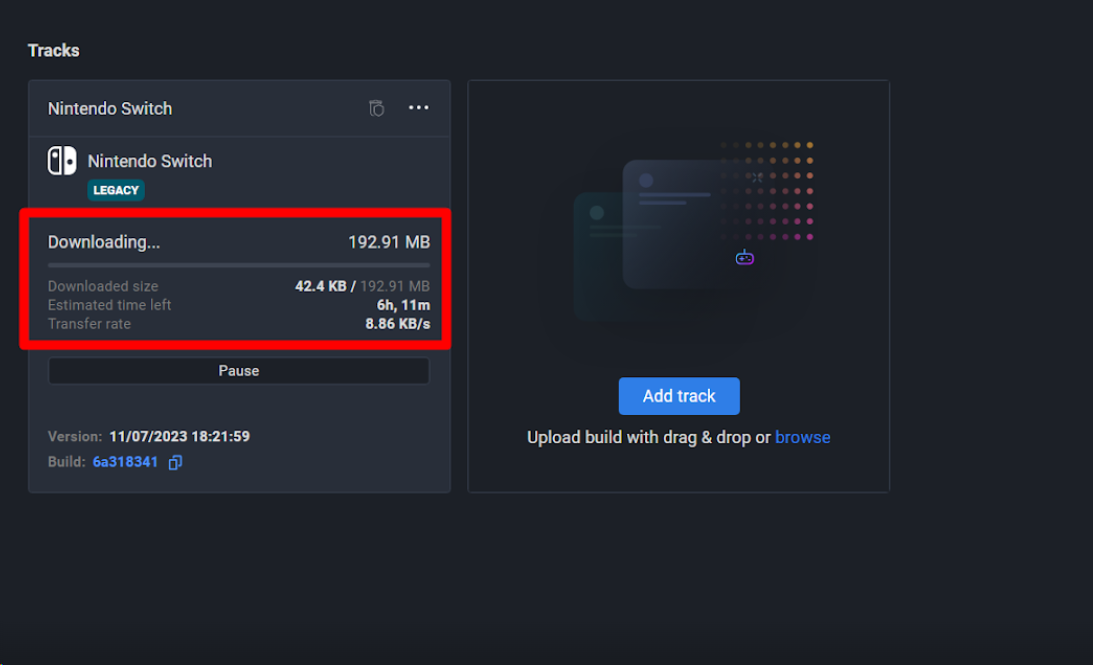
Deploy the Nintendo Switch build
After downloading the build successfully, the Download button will change to the Deploy button. When deploying a build, you may encounter various scenarios. Here are some examples of these cases.
- When you are going to deploy and you see the "Default Devkit not Connected" message: a. Click Select/Connect Devkit. b. Choose a Devkit that you want to connect. c. If you don't have any Devkit registered, go to the steps in Add a DevKit for a Nintendo Switch Console at the beginning of this document.
- If you are already connected to the Devkit, click Deploy on Track.
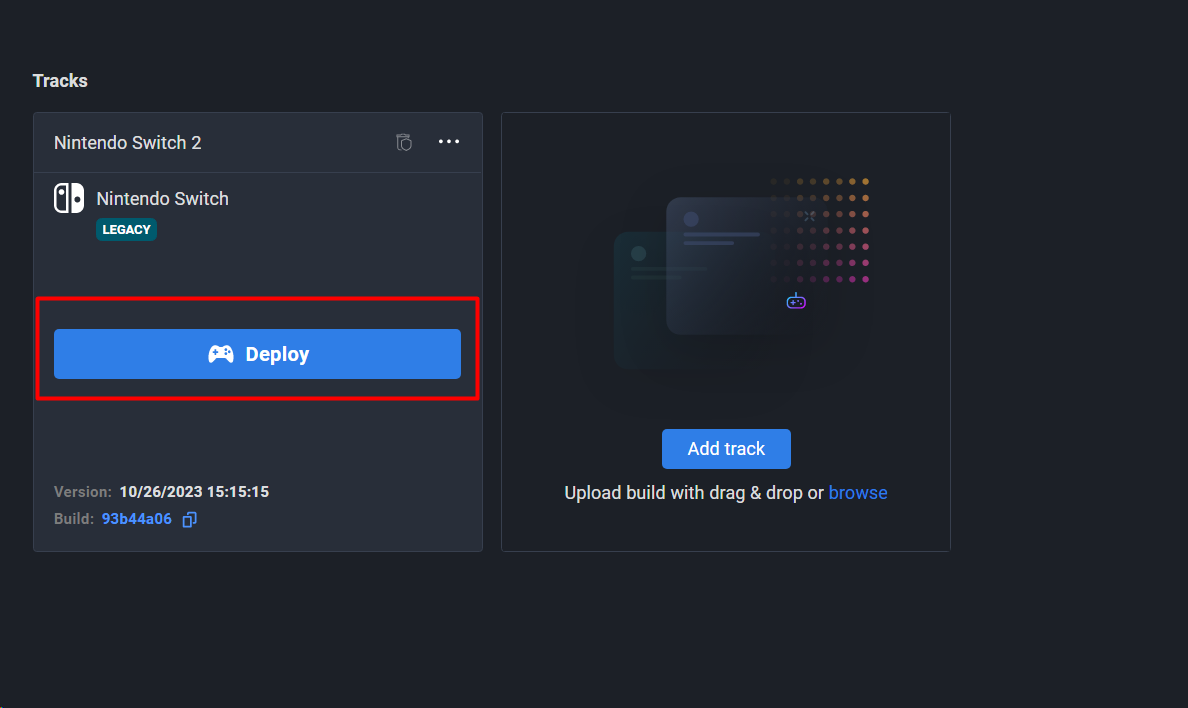
- The deployment progress will show on the Track. If the deployment is finished, the Deploy button will re-appear. You can also check your progress and deployment results on the Target Manager.