Upload game binaries using CLI
Prerequisites
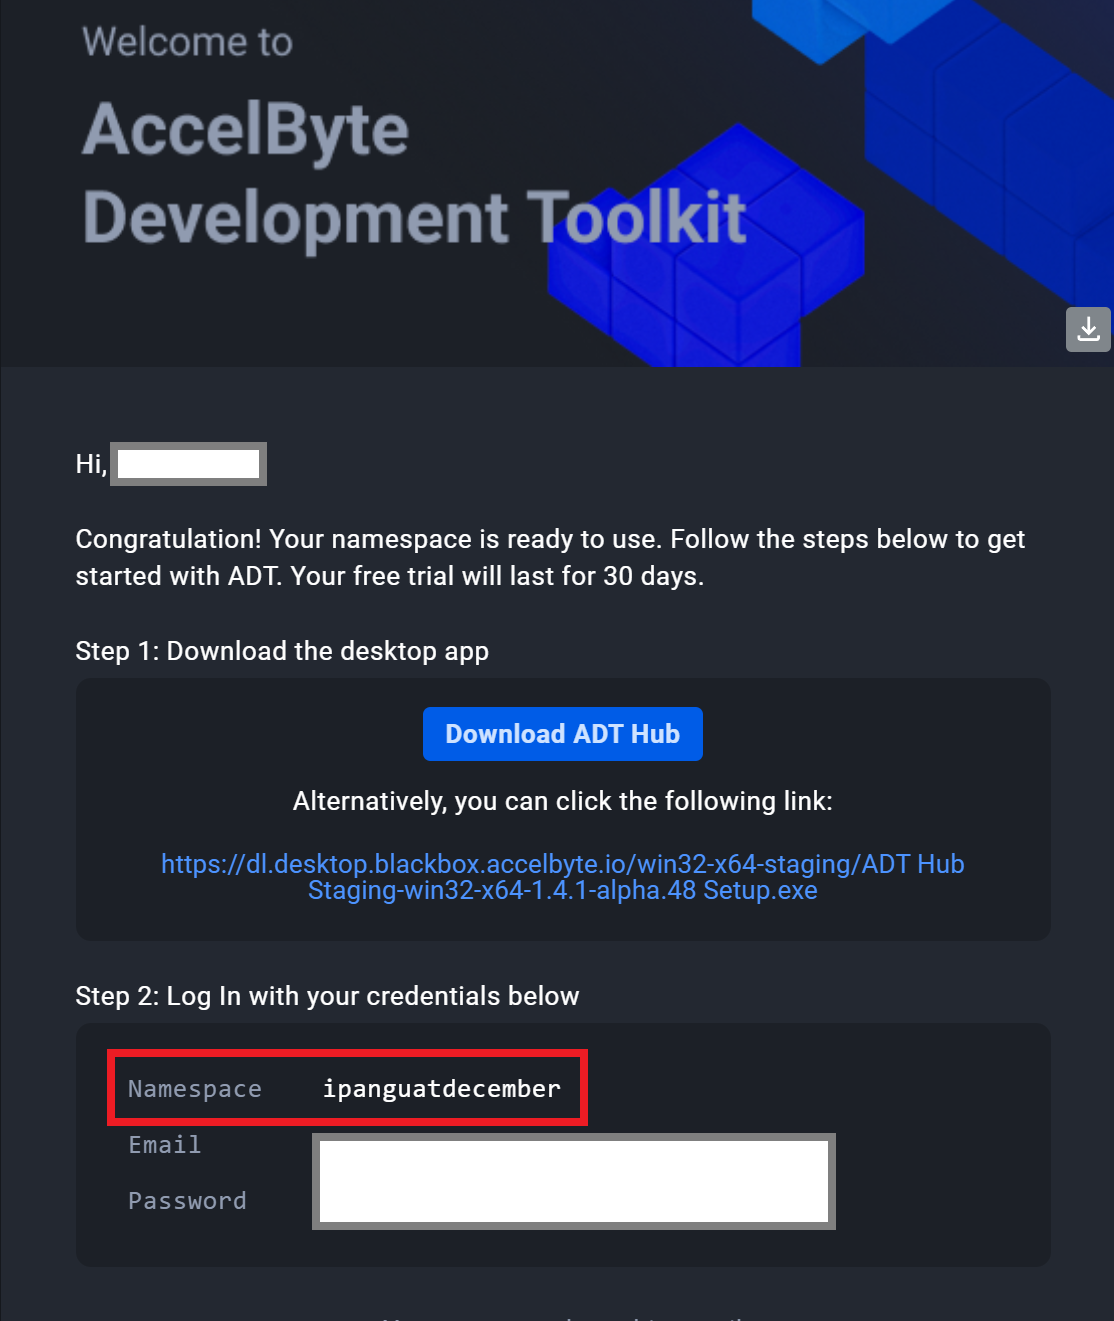
Get your namespace
You can find the namespace in the invitation email from ADT. Note that namespaces are written in lowercase.
Get your API Key
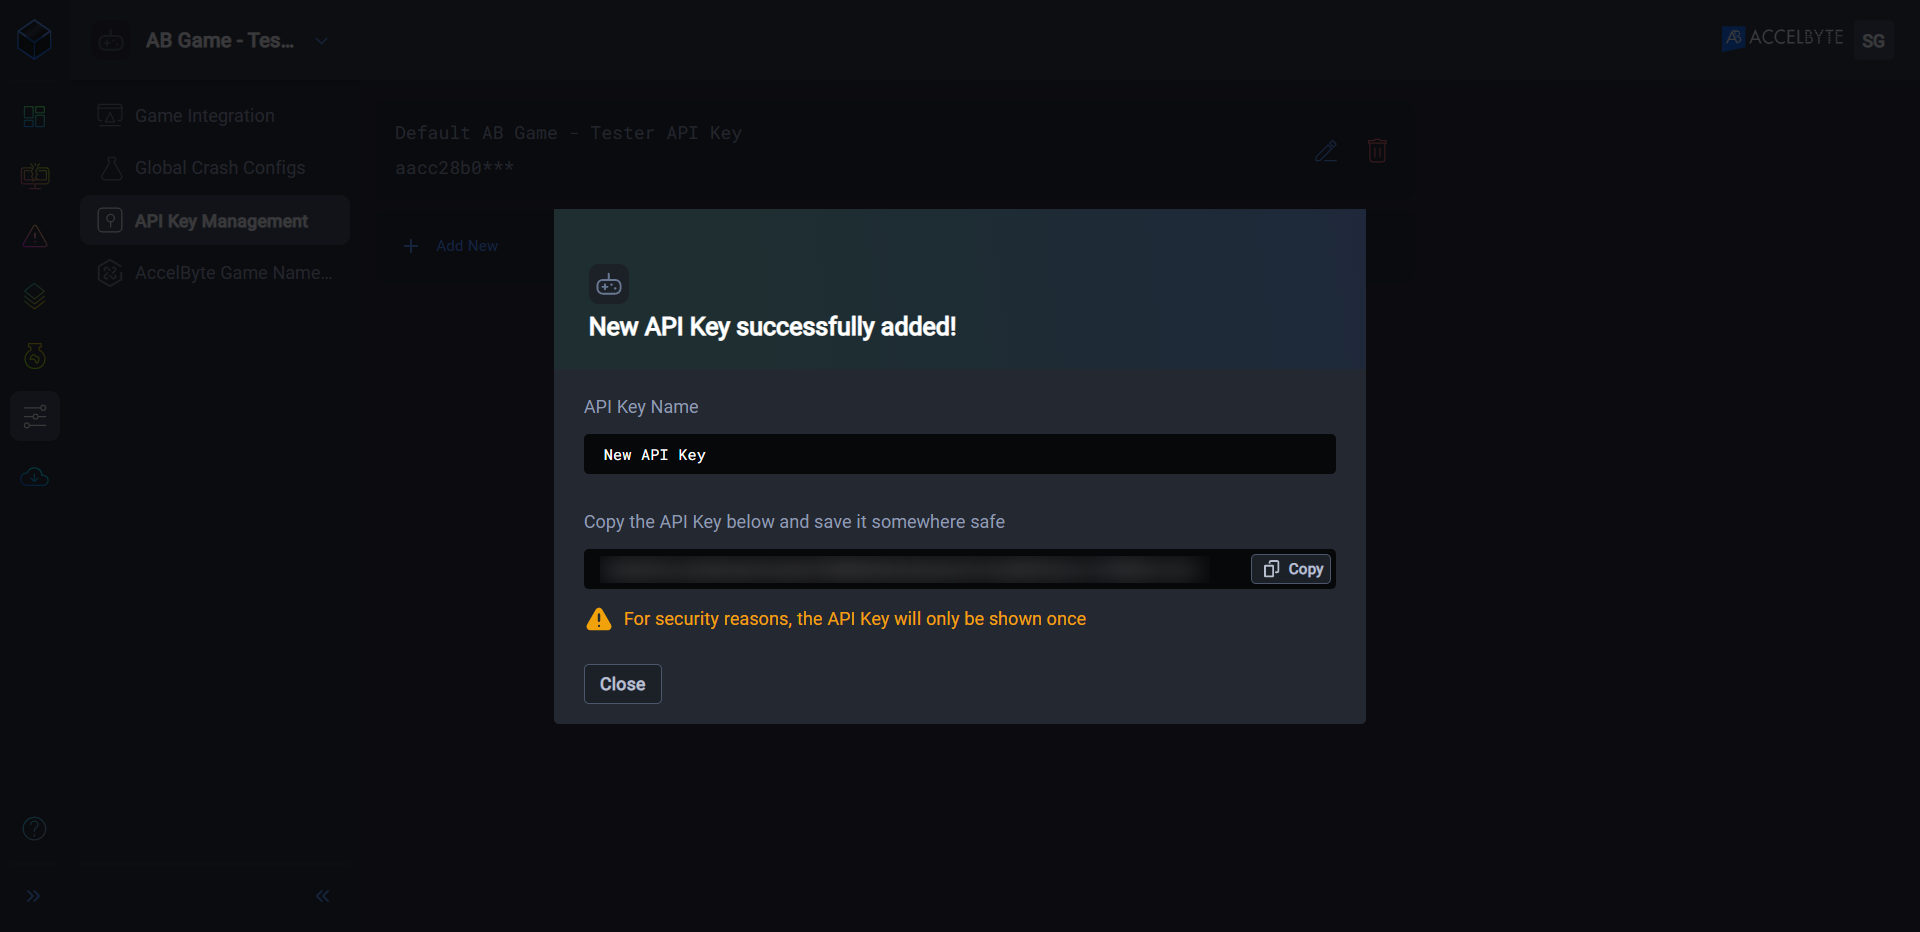
The system creates an API Key and shows it to you once after creating a game. The system won't show the API key to you again. If you created your game already and didn't record the API key, follow the steps below to get a new one.
-
Go to ADT Web and login with your credential.
-
Go to the Game Settings page, then go to API Key Management. The API Key the system created for onboarding appears.
-
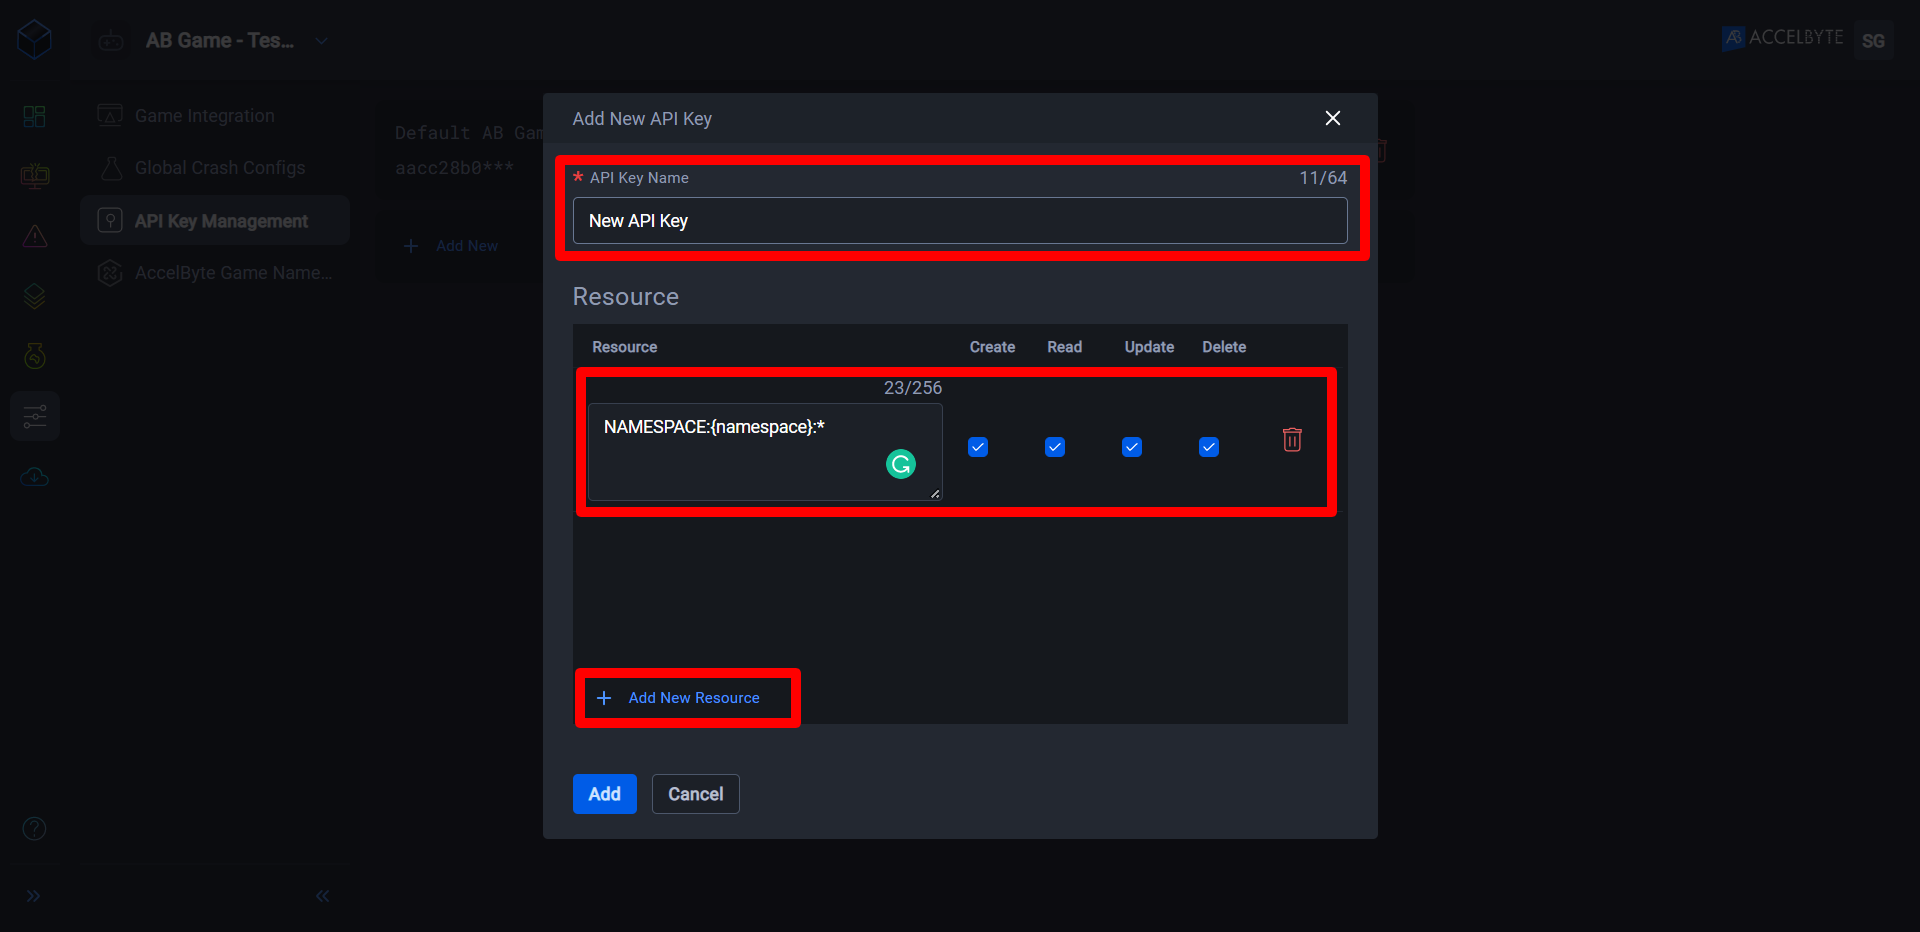
To create a new API Key, click Add New. The Add New API Key pop-up appears.
-
Type a descriptive name for the new key in the API Key Name field.
-
Click Add New Resource, then add
NAMESPACE:{namespace}:*to the resource field. Enable the checkboxes for Create, Read, Update, and Delete. -
When you're done, click Add.
-
A pop-up appears showing the API Key. You must save it, as it only appears in this pop-up once.
Get the ADT CLI
-
Log in to Accelbyte Development Toolkit web portal.
-
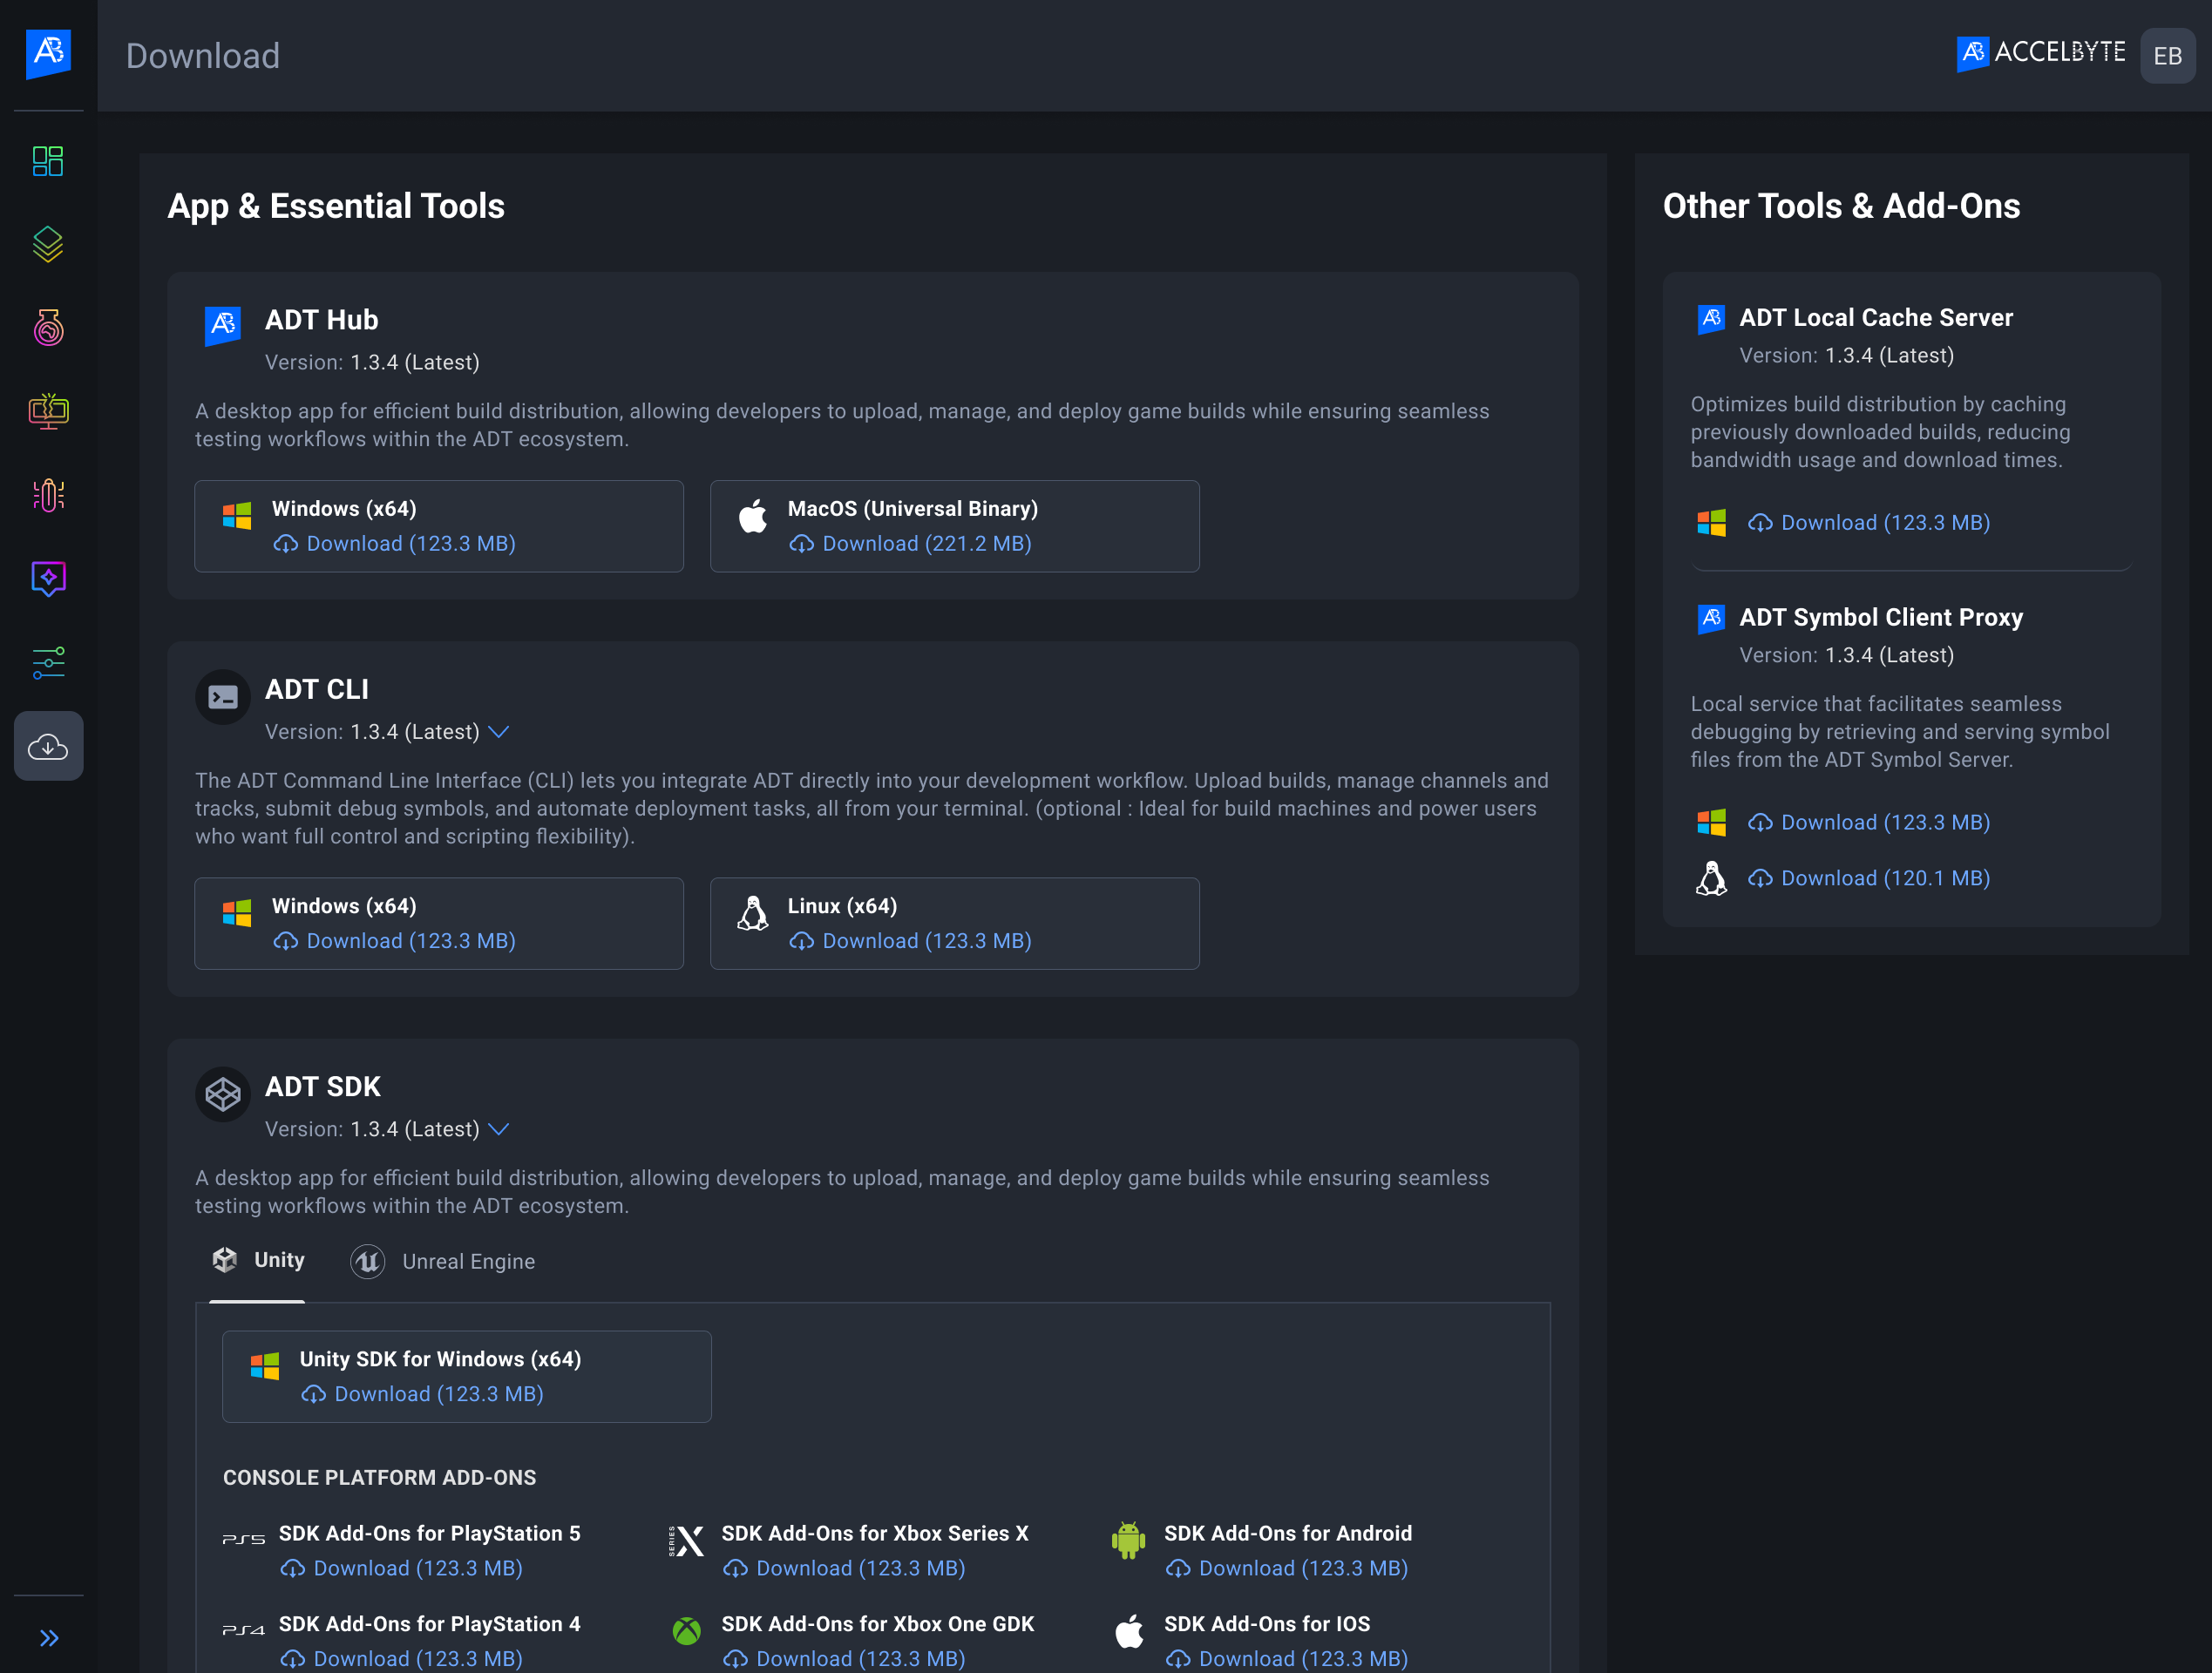
Go to the Downloads page and locate the CLI section.
-
Identify your operating system (Windows or Linux).
-
Match your OS with the corresponding available CLI version.
-
Click the Download button below your OS to begin downloading the CLI tool.
-
Unzip the ADT CLI folder.
-
Run the Powershell application and set the directory path to the unzipped Accelbyte Development Toolkit CLI folder.

Upload your game with ADT CLI
Run the Powershell application, and then run these commands from the unzipped ADT CLI folder.
Create a game version
Sample command:
./blackboxcli version add --name 0.0.6
--namespace avengers
--apikey 0e1dc3ef83d04eaeb1672bfd44889c04_UXm5R52wAfjcEnQOzVw99oAl1uQ1hRZ
--game-project "C:\Users\setya_accelbyte\Documents\Unreal Projects\MyProject"
Register the build
Sample command:
./blackboxcli build register --platform-name windows --platform-arch x64
--namespace avengers
--apikey 0e1dc3ef83d04eaeb1672bfd44889c04_UXm5R52wAfjcEnQOzVw99oAl1uQ1hRZ
--game-engine "D:\Epic Games\UE_5.0"
--game-project "C:\Users\setya_accelbyte\Documents\Unreal Projects\MyProject"
If you want to upload console builds, you must register them by changing the --platform-name value to the console you're working with: ps4, ps5, xboxonegdk, xsx, android, or nintendo-switch.
Upload the build
Sample command:
./blackboxcli build upload-binaries --entry-point MyGame.exe
--namespace avengers
--apikey 0e1dc3ef83d04eaeb1672bfd44889c04_UXm5R52wAfjcEnQOzVw99oAl1uQ1hRZ
--game-engine "D:\Epic Games\UE_5.0"
--game-project "C:\Users\setya_accelbyte\Documents\Unreal Projects\MyProject"
--game-archive "C:\Users\setya_accelbyte\Documents\Unreal Projects\MyProject\Packaged\0.0.2-Windows"
- Use quotation marks if there is a space in the directory path.
- Namespace: The namespace for the game.
- GameEngine: The game engine root path (e.g.
C:\Program Files\Epic Games\UE_4.21) for the Epic Launcher installation. - GameArchive: The location of the executable for a packaged game.
- GameProject: The game project root folder, where the
.uprojectfile is located. - Use EntryPoint as .zip or .dmg for MacOS, to ensure a smooth upload process and avoid issues related to MacOS security restrictions and file attribute handling.