Extend App UI
Overview
Extend App UI lets you build custom web interfaces for your Extend apps and embed them directly into the AccelByte Gaming Services (AGS) Admin Portal. Extend apps are backend services, specifically Service Extensions or Event Handlers, deployed and managed through AGS. Instead of managing them through Swagger docs or Postman, you can create purpose-built UIs (for example, a tournament management page or a challenge editor) and have them appear as menu items in the Admin Portal.
Your UI assets are hosted on AGS, so you don't need to set up your own hosting. The entire workflow, from scaffolding a project to uploading it, stays in the terminal through the Extend Helper CLI.
Key terms
-
AGS Public Cloud: a multi-tenant deployment of AGS where AccelByte hosts the infrastructure and multiple studios share the same environment. Each studio gets its own isolated namespaces. Permission management uses permission groups in the Admin Portal.
-
AGS Private Cloud: a single-tenant deployment of AGS dedicated to one customer. You manage namespaces and permissions directly through IAM permission strings.
-
IAM permissions: access control rules that determine which AGS resources a user or client can act on. The permission group referenced in the prerequisites controls who can create, read, and update App UIs in your namespace.
Prerequisites
Before you begin, make sure you have the following:
- Extend Helper CLI version 0.0.11 or above. Follow the prerequisites steps and installation.
- Access to an AGS environment. Take note of the following values:
- Base URL (
<YourAGSBaseURL>): your AGS environment URL. Examples:- AGS Public Cloud:
https://spaceshooter-game.prod.gamingservices.accelbyte.io. - AGS Private Cloud:
https://dev.customer.accelbyte.io.
- AGS Public Cloud:
- Client ID and Client Secret (
<YourClientID>,<YourClientSecret>): credentials from a confidential IAM client in your game namespace. These permissions should be added to the IAM client that is used by Extend Helper CLI. Add the following permissions to this IAM client:- AGS Public Cloud: Enable Create, Read, and Update actions under the Extend App UI Management permission group.
- AGS Private Cloud: Enable Create, Read, and Update actions on the
ADMIN:NAMESPACE:{namespace}:EXTEND:APPUIresource.
- Namespace (
<YourGameNamespace>): your unique game identifier in AGS. The format depends on your deployment:- AGS Public Cloud:
{studio}-{game}, for examplespaceshooter-game, wherespaceshooteris the studio namespace ID andgameis the game namespace ID. This value also appears as the subdomain in your base URL. - AGS Private Cloud: the game namespace ID only, for example
mygame.
- AGS Public Cloud:
- App UI name (
<YourAppUIName>): the identifier you choose for your Extend App UI within a namespace. You use this when you register the App UI withappui create, and then in subsequent CLI commands to upload and manage the UI.
- Base URL (
- Node.js version 24 or above.
Choose your template
Three official templates are available, each building on the previous:
| Template | Use case |
|---|---|
react-minimal | Hello-world App UI with no AGS API calls. Start here. |
react | App UI that calls one Extend service. Includes typed codegen from a Swagger spec. See Generate code from Extend app specs. |
react-multiple-extend-apps | App UI that calls two or more Extend services, each with its own generated client. See Target multiple Extend apps in one App UI. |
The quick start below uses react-minimal. Pick a different template once you need live API calls.
Quick start
Start by scaffolding a project from the official template:
extend-helper-cli clone-template --scenario "Extend App UI" --template react-minimal -d react-minimal
cd react-minimal
Then set your environment variables using the values from Prerequisites. The Extend Helper CLI reads from these, so export them once and every subsequent command just works:
- Bash
- PowerShell
export AB_BASE_URL='<YourAGSBaseURL>'
export AB_CLIENT_ID='<YourClientID>'
export AB_CLIENT_SECRET='<YourClientSecret>'
export AB_NAMESPACE='<YourGameNamespace>'
export AB_APPUI_NAME='<YourAppUIName>'
$env:AB_BASE_URL = '<YourAGSBaseURL>'
$env:AB_CLIENT_ID = '<YourClientID>'
$env:AB_CLIENT_SECRET = '<YourClientSecret>'
$env:AB_NAMESPACE = '<YourGameNamespace>'
$env:AB_APPUI_NAME = '<YourAppUIName>'
In the same terminal session, register the App UI and install dependencies:
- Bash
- PowerShell
extend-helper-cli appui create --namespace $AB_NAMESPACE --name $AB_APPUI_NAME
npm install
extend-helper-cli appui create --namespace $env:AB_NAMESPACE --name $env:AB_APPUI_NAME
npm install
The create command registers an App UI entry in your namespace that the Admin Portal will later use to serve your assets. The appui command group manages all frontend UI operations:
| Command | Description |
|---|---|
appui create | Registers a new App UI entry in your namespace |
appui upload | Runs npm run build and uploads the output from dist/ to AGS |
appui setup-env | Creates or updates .env.local for local development |
From here you have two paths:
- To start a local dev server with hot reload, run
npm run dev. Open the URL shown in your terminal (typicallyhttp://localhost:5173) and you should see a "Hello world!" page. Update the text in your favorite IDE, changes are reflected immediately. Thereact-minimaltemplate makes no live AGS API calls, so nodevProxyPluginor additional auth setup is needed for local development. - To deploy to AGS and see it in the Admin Portal, run the upload command. Internally, this runs
npm run buildand uploads the output fromdist/to AGS.
- Bash
- PowerShell
extend-helper-cli appui upload --namespace $AB_NAMESPACE --name $AB_APPUI_NAME
extend-helper-cli appui upload --namespace $env:AB_NAMESPACE --name $env:AB_APPUI_NAME
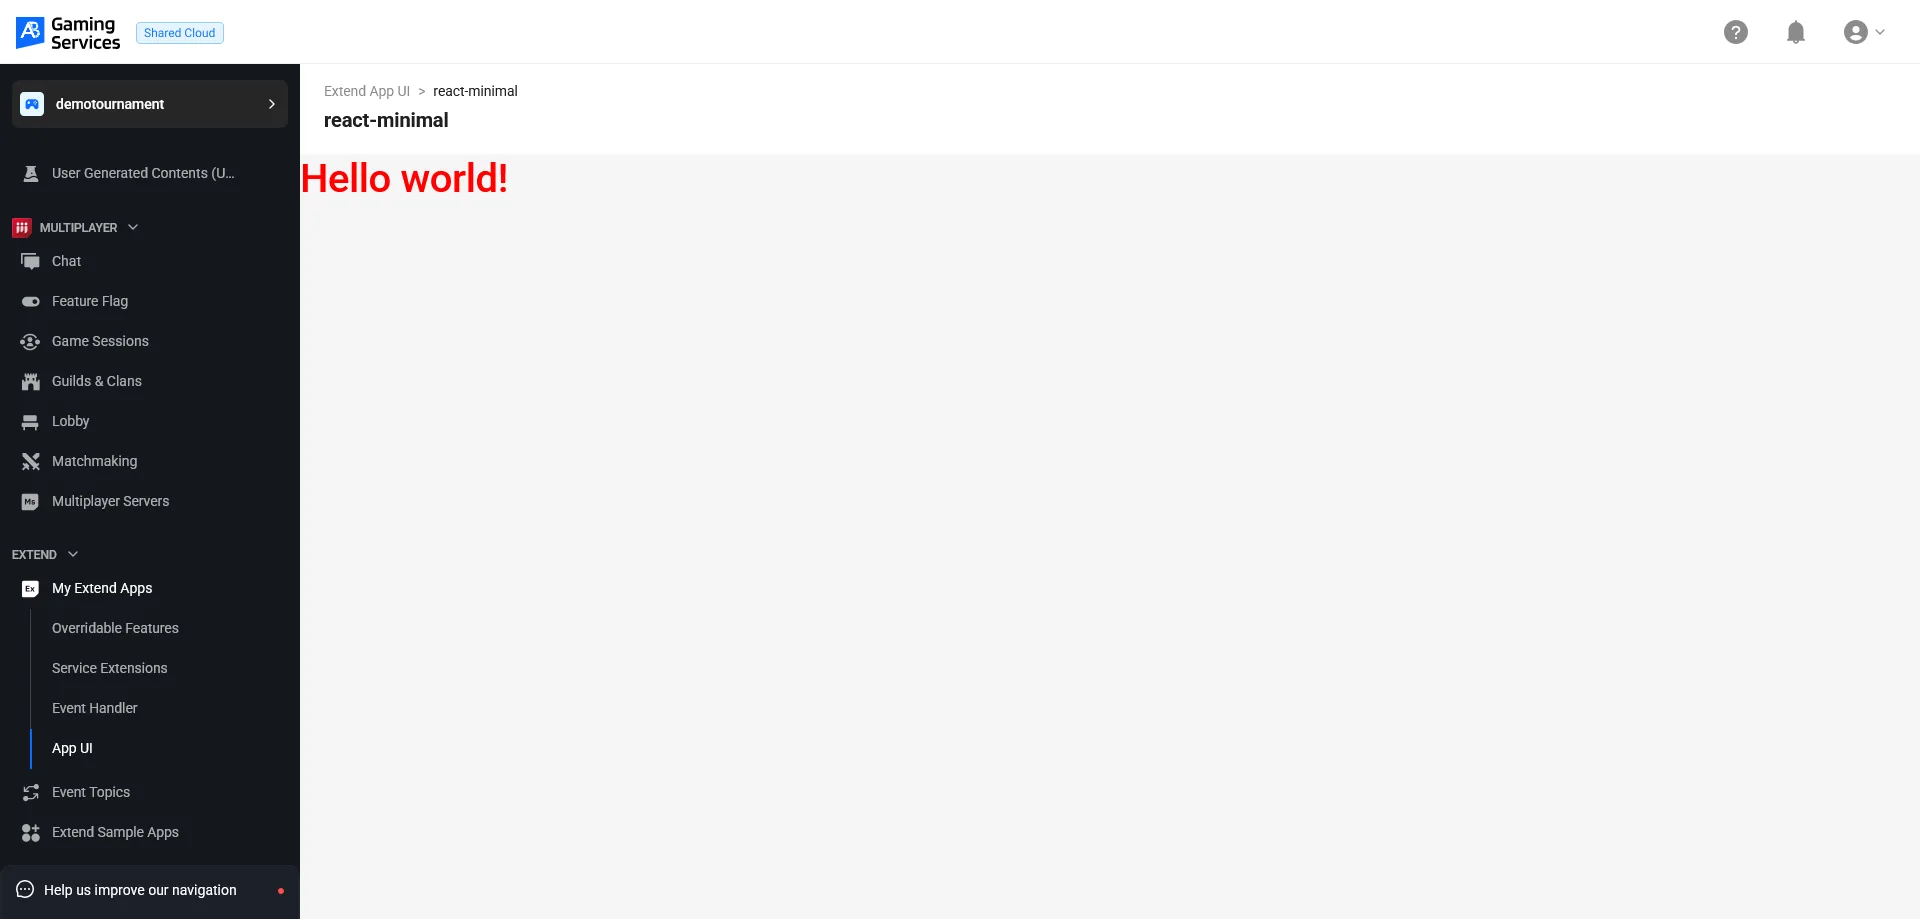
After the upload completes, go to the Admin Portal and navigate to Extend > My Extend Apps > App UI. Click Open UI on the app's table row. Anyone with access to your game namespace can see the App UI. The Admin Portal loads your App UI as a micro-frontend using Runtime Module Federation and renders it to the browser.
How the Admin Portal loads your App UI
The Admin Portal is the host application and your uploaded bundle is the remote module. When a user clicks Open UI, the Admin Portal:
- Downloads your module bundle.
- Calls your module's
mount(container, context)function, passing an HTML container element and aHostContextobject with the SDK configuration and a permission checker. - When the user navigates away, calls the cleanup function returned by
mount()to unmount your app.
If you scaffolded from the official templates, this contract is already handled for you. See the API reference for the full AppUIModule and HostContext type definitions.
Next steps
- Generate code from Extend app specs: if your App UI needs to call your Extend app's APIs directly.
- Target multiple Extend apps in one App UI: if you want to manage more than one Extend service from a single interface.
- Extend App UI SDK API reference: full reference for the components and functions exported by
@accelbyte/sdk-extend-app-ui. - Troubleshoot Extend App UI: diagnose and fix common App UI issues.