Set up Microsoft as an identity provider
Overview
This guide helps you connect Microsoft Accounts to the AccelByte Gaming Services (AGS) Admin Portal. You may need to set up additional features within Microsoft Azure services which aren't listed here. For full information about setting up Microsoft Azure services, we recommend contacting your Microsoft representative and reviewing Microsoft Azure documentation directly.
Goals
Enable the Microsoft authentication method for your Admin Portal website.
Prerequisites
- A Microsoft Azure Active Directory account with permission to create the Enterprise Application Microsoft Azure Active Directory.
- An AccelByte Admin Portal Account to set up authentication and manage permissions.
- To follow the AGS CLI steps, install the AGS CLI and sign in with an account that has access to these features. See Install and sign in. The examples use a Bash shell.
Set up Microsoft Azure
Create an enterprise application
Create an enterprise application (non-gallery application) under your Azure Active Directory. Follow the Add an enterprise application Guide and Create your own application.
Set up SAML single sign-on
Set up SAML single sign-on for your enterprise application. Follow the Enable single sign-on for an enterprise application Guide
Contact Customer Support to get the guide from AccelByte if you have trouble setting up on Microsoft Azure.
Set up an Admin web login for Microsoft Azure
Web login integration is currently unavailable in AGS Public Cloud and is only supported in AGS Private Cloud.
Configuration steps
- Admin Portal
- AGS CLI
-
In the AGS Admin portal, go to your publisher namespace.
-
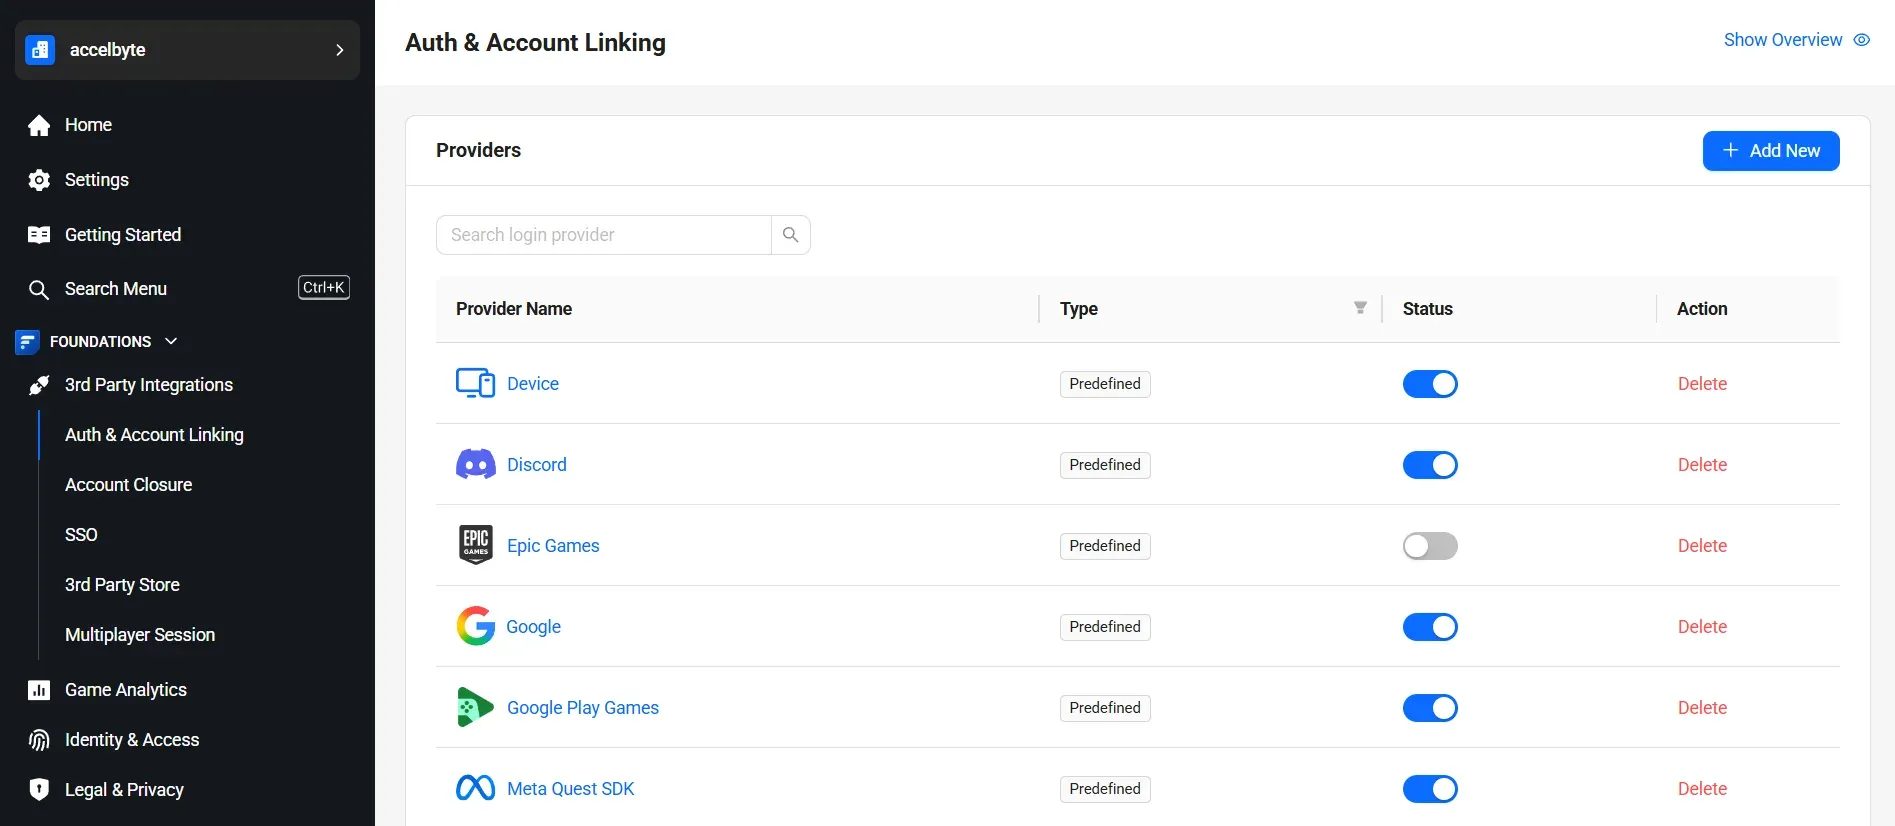
On the sidebar menu, go to Foundations > 3rd Party Integrations > Auth & Account Linking.
-
On the Auth & Account Linking page, click + Add New button.
-
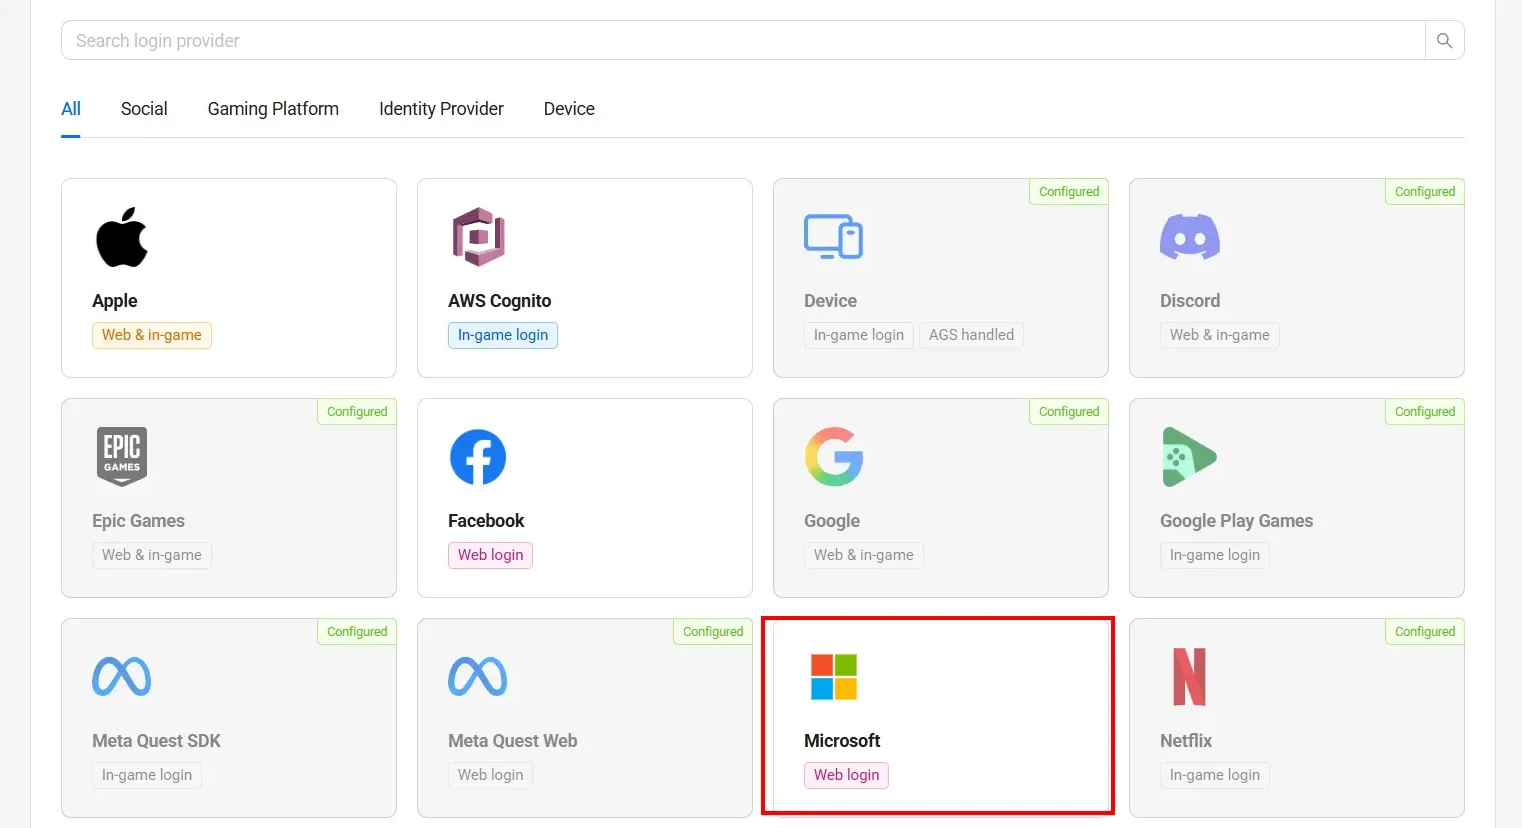
From the list of login provider options, find Microsoft and click on it.
-
The Set up Microsoft login provider form appears. Fill in the following fields, then click Add & Activate to create and activate the provider in one step. Alternatively, click Add to create without activating.
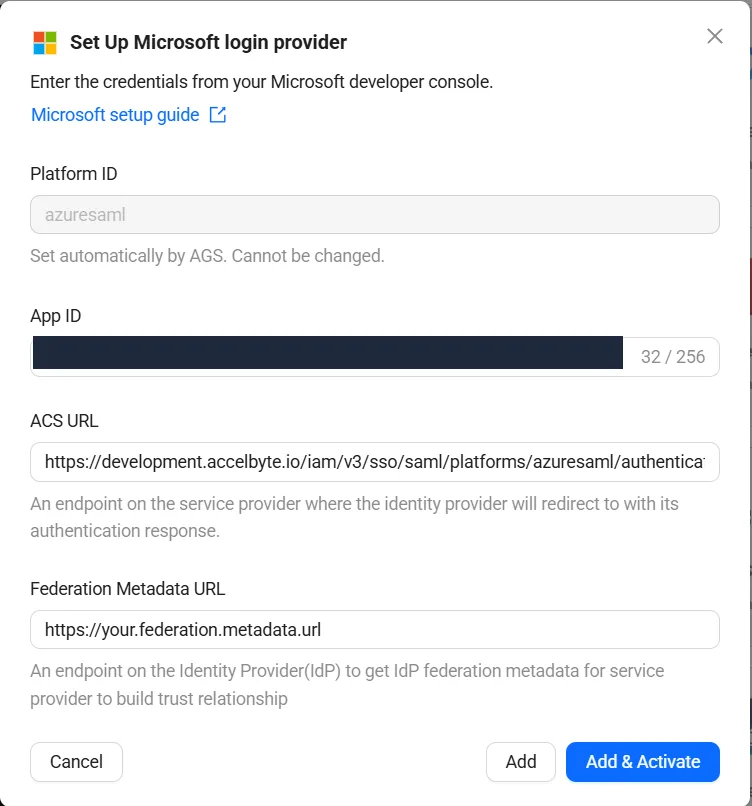
- Platform ID:
azuresaml. Set automatically. Cannot be changed. - App ID: Your ID (Entity ID) from the Basic SAML Configuration section in Set up Single Sign-On with SAML.
- ACS URL: Your Reply URL (Assertion Consumer Service URL) from the Basic SAML Configuration section in Set up Single Sign-On with SAML.
- Federation Metadata URL: The App Federation Metadata URL from the SAML Certificates section in Set up Single Sign-On with SAML.
noteSince AGS uses a non-URI format when setting up the Azure Application SAML, once you create the configuration it automatically adds an
spn:prefix to your App ID. - Platform ID:
-
Create a JSON file with the provider's settings. Any file name works. This example uses
azuresaml.json:{
"AppId": "<YourAppId>",
"ACSURL": "<YourReplyUrl>",
"FederationMetadataURL": "<YourAppFederationMetadataUrl>",
"IsActive": true
}AppId: your ID (Entity ID) from the Basic SAML Configuration section in Set up Single Sign-On with SAML. If the ID is a GUID, add thespn:prefix, such asspn:00000000-0000-0000-0000-000000000000. The Admin Portal adds this prefix to a GUID for you, but the AGS CLI sends the value exactly as you write it.ACSURL: your Reply URL (Assertion Consumer Service URL) from the Basic SAML Configuration section.FederationMetadataURL: the App Federation Metadata URL from the SAML Certificates section.IsActive:trueadds and activates the provider, like Add & Activate.falseadds it without activating it, like Add.
-
Add the provider. Replace
<YourPublisherNamespace>with your publisher namespace. After@, pass the path to your JSON file:ags iam platform-credentials create --namespace <YourPublisherNamespace> --platform-id azuresaml --json @azuresaml.json
Edit a login provider
- Admin Portal
- AGS CLI
-
On the Auth & Account Linking page, click the Microsoft entry.
-
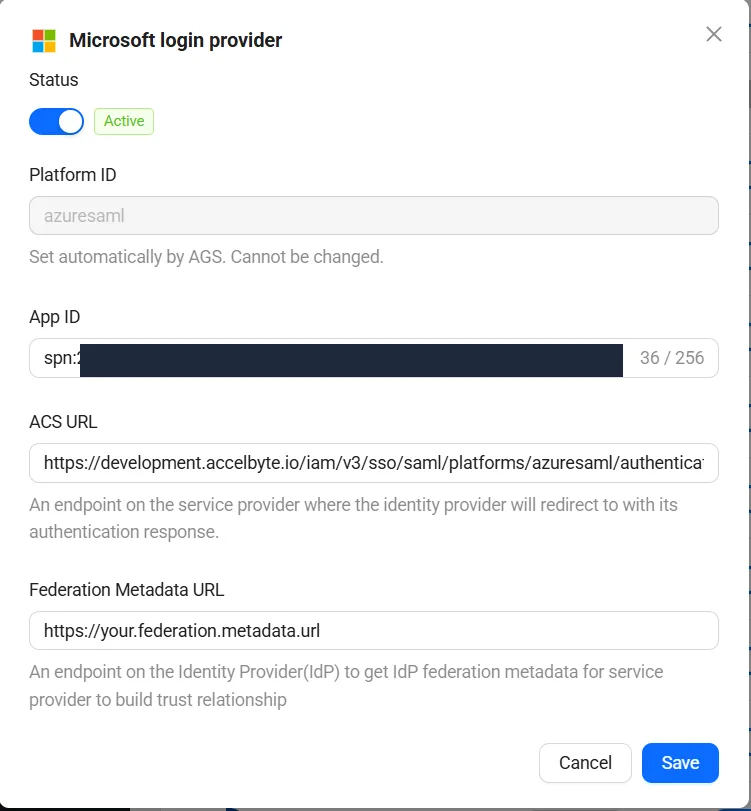
A dialog appears with the provider's configuration. Update the fields as needed.
-
Use the Status toggle at the top to activate or deactivate the provider.
-
Click Save.
-
Check the provider's current settings:
ags iam platform-credentials get --namespace <YourPublisherNamespace> --platform-id azuresaml -
Send only the fields you want to change. Fields you leave out keep their current values. For example, to deactivate the provider:
ags iam platform-credentials update --namespace <YourPublisherNamespace> --platform-id azuresaml --json '{"IsActive": false}'To activate it, send
{"IsActive": true}. If you changeAppIdto a GUID, include thespn:prefix.
Log in to the Admin Portal with Microsoft account credentials
Once you're set up on Azure's Portal Partner and AccelByte's Admin Portal, you can test logging users in to AccelByte.
-
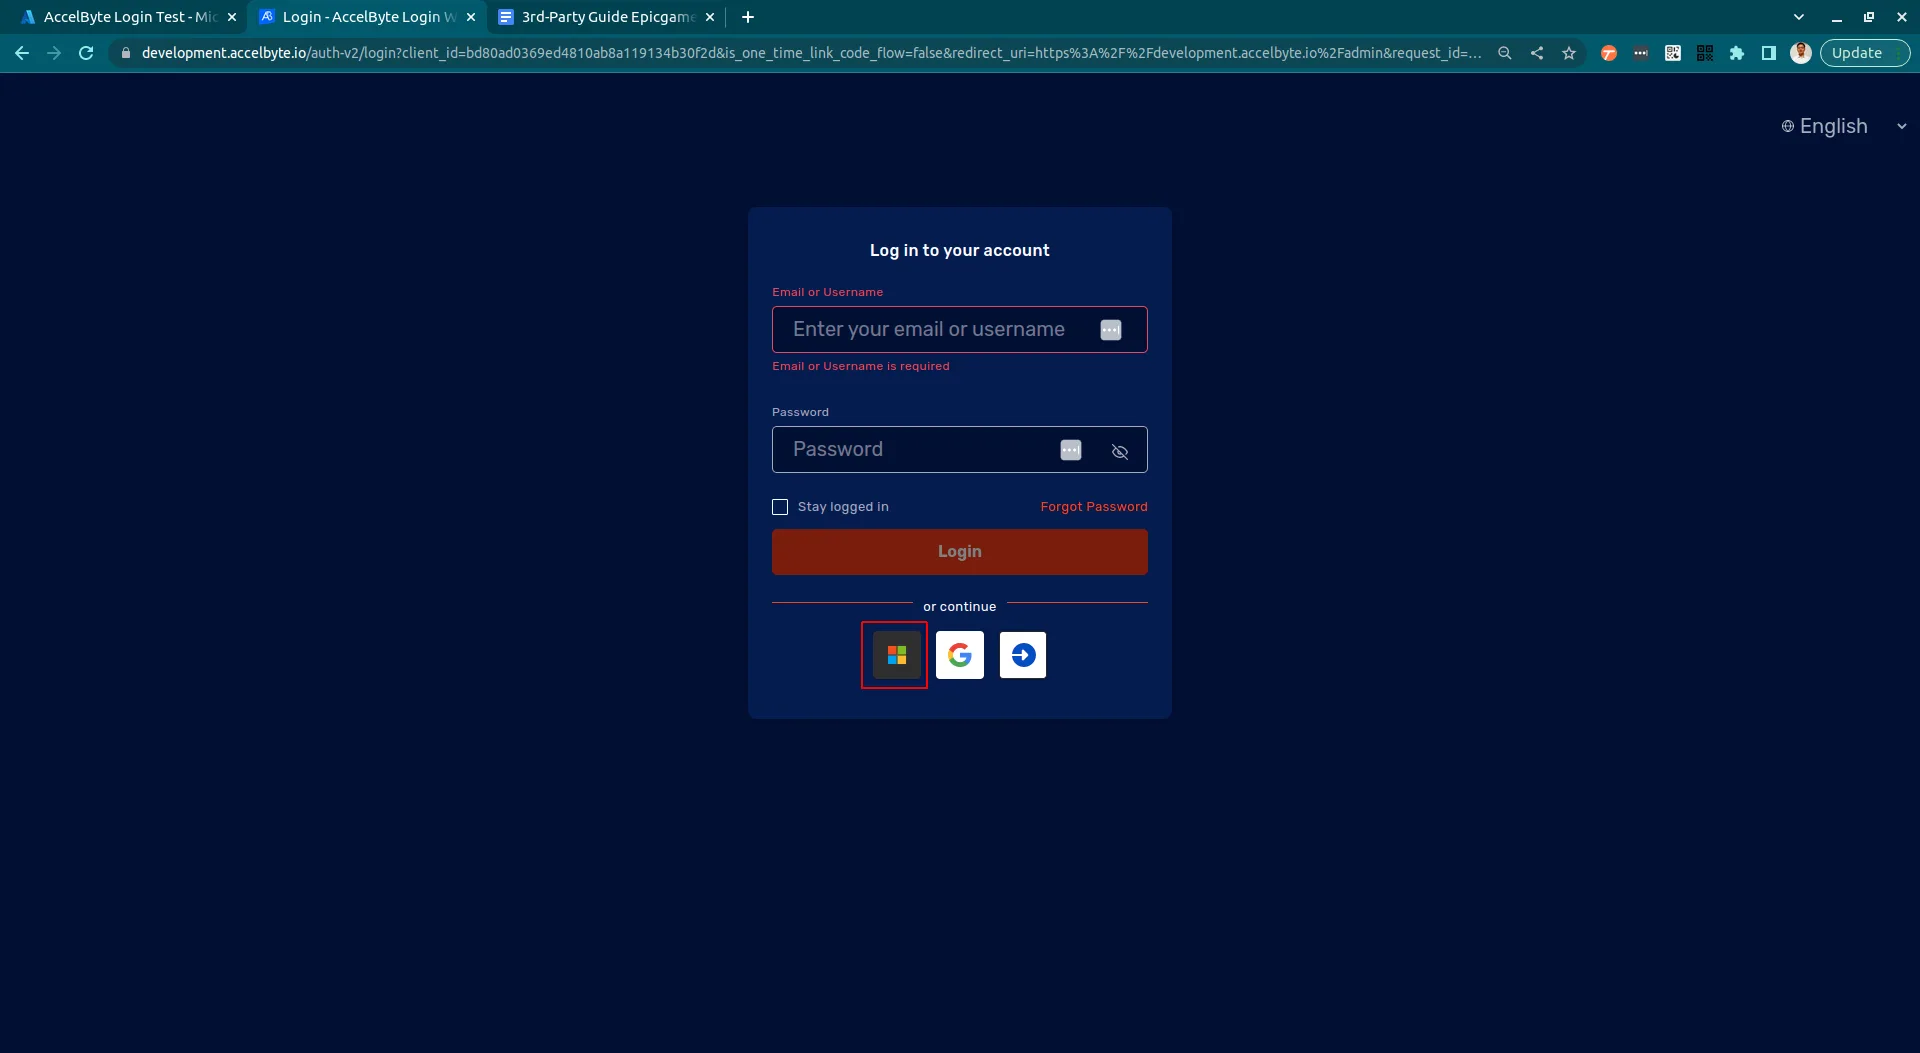
Go to your Admin Portal and log in with Microsoft (click the Microsoft logo).
-
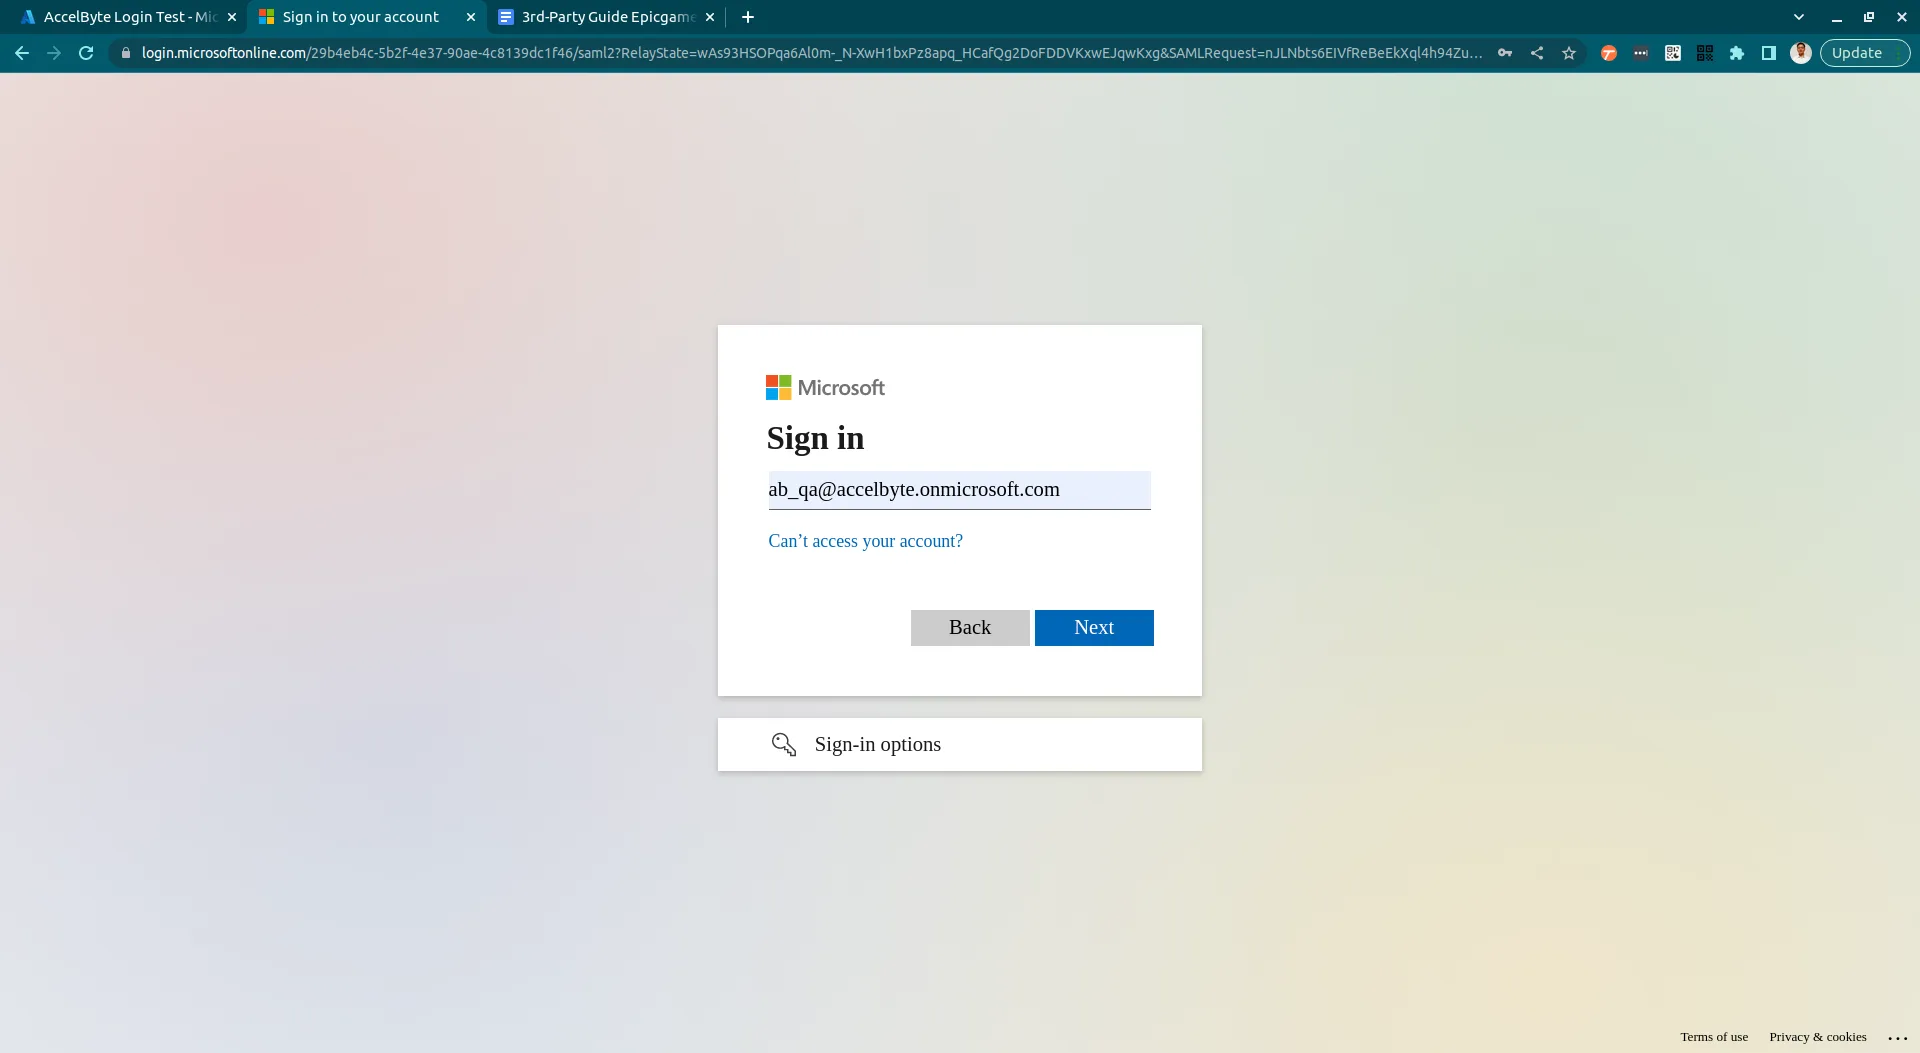
Type your Microsoft account credentials as a registered user of Azure Enterprise.
-
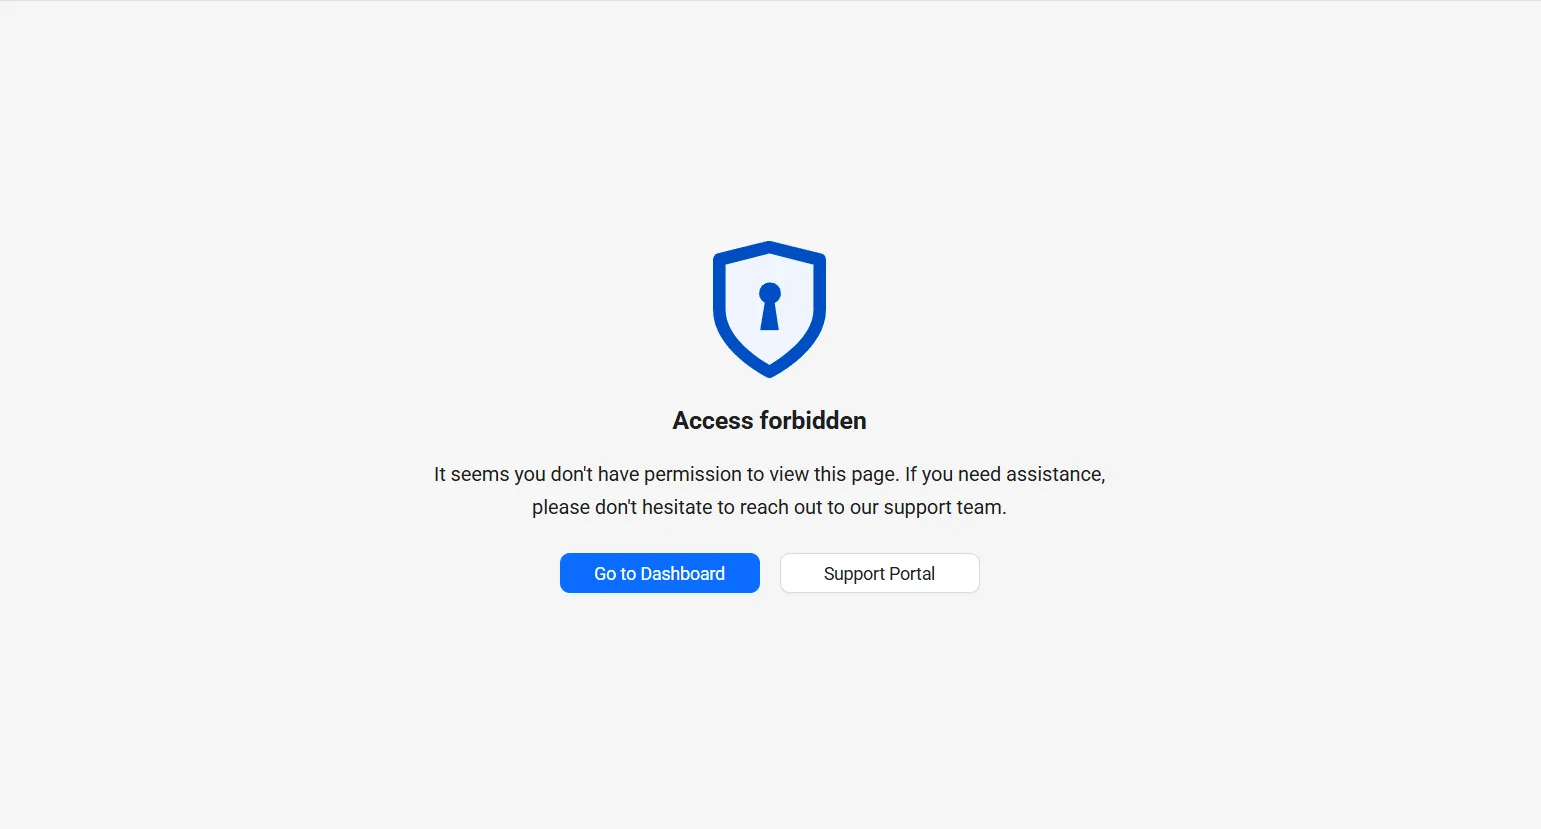
The account gets a 403 error when users log in in for the first time. The user should contact the Admin Portal administrator and ask for a Super Admin or Game Admin role to enable logging in to the Admin Portal.
-
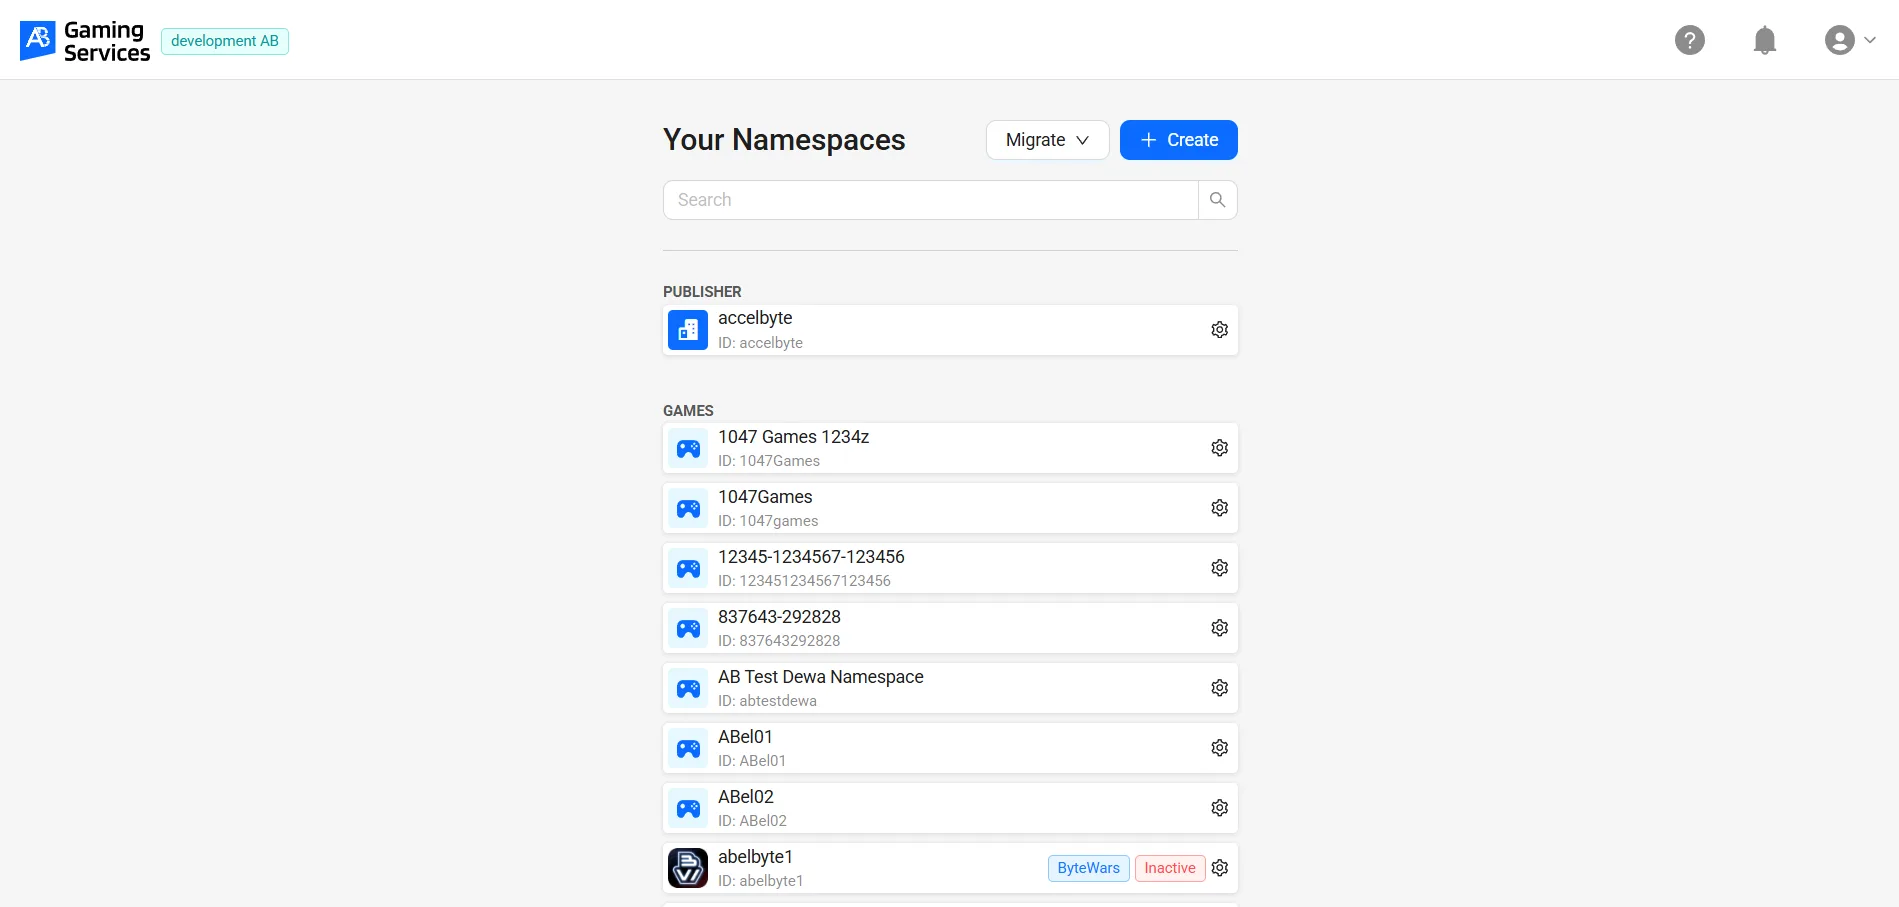
The user should retry logging in after they get a Super Admin or Game Admin role.
Assign role to new Admin Portal users
- Admin Portal
- AGS CLI
-
In the AGS Admin portal, go to your publisher namespace.
-
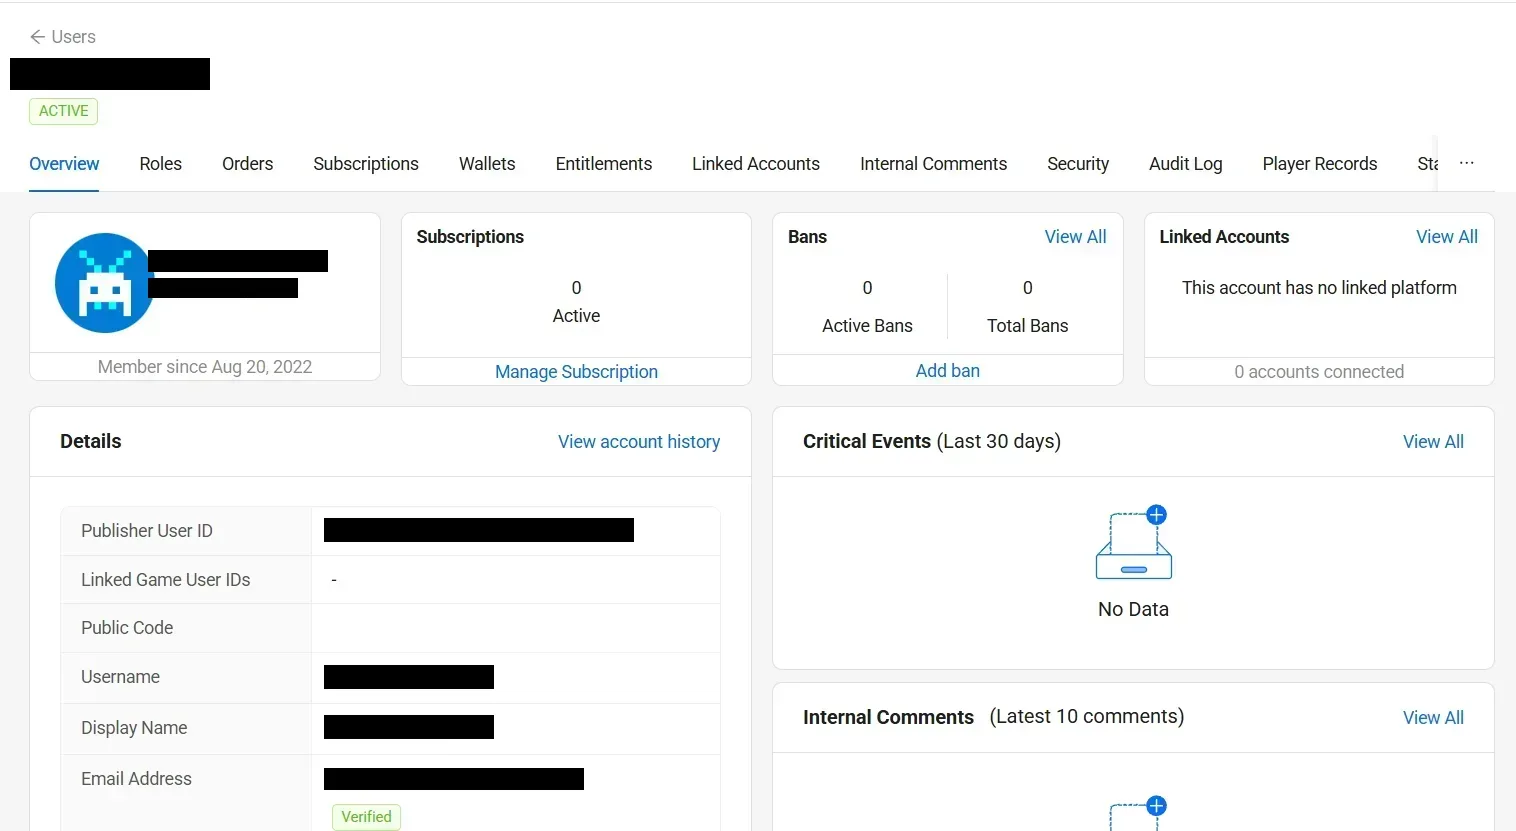
On the sidebar menu, go to Admin Task > Admin Management.
-
Find the user with the role you want to update and click corresponding View option to open their details page.
-
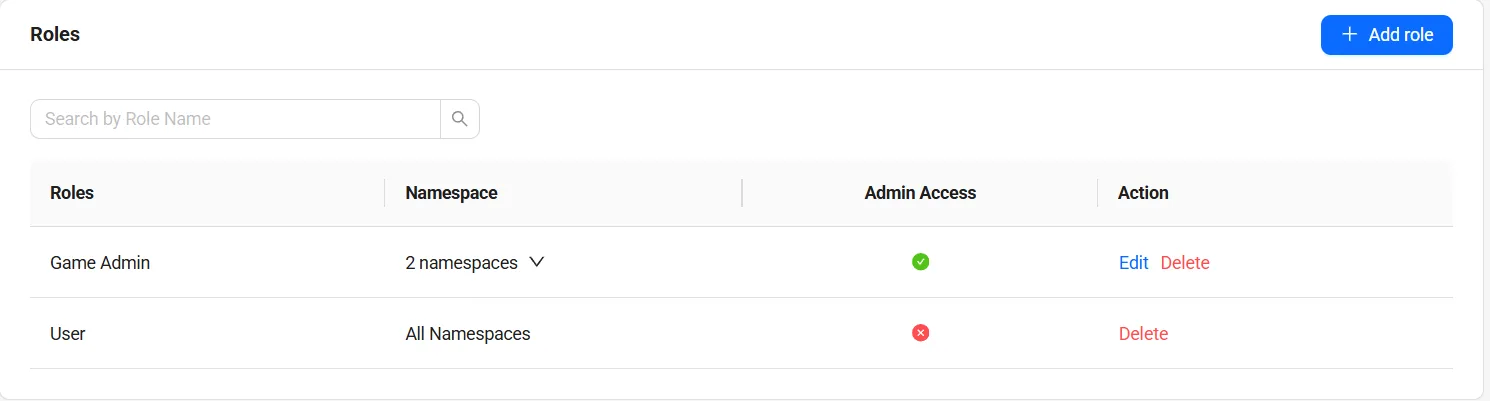
Select the Roles tab, then click on + Add role.
-
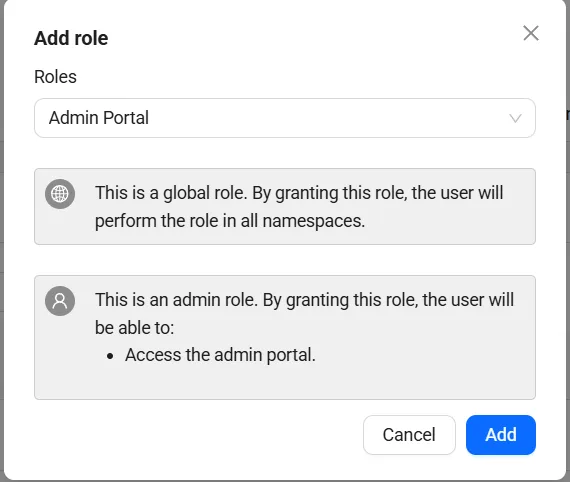
From the dropdown, select an Admin Portal role.
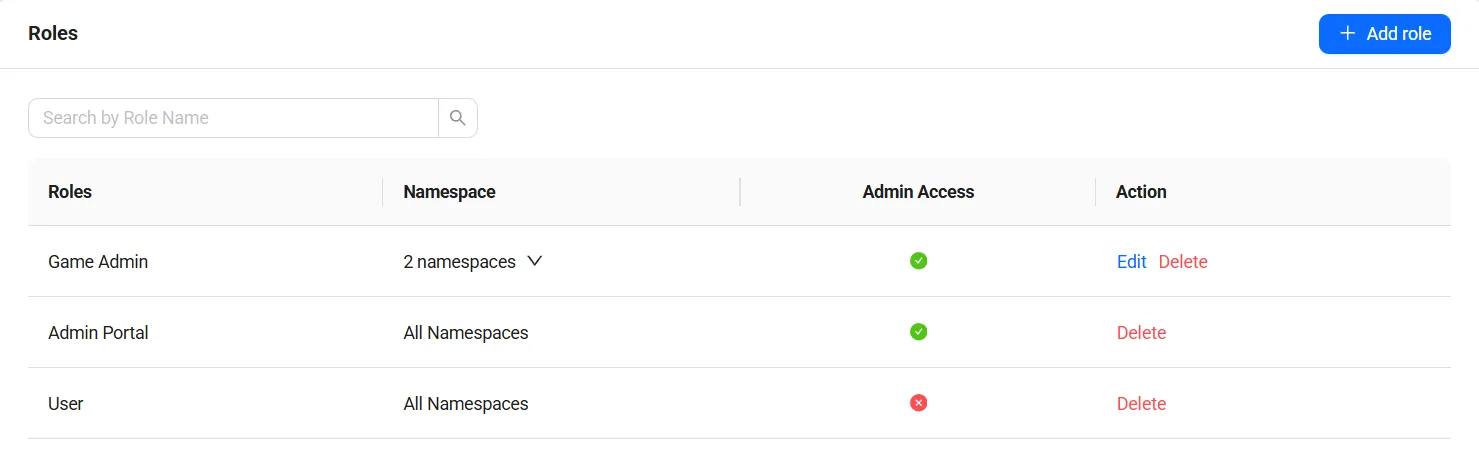
Here is an example showing a user assigned a new role:
-
Find the user ID of the new user. Replace
<UserEmailAddress>with the email address of their Microsoft account:ags iam users get-by-email --namespace <YourPublisherNamespace> --email-address <UserEmailAddress> --format json -
Find the ID of the Admin Portal role to assign. A role that applies to all namespaces has
isWildcardset totrue:ags iam roles list --page-all --format json -
Assign the role. Replace
<UserId>with the user ID from step 1 and<RoleId>with the role ID from step 2. Replace<RoleNamespace>with the namespace the role applies to. If the role applies to all namespaces, use["*"]as theassignedNamespacesvalue.ags iam users assign-role --namespace <YourPublisherNamespace> --user-id <UserId> --json '{"roleId": "<RoleId>", "assignedNamespaces": ["<RoleNamespace>"]}'