Set up the ADT CLI
Overview
The AccelByte Development Toolkit (ADT) CLI is used by build engineers to work with the ADT suite of tools. It interfaces directly with the ADT backend and can get, set, list, upload, and download most ADT features and elements. You can run the ADT CLI manually, or build it into scripts and build pipelines.
Set up the base URL
Before using the ADT CLI, ensure there is a config.ini file in the same folder as BlackBoxCLI.exe.
If the
config.inifile is not there, create one using any text editor and add the following code:[url]
base_url = https://blackbox.accelbyte.ioSave the
config.inifile to the same folder asBlackBoxCLI.exe.
Check the version of the ADT CLI
To check the version of ADT CLI you're running, add the --help argument when you run it.
BlackBoxCLI.exe --help
The --help argument displays other useful information about the ADT CLI, including:
BlackBox Command Line Interface tools v2.24.0
Build date: 2024-10-24T10:53:02Z
GIT Commit: 1e1a4428
Copyright 2020-2024 AccelByte Inc.
Use subcommands
The ADT CLI has several subcommands that are explained in the table below. To use a subcommand, enter it as the first argument in your command line instruction, as follows:
BlackBoxCLI.exe <subcommand> <second argument>
The following table shows the subcommands and describes their use.
| Subcommand | Description |
|---|---|
| build | Register the build ID for a newly created game build |
| credentials | Configure the credentials, such as the API Key |
| config | Configure the ADT CLI |
| crash-url | Manage the engine crash URL endpoint |
| upload | Parse the game executable file and upload filtered PDB contents to the ADT Backend |
| version | Manage the game version from the ADT CLI |
| game-binary | Upload or download a game binary (credentials required) |
Set up your unique API Key for the ADT CLI
When you use the credentials subcommand, the system prompts you to set your API Key, which it uses to grant you access to ADT services. The API Key is unique to your game; it's important that you keep it secure and don't share it or send it via email or insecure channels. You use your API Key to upload .pdb files to our system and keep them private. You also need your API Key to create new game versions and manage your builds.
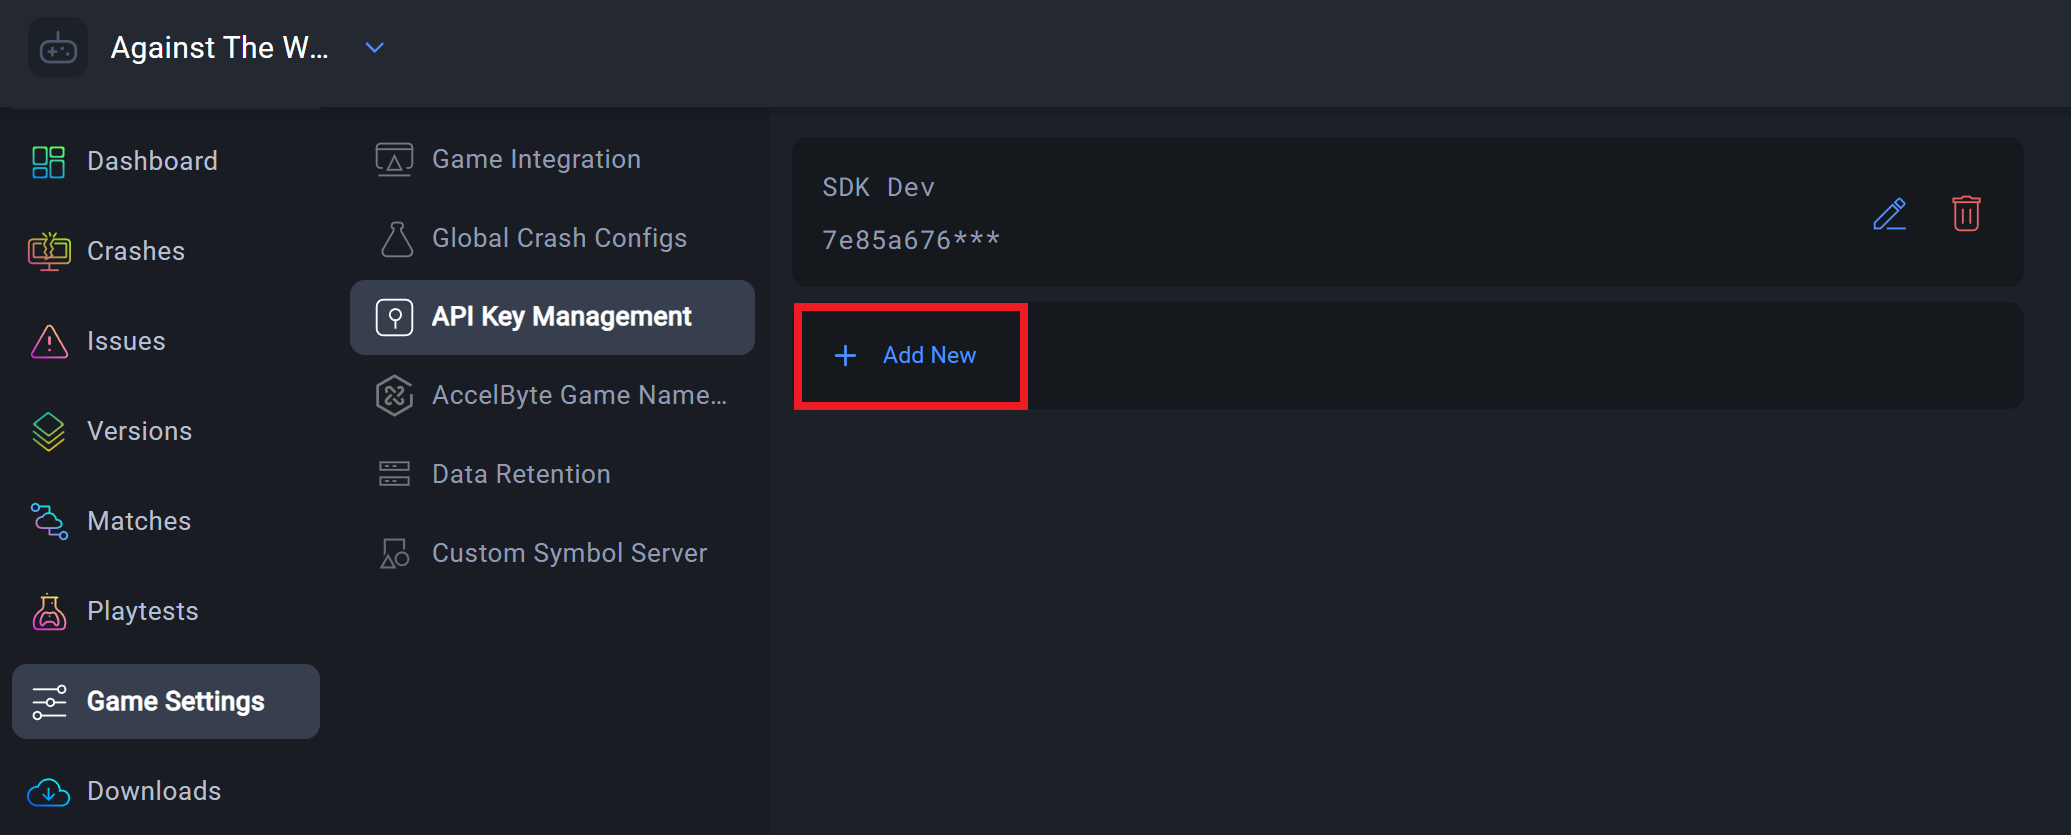
If you lose your API Key, your admin can generate a new one from the Game Settings > API Key Management page and manage the associated permissions. For more information, refer to the Manage multiple API keys guide.
The following sections contain steps on how to set or get your API Key.
Set the value of the credentials
Credentials are here: C:\\User<Username>\\.blackbox\\default file. To set their value from the credential name, in this case the API Key, use this command:
BlackBoxCLI.exe credentials set <creds_name> <creds_value>
Here is an example of a command for setting the credential value.
BlackBoxCLI.exe credentials set APIKey <YOUR_API_KEY>
Get the value of a single credential
Execute this command to get the API key:
BlackBoxCLI.exe credentials get APIKey
The command returns your API Key.
[Credentials]
APIKey = YOUR_API_KEY
Get the value of all credentials
You can print the value of all credentials on screen using this command:
BlackBoxCLI.exe credentials list
The command returns your API Key.
APIKey: YOUR_API_KEY
Configure the ADT CLI
Now that your credentials are set up, the next step in the ADT CLI configuration is to input your namespace and project location. There are three ways to configure the ADT CLI:
- Interactive subcommand
- Environment variables
- Inline configuration
Interactive subcommand
To configure the ADT CLI to use the interactive mode subcommand, use the following command.
BlackBoxCLI.exe config set
An interactive interface appears where you can input configuration details.
BlackBoxCLI.exe config set
New configuration file created...
namespace[]: avengers
game_engine[]: F:\UE4\UE_4.21
game_archive[]: D:\Work\SampleGame\OutputGithubSource\WindowsNoEditor
game_server_archive[]: D:\Work\SampleGame\OutputGithubSource\WindowsServer
game_project[]: D:\Work\SampleGame
If you don't want to use the interactive mode, you can set the configuration using a single command line, as shown below.
Single command line
Input the details of the credentials for the ADT CLI. See below for the credentials and their descriptions.
| Credential | Description |
|---|---|
| namespace | The namespace for the game |
game\_engine | Game engine root path, the location of GenerateProjectFiles.bat and UE4.sln or UE5.sln |
game\_archive | The location of a packaged game's executable file |
game\_server\_archive | The location of a packaged server game's executable file |
game\_project | The game project root folder that contains the .uproject file |
Here is an example, using ADT CLI credentials:
BlackBoxCLI.exe config set game_engine "F:\UE4\UE_4.21"
BlackBoxCLI.exe config set game_archive "D:\Projects\AccelByte\justice-crashreporter-accelmania_baked"
Get a single configuration value
Execute this command to get the configuration value from the configuration name:
BlackBoxCLI.exe config get <config_name>
Here is an example of the command to get a single value from a configuration named game_archive:
BlackBoxCLI.exe config get game_archive
The command would return the game_archive path as follows:
[Path]
game_archive = D:\Projects\AccelByte\justice-crashreporter-accelmania_baked
Single command examples
You can set or get a configuration with the following commands:
Configuration variables are case sensitive.
BlackBoxCLI config set game_engine <value>
BlackBoxCLI config set game_archive <value>
BlackBoxCLI config set game_server_archive <value>
BlackBoxCLI config set game_project <value>
BlackBoxCLI config set namespace <value>
BlackBoxCLI config get game_engine
BlackBoxCLI config get game_archive
BlackBoxCLI config get game_server_archive
BlackBoxCLI config get game_project
BlackBoxCLI config get namespace
List all configuration values for your project
You can get all of the configuration values and show them on the screen by executing this command:
BlackBoxCLI.exe config list
The command returns text similar to this:
[Config]
namespace = mygamenamespace
[BaseURL]
profiling_url = https://blackbox.accelbyte.io/profiling
iam_url = https://blackbox.accelbyte.io/iam
symbol_service_url = https://blackbox.accelbyte.io/symbol
data_service_url = https://blackbox.accelbyte.io/data
[Path]
game_engine = D:\UE4\UE_4.25
game_archive = D:\Work\SampleGame\OuputGithubSource\WindowsNoEditor
game_server_archive = D:\Work\SampleGame\OuputGithubSource\WindowsServer
game_project = D:\Work\SampleGame
Inline configuration
You can use the ADT CLI without setting the configuration value upfront. To do so, enter the configuration variables with the main command. See the configuration options below.
| Command | Description |
|---|---|
\-a, --apikey | Set the API Key |
\-n, --namespace | Set the namespace |
\-p, --game-project | Set the game project path |
\-e, --game-engine | Set the game engine path |
\-r, --game-archive | Set the packaged game path |
\--game-server-archive | Set the packaged server game path |
Example
BlackBoxCLI.exe upload --namespace MyAwesomeNamespace --game-project D:\MyProjects\MyAwesomeGame --game-engine D:\GameEngine\UE4-425 --game-archive D:\MyProjects\MyAwesomeGame\ClientBuild\WindowsNoEditor --apikey <your API key>
Configuration file
The configuration details are in the config.ini file, which the ADT CLI config file generates. The config.ini file is in the same folder as the ADT CLI executable.
[url]
base_url = <Blackbox Base URL>
[Config]
namespace = <Your Namespace>
[Path]
game_engine = <The location of game engine>
game_archive = <The location of your game's packaged build>
game_server_archive = <The location of the packaged server build of your game>
game_project = <The root folder of your game project>
Here is an example after you have run the ADT CLI config command.
[url]
base_url = https://blackbox.accelbyte.io
[Config]
namespace = myawesomegame
[Path]
game_engine = F:\UE4\UE_4.21
game_archive = D:\Work\SampleGame\OutputGithubSource\WindowsNoEditor
game_server_archive = D:\Work\SampleGame\OutputGithubSource\WindowsServer
game_project = D:\Work\SampleGame
When you run commands with inline configuration, this doesn't create or modify the config.ini file. However, those commands will take precedence over the ones in the config.ini file.
Terms in the configuration file
Here are the terms we use for configuration names in the config.ini file.
Game engine
This is the root directory of Unreal Engine. For example, if you install the Unreal Engine in C:\\Program Files\\UE4\\UE\_4.21 the game_engine value should be C:\Program Files\UE4\UE_4.21.
[Path]
game_engine = C:\Program Files\UE4\UE_4.21
Game archive directory
This is the directory of the packaged game. Typically, the directory structure is <path to packaged builds>/<platform name>. For example, if you set the packaged build path to E:\Project\Output for Windows, the game archive is E:\Project\Output\WindowsNoEditor. The game archive is the directory where the packaged game executable resides.
Game project directory
The game project is the directory where the .uproject file resides.
+-- Config
    +-- DefaultEditor.ini
    +-- DefaultEditorPerProjectUserSettings.ini
    +-- DefaultEngine.ini
    +-- DefaultGame.ini
    +-- DefaultInput.ini
+-- Content
+-- Plugins
+-- Source
+-- MyAwesomeGame.sln
+-- MyAwesomeGame.uproject
If your game_project is in D:\GameProjects\MyAwesomeGame make sure the .uproject file is in the same directory. The ADT CLI finds [/Script/BlackBoxSDK.BlackBoxSettings] in the Config/DefaultEngine.ini and reads the configuration values.
Engine name
The ADT CLI operates differently with each game engine. When you enter a game engine's name, this dictates the mode the ADT CLI operates in.
[base]
engine_name = ue4
Valid values for engine_name are: ue4, ue5 and unity
Set up the Unreal Crash Report URL
You can only use this command on Windows and Linux platforms.
Refer to Manage Unreal's Crash Report Client URL for more information.