ADT SDK integration
Last updated on September 12, 2025
Overview
This guide shows you how to download the AccelByte Development Toolkit (ADT) SDK and integrate it with your Unreal project.
Download and Install ADT SDK
-
Download the ADT SDK
- Go to the ADT Web Download page and download the SDK
.zipfile suitable for your target platform. (Windows platform SDK is required to download, as it contains the essential ADT plugins needed for integration.)
- Go to the ADT Web Download page and download the SDK
-
Extract the SDK
- Unzip the downloaded file.
- Open the extracted folder and navigate to the
Toolssubfolder.
-
Download the ADT CLI
- Go to the Downloads menu and scroll down to the CLI section.
- Identify your operating system (Windows or Linux).
- Match your OS with the corresponding available CLI version.
- Click the Download button below your OS to begin downloading the CLI tool.
- Once the download is complete, unzip the file to access the ADT CLI:
- For Windows: extract
BlackBoxCLI-x64-windows-versionXX.zip. - For Linux: extract the
BlackBoxCLI-x64-linux-versionXX.zip.
- For Windows: extract
-
Open Terminal
- Navigate to the extracted CLI folder.
- Right-click inside the folder and select “Open in Terminal” (or open your terminal and navigate to the folder manually).
-
Install the SDK
- Run the following CLI command:
./BlackBoxCLI.exe sdk install --game-project <game_project_directory> --game-engine <game_engine_directory> --base-url https://blackbox.accelbyte.ioWhen successful, the Terminal will display the following message:
Copying ADT SDK into project plugin folder... In progress
Copying ADT SDK into project plugin folder... Done
Adding ADT SDK into the uproject file... In progress
Adding ADT SDK into the uproject file... Done
Enabling ADT SDK in the build.cs file... In progress
Enabling ADT SDK in the build.cs file... Done
Configure DataRouterURL in UE CRC... In progress
Configure DataRouterURL in UE CRC... Done

Installation complete.
You can start to create version and register build in ADT. -
Generate visual studio project files
- Navigate back to your game project folder.
- Right-click on the
<project_name>.uprojectfile. - Select “Show more options” from the dropdown.
- Then click the “Generate visual studio project files” option.
-
Rebuild the Game Project
- Open the
.slnfile generated in the previous step using Visual Studio. - In the Solution Explorer, right-click on your game project (usually named after your project).
- Select Rebuild from the context menu.
This process will recompile the project and ensure the newly enabled ADT SDK plugin is included.
- Open the
Enable the ADT SDK plugin in Unreal
Follow these steps:
-
Launch your project in Unreal Editor.
-
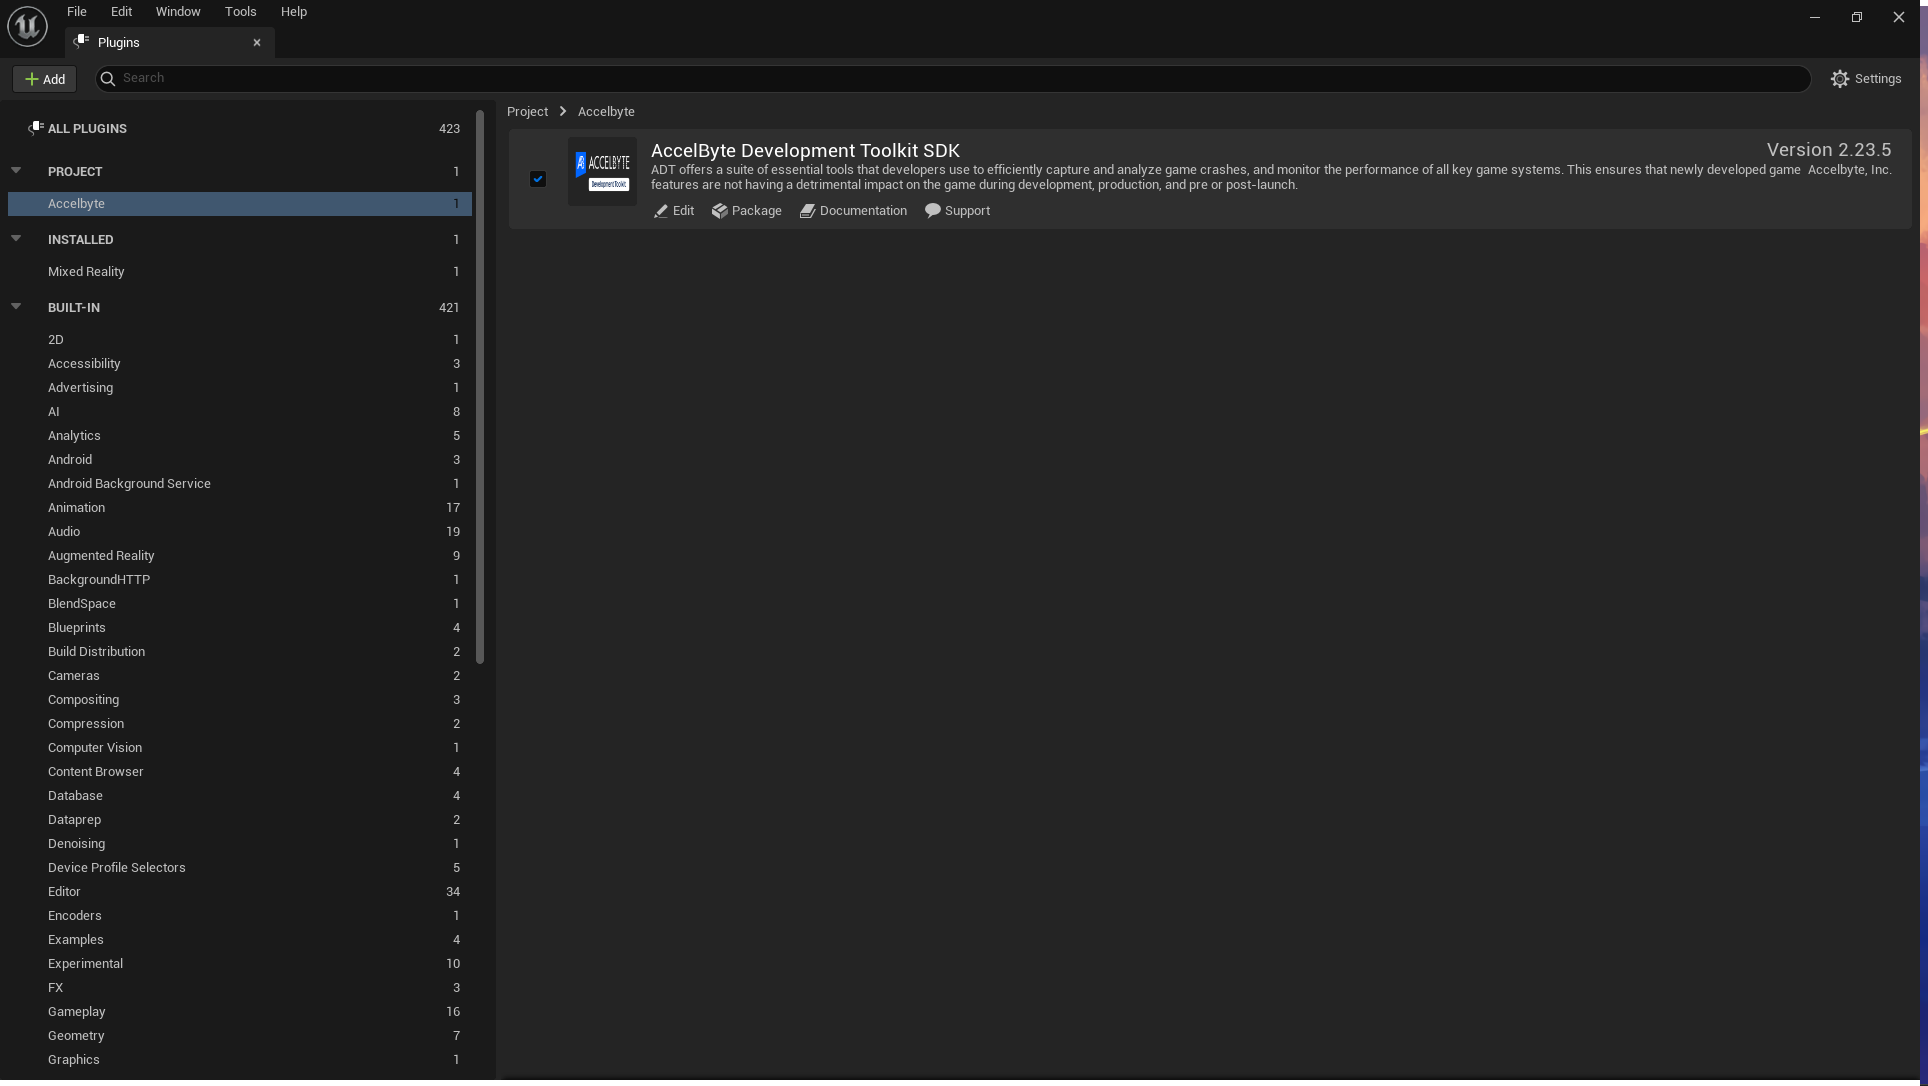
Navigate to the top menu and click Edit > Plugins.
-
In the Project > AccelByte section, locate AccelByte Development Toolkit SDK.
-
Check the box next to the plugin name to enable it.

- Close the window and restart the Unreal Editor to apply the changes.